我使用其他答案创建了一个可通用的函数,可适用于任意行/列:
def cvSubplot(imgs,
pad=10,
titles=None,
win_name='CV Subplot'
):
'''
Makes cv2 based subplots. Useful to plot image in actual pixel size
'''
rows, cols = imgs.shape
subplot_shapes = np.array([list(map(np.shape, x)) for x in imgs])
sp_height, sp_width, depth = np.max(np.max(subplot_shapes, axis=0), axis=0)
title_pad = 30
if titles is not None:
pad_top = pad + title_pad
else:
pad_top = pad
frame = np.zeros((rows*(sp_height+pad_top), cols*(sp_width+pad), depth ))
for r in range(rows):
for c in range(cols):
img = imgs[r, c]
h, w, _ = img.shape
y0 = r * (sp_height+pad_top) + pad_top//2
x0 = c * (sp_width+pad) + pad//2
frame[y0:y0+h, x0:x0+w, :] = img
if titles is not None:
frame = cv2.putText(frame, titles[r, c], (x0, y0-title_pad//4), cv2.FONT_HERSHEY_COMPLEX, .5, (255,255,255))
cv2.imshow(win_name, frame)
cv2.waitKey(0)
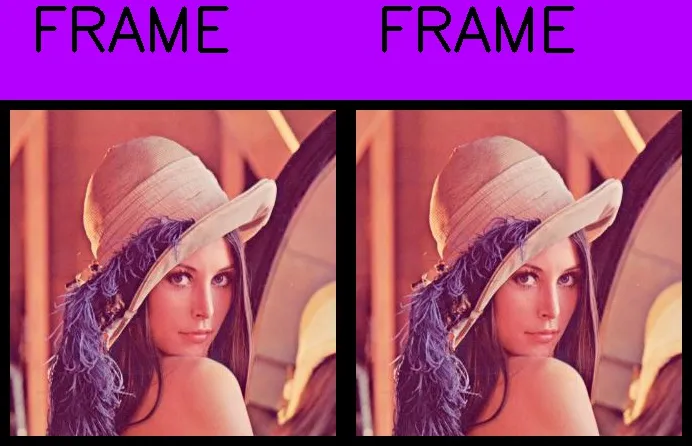
以下是一个使用示例:
import cv2
import numpy as np
a1 = np.random.random((40,400,1))
a2 = np.random.random((200,200,1))
a3 = np.random.random((100,100,1))
a4 = np.random.random((300,150,1))
a5 = np.random.random((100,150,1))
filler = np.zeros((0,0,1))
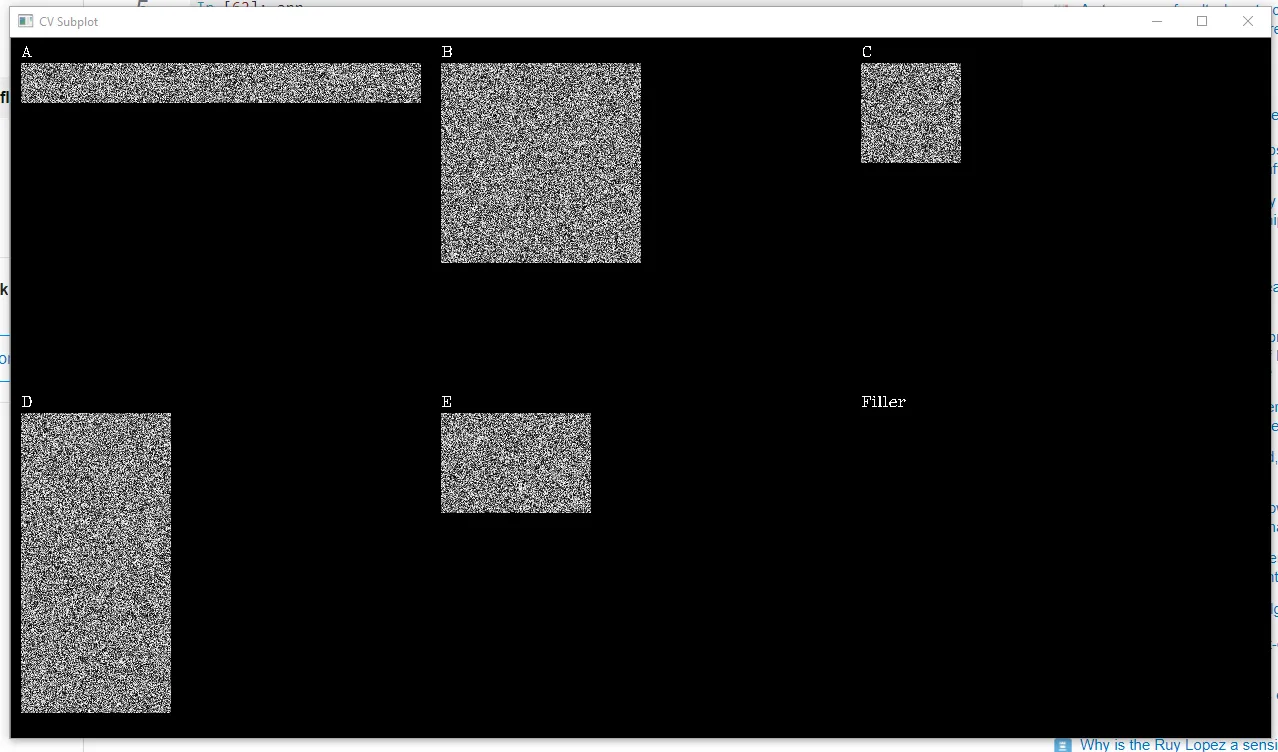
titles = np.array([['A', 'B', 'C'], ['D', 'E', 'Filler']])
imgs = np.array([[a1, a2, a3], [a4, a5, filler]])
cvSubplot(imgs, pad=20, titles=titles)
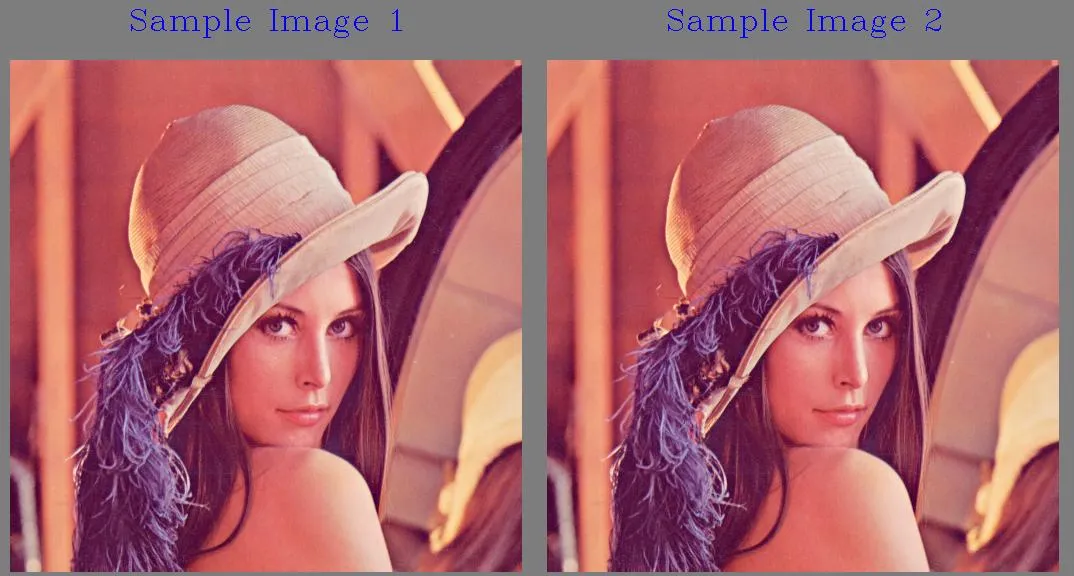
那个脚本会生成以下的cv2图像:

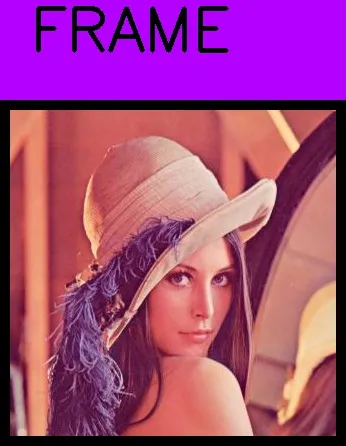
constant=cv2.copyMakeBorder(img1,100,10,10,10,cv2.BORDER_CONSTANT,value=black )。这样紫色矩形就不再必要了。我不需要任何花哨的东西,只需要快速简单的解决方案 :) - RMS