我正在使用NextJS的图像组件。我希望该图像能够以100%的宽度填充,并且需要尽可能地保持其纵横比来占据所需的高度。我已经尝试了许多不同的代码变体,但除非在父
上定义一个固定的高度,否则它将无法正常工作。
export default function PhotoCard({ img }: Props) {
      return (
        <div className="relative w-full h-32 my-2">
          <Image alt={img.title} src={img.url} layout="fill" objectFit="cover" />
        </div>
      );
    }
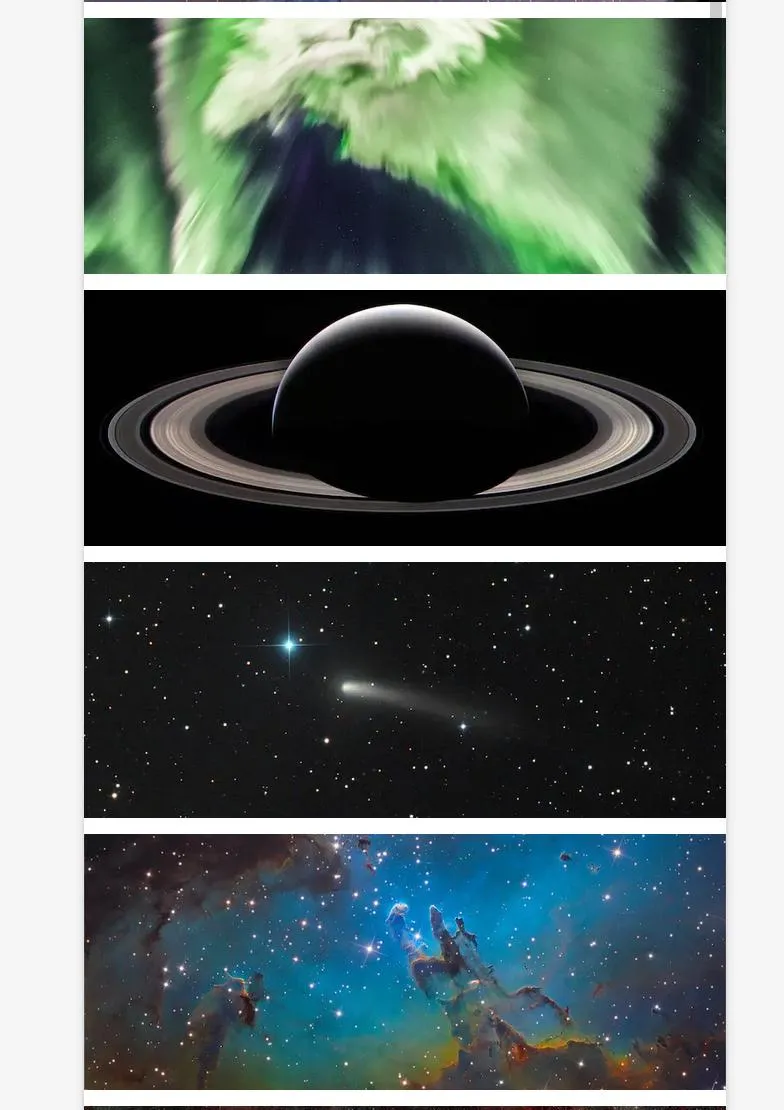
这是当前的行为
<Image />标签内设置图像。 - hisam