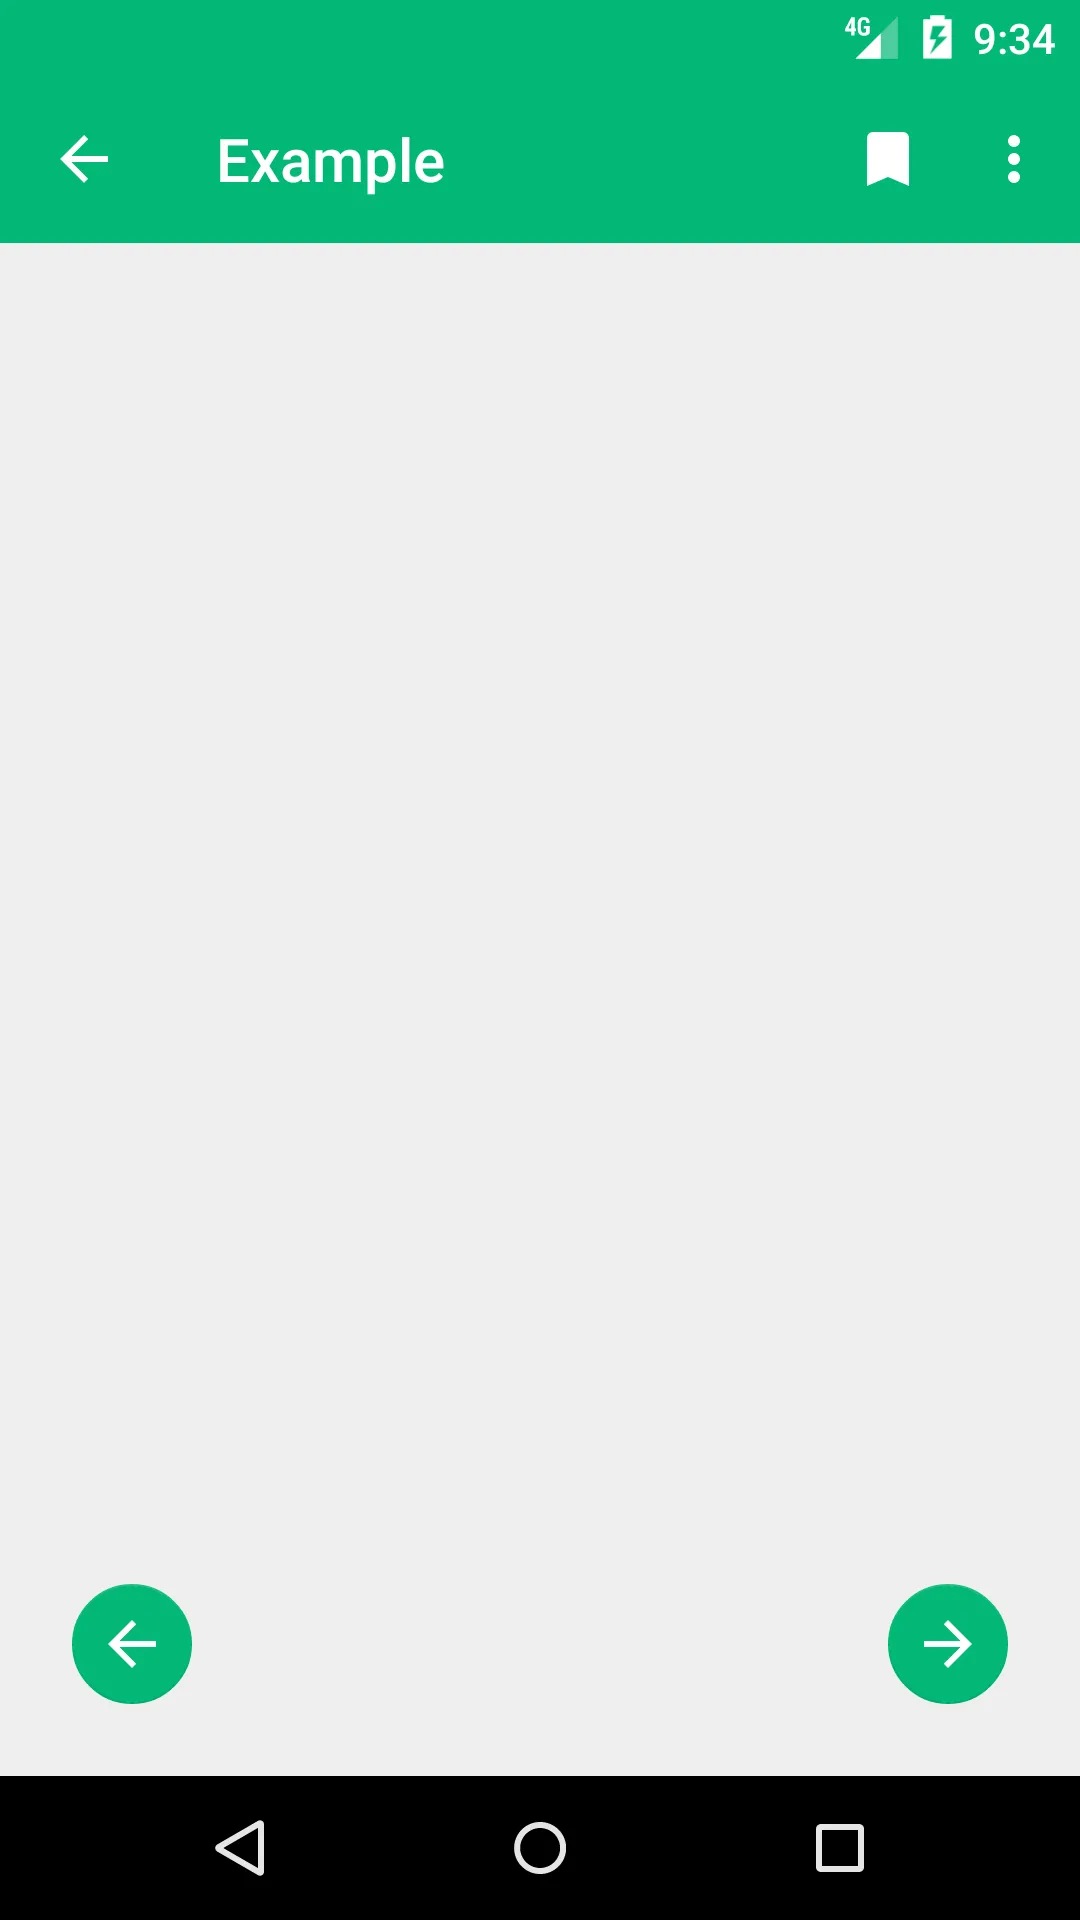
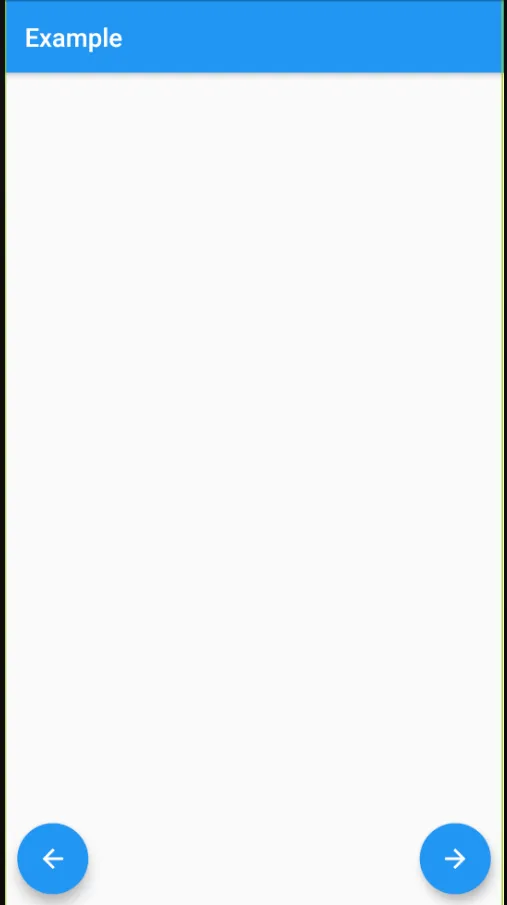
在Flutter中,可以使用Stack Widget将一个视图叠加在另一个视图上。这个功能非常好用。现在我需要在屏幕底部的左右两侧添加两个浮动按钮。我已经添加了一个右侧按钮,但我不知道如何添加左侧的浮动按钮。就像下面的图片一样简单。
任何帮助都将不胜感激
任何帮助都将不胜感激
Align 小部件来定位你的 FloatingActionButton 在 Stack 中。Stack(
children: <Widget>[
Align(
alignment: Alignment.bottomLeft,
child: FloatingActionButton(...),
),
Align(
alignment: Alignment.bottomRight,
child: FloatingActionButton(...),
),
],
)
一个按钮使用常量 Alignment.bottomLeft 作为其 alignment 属性,另一个按钮分别使用 Alignment.bottomRight。
您还可以使用类似此方式,将位置设置为centerDocked,以避免出现奇怪的左对齐情况。
floatingActionButtonLocation: FloatingActionButtonLocation.centerDocked,
floatingActionButton: Padding(
  padding: const EdgeInsets.all(8.0),
  child: Row(
    mainAxisAlignment: MainAxisAlignment.spaceBetween,
    children: <Widget>[
      FloatingActionButton(
        onPressed: () {},
        child: Icon(Icons.navigate_before),
      ),
      FloatingActionButton(
        onPressed: () {},
        child: Icon(Icons.navigate_next),
      )
    ],
  ),
)
别忘了为每个浮动操作按钮设置 "heroTag: null,",否则你会得到一个黑屏!
Stack(
  children: <Widget>[
    Align(
      alignment: Alignment.bottomLeft,
      child: FloatingActionButton(
                heroTag: null,
             ...),
    ),
    Align(
      alignment: Alignment.bottomRight,
      child: FloatingActionButton(
                heroTag: null,
             ...),
    ),
  ],
)
floatingActionButton: Stack(
      children: <Widget>[
        Padding(padding: EdgeInsets.only(left:31),
        child: Align(
          alignment: Alignment.bottomLeft,
          child: FloatingActionButton(
            onPressed: picker,
            child: Icon(Icons.camera_alt),),
        ),),

        Align(
          alignment: Alignment.bottomRight,
          child: FloatingActionButton(
            onPressed: picker2,
          child: Icon(Icons.add_photo_alternate),),
        ),
      ],
    )
  floatingActionButtonLocation: FloatingActionButtonLocation.centerFloat,
  floatingActionButton: Container(
    padding: EdgeInsets.symmetric(vertical: 0, horizontal: 10.0),
    child: Row(
      mainAxisAlignment: MainAxisAlignment.spaceBetween,
      children: <Widget>[
        FloatingActionButton(
          onPressed: _someBackMethod,
          child: Icon(Icons.arrow_back),
        ),
        FloatingActionButton(
          onPressed: _someForwardMethod,
          child: Icon(Icons.arrow_forward),
        ),
      ],
    ),
  ),
Scaffold(
  floatingActionButtonLocation: FloatingActionButtonLocation.centerDocked,
  floatingActionButton: Padding(
    padding: const EdgeInsets.symmetric(horizontal: 10, vertical: 12),
    child: Row(
      children: [
        FloatingActionButton(
          onPressed: () {},
          backgroundColor: Colors.red,
          child: Icon(Icons.remove),
        ),
        Spacer(),
        FloatingActionButton(
          onPressed: () {},
          child: Icon(Icons.add),
        ),
      ],
    ),
  ),
);

只需将行作为浮动操作按钮添加到Scafold中,并设置位置为centerFloat
如EX所示
Scaffold(
      floatingActionButtonLocation: FloatingActionButtonLocation.centerFloat,
      //store btn
      floatingActionButton: Container(
        child: Row(
          children: <Widget>[
            //add left Widget here with padding left
            Spacer(
              flex: 1,
            ),
            //add right Widget here with padding right
          ],
        ),
      ),
    );
简单聪明;)
Stack(
  children: [
    Container(...),
    Positioned(
      right: 15,
      bottom: 15,
      child: FloatingActionButton(
        heroTag: 'edit',
        onPressed: () {},
          child: Icon(Icons.edit),
      ),
      ),
      Positioned(
      left: 15,
      bottom: 15,
      child: FloatingActionButton(
        heroTag: 'delete',
        onPressed: () {},
          child: Icon(Icons.delete),
      ),
    ),
  ],
)
如果出现这种情况,子树内有多个英雄共享相同的标签。
floatingActionButton: Stack(
  children: <Widget>[
   Padding(
    padding: EdgeInsets.only(right: 70),
      child: Align(
        alignment: Alignment.bottomRight,
           child: FloatingActionButton.extended(
                  heroTag: "btn1",
                  // backgroundColor: Color(0XFF0D325E),
                  backgroundColor: Colors.red,
                  // child: Icon(Icons.refresh),
                  label: Text('Clear All Wifi'),
                  onPressed: () {
                    _sendMessage(all: 'Clear Wifi');
                  }),
            ),
          ),
          Align(
            alignment: Alignment.bottomRight,
            child: FloatingActionButton(
                heroTag: "btn2",
                backgroundColor: Color(0XFF0D325E),
                child: Icon(Icons.refresh),
                onPressed: () {
                  _sendMessage(all: 'GETALLWIFI');
                }),
          ),
        ],
      ),
floatingActionButtonLocation: FloatingActionButtonLocation.centerDocked。 - Sergey Geron