我想自定义我的TabBar。
目前我有这个TabBar(默认UI):
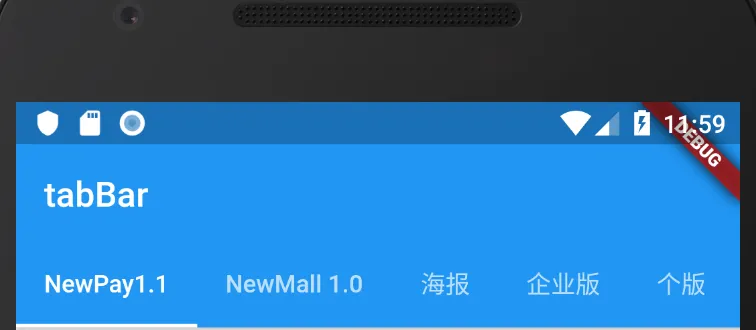
我希望拥有这个UI:
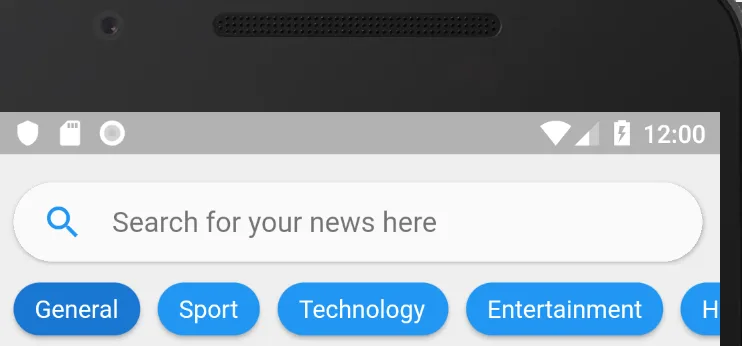
我已经编写了个性化的选项卡,但不知道如何实现它。
这是关于我的HomePage的当前代码:
class HomePage extends StatefulWidget {
  @override
  State<StatefulWidget> createState() {
    return new HomePageState();
  }
}

class HomePageState extends State<HomePage>
    with SingleTickerProviderStateMixin {
  TabController _tabController;

  @override
  void initState() {
    super.initState();
    _tabController =
        TabController(length: 6, vsync: this); // initialise it here
  }

  @override
  Widget build(BuildContext context) {
    return MaterialApp(
      title: 'Flutter Demo',
      theme: ThemeData(
        primarySwatch: Colors.blue,
      ),
      home: Scaffold(
        appBar: AppBar(
          bottom: TabBar(
            controller: _tabController,
            isScrollable: true,
            tabs: [
              Tab(text: "NewPay1.1"),
              Tab(text: "NewMall 1.0"),
              Tab(text: "海报"),
              Tab(text: "企业版"),
              Tab(text: "个版"),
              Tab(text: "poa"),
            ],
          ),
          title: Text('tabBar'),
        ),
        body: TabBarView(
          controller: _tabController,
          children: [
            // these are your pages
            TaskListPage(),
            TestPage(),
          ],
        ),
        bottomNavigationBar: BottomAppBar(
          color: Colors.white,
          shape: CircularNotchedRectangle(),
          child: Row(
            children: <Widget>[
              IconButton(
                onPressed: () => _tabController.animateTo(0),
                icon: Icon(Icons.home),
              ),
              SizedBox(),
              IconButton(
                  onPressed: () => _tabController.animateTo(1),
                  icon: Icon(Icons.more))
            ],
            mainAxisAlignment: MainAxisAlignment.spaceAround,
          ),
        ),
        floatingActionButton: FloatingActionButton(
          onPressed: () {
            return TestPage().createState();
          },
          child: Icon(Icons.add),
        ),
        floatingActionButtonLocation: FloatingActionButtonLocation.centerDocked,
      ),
    );
  }
}
那么我的
CustomTab类:class CustomTab extends StatefulWidget {
final Function(int) tabSelected;
final List<String> items;
const CustomTab({Key key, this.tabSelected, this.items}) : super(key: key);
@override
_CustomTabState createState() => _CustomTabState();
}
class _CustomTabState extends State<CustomTab> {
var categorySelected = 0;
@override
Widget build(BuildContext context) {
return _getListCategory();
}
Widget _getListCategory(){
ListView listCategory = new ListView.builder(
itemCount: widget.items.length,
scrollDirection: Axis.horizontal,
itemBuilder: (context, index){
return _buildCategoryItem(index);
}
);
return new Container(
height: 50.0,
child: listCategory,
color: Colors.grey[200].withAlpha(200),
);
}
Widget _buildCategoryItem(index){
return new InkWell(
onTap: (){
setSelectedItem(index);
print("click");
},
child: new Row(
mainAxisSize: MainAxisSize.min,
crossAxisAlignment: CrossAxisAlignment.center,
children: <Widget>[
new Container(
margin: new EdgeInsets.only(left: 10.0),
child: new Material(
elevation: 2.0,
color: categorySelected == index ? Colors.black : Colors.grey,
borderRadius: const BorderRadius.all(const Radius.circular(25.0)),
child: new Container(
padding: new EdgeInsets.only(left: 12.0,top: 7.0,bottom: 7.0,right: 12.0),
child: new Text(widget.items[index],
style: new TextStyle(
color: categorySelected == index ? Colors.white : Colors.black),
),
),
),
)
],
),
);
}
void setSelectedItem(index) {
if(index != categorySelected) {
widget.tabSelected(index);
setState(() {
categorySelected = index;
});
}
}
}