如何在Swift中剪切UIView的边缘
4
- Yasheed Mohammed
1
使用设计师提供的 PNG 图片作为背景图,比绘制代码或添加自定义视图更快。 - Quang Hà
2个回答
8
我认为最简单的方法是创建两个圆,作为普通的UIView实例,并将它们的中心设置为父视图的左右边缘。
由于您将clipsToBounds设置为true,因此它们会被剪切,只有它们的一半会在屏幕上可见。
public class TestView: UIView {

    private let leftCircle = UIView(frame: .zero)
    private let rightCircle = UIView(frame: .zero)

    public var circleY: CGFloat = 0
    public var circleRadius: CGFloat = 0

    public override init(frame: CGRect) {
        super.init(frame: frame)
        clipsToBounds = true
        addSubview(leftCircle)
        addSubview(rightCircle)
    }

    public override func layoutSubviews() {
        super.layoutSubviews()

        leftCircle.frame = CGRect(x: -circleRadius, y: circleY,
                                  width: circleRadius * 2 , height: circleRadius * 2)
        leftCircle.layer.masksToBounds = true
        leftCircle.layer.cornerRadius = circleRadius

        rightCircle.frame = CGRect(x: bounds.width - circleRadius, y: circleY,
                                   width: circleRadius * 2 , height: circleRadius * 2)
        rightCircle.layer.masksToBounds = true
        rightCircle.layer.cornerRadius = circleRadius
    }
}
我已经创建了一个演示样例项目,涉及IT技术。以下是如何在我的模拟器(iPhone SE 11.2)中查看它的方法:点击这里查看该样例项目。下面是在我的模拟器上的展示效果:
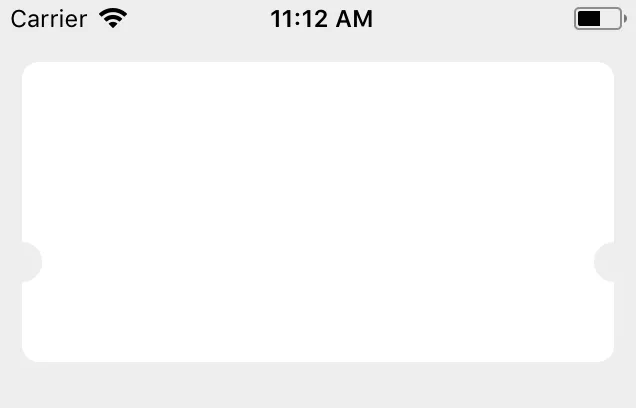
- Ozgur Vatansever
2
在tableViewCell中,这个方法不起作用。圆圈显示出来了,但不在中心。override func layoutSubviews() {
super.layoutSubviews()
passView.circleY = passView.frame.height * 0.5
} - Ashu
这样,我们将无法向视图添加阴影,它会覆盖圆圈并且看起来很奇怪,你有任何解决方案吗? - Emre Akcan
0
我必须用阴影来做这个。我尝试创建一个图层并使用evenOdd填充规则从另一个图层中减去它,但是那样不行,因为我需要一个特定的路径来进行阴影处理,而evenOdd适用于路径内部的填充而非路径本身。
最后,我只好手动创建路径。
我在我的xib中创建了一个“cutoutView”,这样我就可以轻松地跟踪它的形状。
这使得阴影的形状正确,然后为了创建切口本身,我只需使用相同的路径创建一个图层。
最后,我只好手动创建路径。
func setShadowPath() {
  let path = UIBezierPath()
  path.move(to: bounds.origin)
  path.addLine(to: CGPoint(x: cutoutView.frame.minX, y: bounds.minY))
  path.addArc(withCenter: CGPoint(x: cutoutView.frame.midX, y: bounds.minY),
                radius: cutoutView.bounds.width/2, startAngle: .pi, endAngle: 0, clockwise: false)
  path.addLine(to: CGPoint(x: bounds.maxX, y: bounds.minY))
  path.addLine(to: CGPoint(x: bounds.maxX, y: bounds.maxY))
  path.addLine(to: CGPoint(x: bounds.minX, y: bounds.maxY))
  path.close()

  layer.shadowPath = path.cgPath
}
我在我的xib中创建了一个“cutoutView”,这样我就可以轻松地跟踪它的形状。
这使得阴影的形状正确,然后为了创建切口本身,我只需使用相同的路径创建一个图层。
func setupBackground() {
  let backgroundLayer = CAShapeLayer()
  backgroundLayer.path = layer.shadowPath
  backgroundLayer.fillColor = UIColor.white.cgColor
  layer.insertSublayer(backgroundLayer, at: 0)
}
- Cameron Porter
网页内容由stack overflow 提供, 点击上面的可以查看英文原文,
原文链接
原文链接