我的代码在普通设备上运行良好,但在视网膜设备上会生成模糊的图像。
有没有人知道我问题的解决方案?
+ (UIImage *) imageWithView:(UIView *)view
{
UIGraphicsBeginImageContext(view.bounds.size);
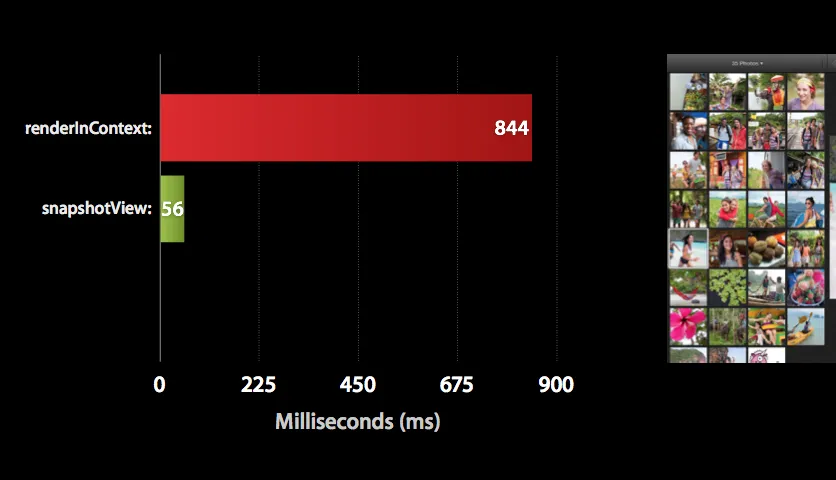
[view.layer renderInContext:UIGraphicsGetCurrentContext()];
UIImage * img = UIGraphicsGetImageFromCurrentImageContext();
UIGraphicsEndImageContext();
return img;
}