我有一张图片,希望在图片的特定区域进行HE或CLAHE处理。我已经有了这张图片的蒙版。是否有可能实现这样的处理?
2个回答
1
要这样做,您需要对掩模内的图像像素强度执行操作。为此,这些强度必须单独存储。
步骤: - 获取掩码中白色(255)像素的位置。 - 从这些位置中的灰度图像中选择强度值(0-255)。 - 对这些强度进行CLAHE或HE操作。结果是一个不同的强度集合。 - 将这些新的强度值放置在收集的位置中。
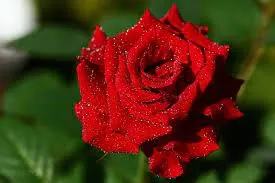
示例: 输入图像:
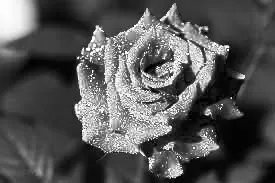
增强图像:
步骤: - 获取掩码中白色(255)像素的位置。 - 从这些位置中的灰度图像中选择强度值(0-255)。 - 对这些强度进行CLAHE或HE操作。结果是一个不同的强度集合。 - 将这些新的强度值放置在收集的位置中。
示例: 输入图像:
代码:
import cv2
import numpy as np
# read sample image, convert to grayscale
img = cv2.imread('flower.jpg')
gray_img = cv2.cvtColor(img, cv2.COLOR_BGR2GRAY)
# read mask image as binary image
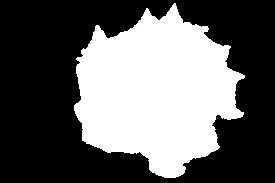
mask = cv2.imread('flower_mask.jpg', 0)
# Step 1: store locations with value 255 (white)
loc = np.where(mask == 255)
# Step 2: Pick intensity values in these locations from the grayscale image:
values = gray[loc]
# Step 3: Histogram equalization on these values:
enhanced_values = cv2.equalizeHist(values)
# Step 4: Store these enhanced values in those locations:
gray2 = gray_img.copy()
for i, coord in enumerate(zip(loc[0], loc[1])):
gray2[coord[0], coord[1]] = enhanced_values[i][0]
cv2.imshow('Enhanced image', gray2)
增强图像:

- Jeru Luke
2
1不错!我从未想过提取像素坐标并处理它们,然后将它们返回到图像中。我本来会制作一个掩模并处理整个图像。然后使用掩模将输入和处理后的图像合并。可惜没有更快的方法将结果放回图像中而不必显式循环。 - fmw42
@fmw42 是的,我尝试寻找更好的方法,但没有找到任何一种。 - Jeru Luke
1
这是实现此目的的代码:
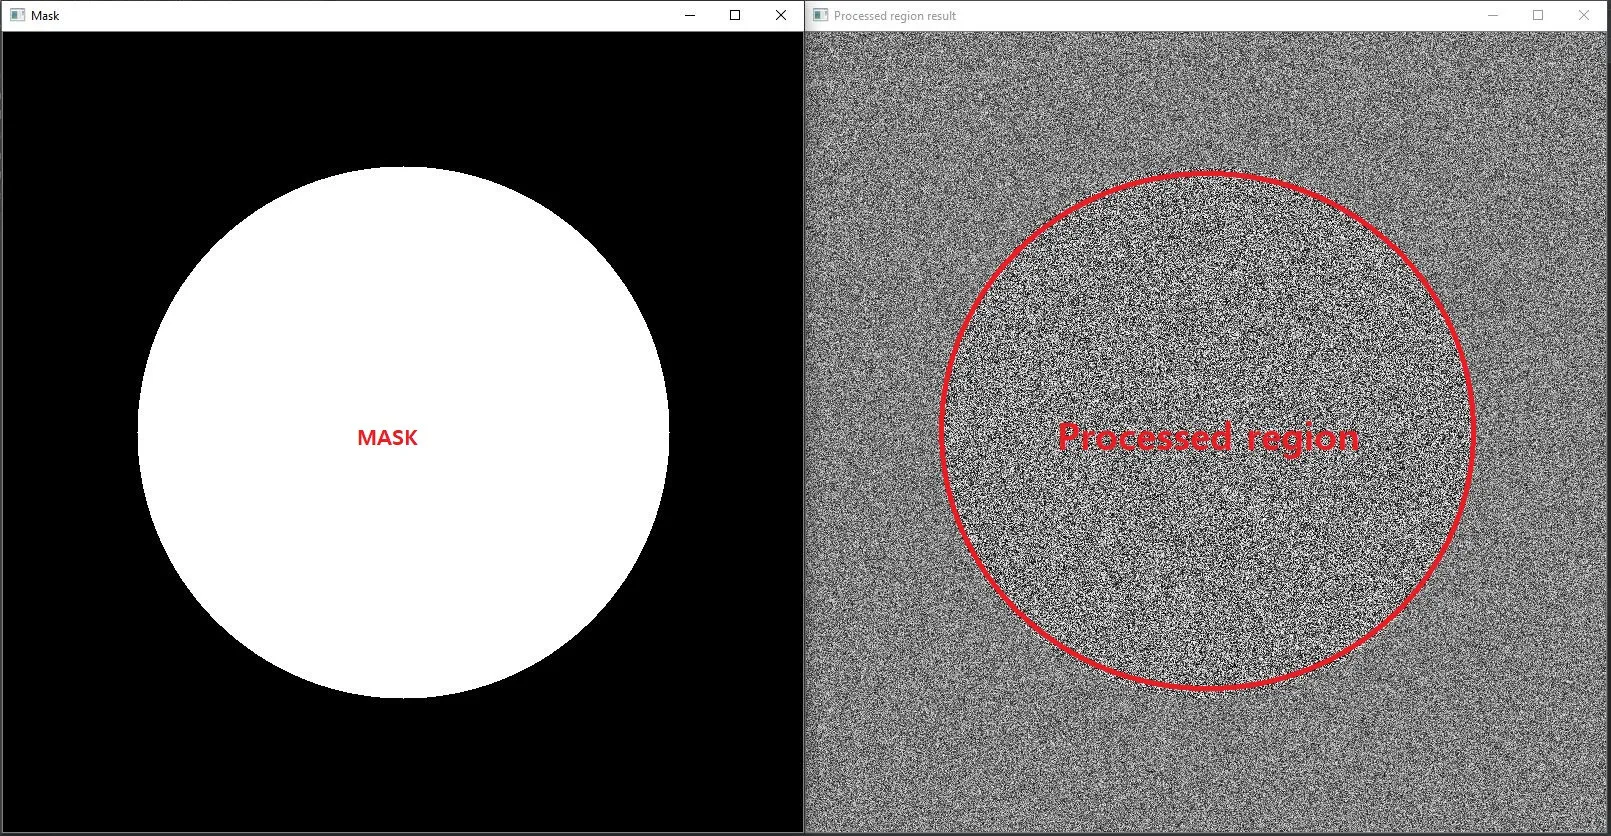
输出:
import cv2 as cv
import numpy as np

# Load your color  image
#src = cv.imread("___YourImagePath__.jpg",
#cv.IMREAD_COLOR)

#Create random color image
src = np.random.randint(255, size=(800,800,3),dtype=np.uint8)
cv.imshow('Random Color Image',src)
cv.waitKey(0)


# conver to gray
gray = cv.cvtColor(src, cv.COLOR_BGR2GRAY)

# process gray image
equalized = cv.equalizeHist(gray)

# create a mask (binary image with same size as source image )
height,width,depth = src.shape
mask = np.zeros((height,width))
cv.circle(mask,( int(width/2),int(height/2)),int(width/3),1,thickness=-1)


# display mask
cv.imshow('Mask',mask)
cv.waitKey(0)

# Copy processed region using the mask
ProcessedRegion = np.where(mask!=0,equalized,gray)

#display result
cv.imshow('Processed region result', ProcessedRegion)
cv.waitKey(0)
输出:
- Ziri
1
我在处理的区域中没有看到任何差异。你能否尝试使用相同掩码的彩色图像? - Jeru Luke
网页内容由stack overflow 提供, 点击上面的可以查看英文原文,
原文链接
原文链接