我正在使用Python编写OCR应用程序来识别数字。我使用OpenCV在图像上查找轮廓、裁剪图像,然后将图像预处理为28x28以适应MNIST数据集。我的图像不是正方形的,因此当我调整图像大小时,似乎会失去很多质量。有什么技巧或建议可以尝试吗?
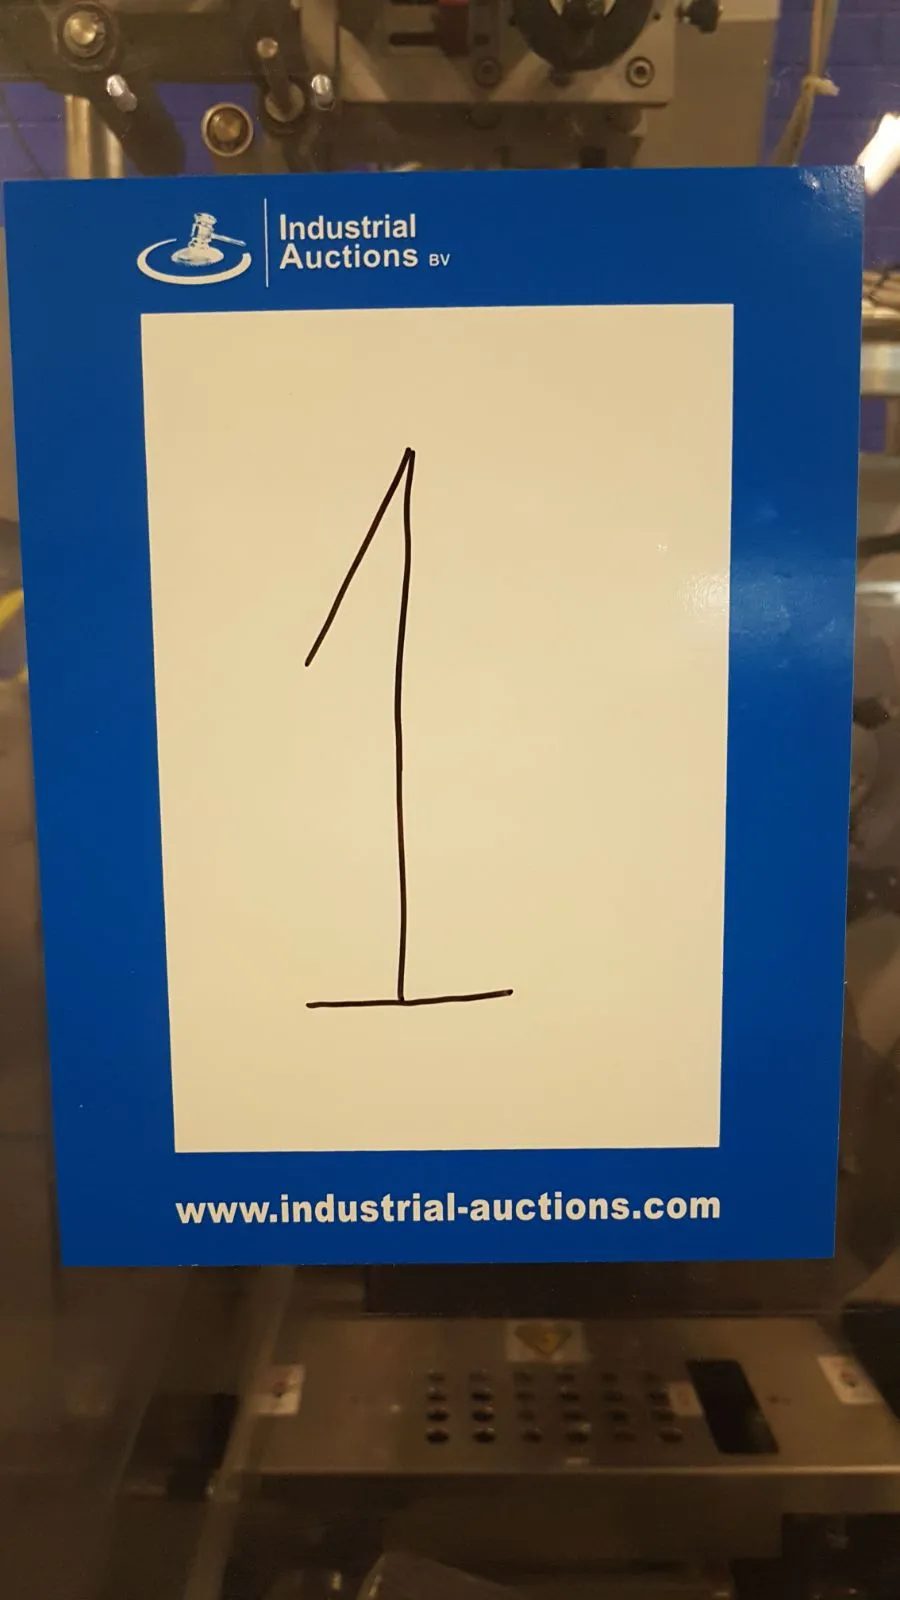
这是原始图像
这是编辑后的图像
这是应该有的质量
我已经尝试了一些来自http://opencv-python-tutroals.readthedocs.io/en/latest/py_tutorials/py_imgproc/py_morphological_ops/py_morphological_ops.html的技巧,如膨胀和开运算。但它并没有让它更好,只是让它变得模糊...
这是我正在使用的代码(查找轮廓,裁剪它,调整大小,然后进行阈值处理,最后将其居中)。
这是我正在使用的代码(查找轮廓,裁剪它,调整大小,然后进行阈值处理,最后将其居中)。
import numpy as np
import cv2
import imutils
import scipy
from imutils.perspective import four_point_transform
from scipy import ndimage

images = np.zeros((4, 784))
correct_vals = np.zeros((4, 10))

i = 0


def getBestShift(img):
    cy, cx = ndimage.measurements.center_of_mass(img)

    rows, cols = img.shape
    shiftx = np.round(cols / 2.0 - cx).astype(int)
    shifty = np.round(rows / 2.0 - cy).astype(int)

    return shiftx, shifty


def shift(img, sx, sy):
    rows, cols = img.shape
    M = np.float32([[1, 0, sx], [0, 1, sy]])
    shifted = cv2.warpAffine(img, M, (cols, rows))
    return shifted


for no in [1, 3, 4, 5]:
    image = cv2.imread("images/" + str(no) + ".jpg")
    gray = cv2.cvtColor(image, cv2.COLOR_BGR2GRAY)
    blurred = cv2.GaussianBlur(gray, (5, 5), 0)
    edged = cv2.Canny(blurred, 50, 200, 255)

    cnts = cv2.findContours(edged.copy(), cv2.RETR_EXTERNAL,
                            cv2.CHAIN_APPROX_SIMPLE)
    cnts = cnts[0] if imutils.is_cv2() else cnts[1]
    cnts = sorted(cnts, key=cv2.contourArea, reverse=True)
    displayCnt = None

    for c in cnts:
        # approximate the contour
        peri = cv2.arcLength(c, True)
        approx = cv2.approxPolyDP(c, 0.02 * peri, True)

        # if the contour has four vertices, then we have found
        # the thermostat display
        if len(approx) == 4:
            displayCnt = approx
            break

    warped = four_point_transform(gray, displayCnt.reshape(4, 2))
    gray = cv2.resize(255 - warped, (28, 28))
    (thresh, gray) = cv2.threshold(gray, 128, 255, cv2.THRESH_BINARY |     cv2.THRESH_OTSU)


    while np.sum(gray[0]) == 0:
        gray = gray[1:]

    while np.sum(gray[:, 0]) == 0:
        gray = np.delete(gray, 0, 1)

    while np.sum(gray[-1]) == 0:
        gray = gray[:-1]

    while np.sum(gray[:, -1]) == 0:
        gray = np.delete(gray, -1, 1)

    rows, cols = gray.shape

    if rows > cols:
        factor = 20.0 / rows
        rows = 20
        cols = int(round(cols * factor))
        gray = cv2.resize(gray, (cols, rows))

    else:
        factor = 20.0 / cols
        cols = 20
        rows = int(round(rows * factor))
        gray = cv2.resize(gray, (cols, rows))

    colsPadding = (int(np.math.ceil((28 - cols) / 2.0)), int(np.math.floor((28 - cols) / 2.0)))
    rowsPadding = (int(np.math.ceil((28 - rows) / 2.0)), int(np.math.floor((28 - rows) / 2.0)))
    gray = np.lib.pad(gray, (rowsPadding, colsPadding), 'constant')

    shiftx, shifty = getBestShift(gray)
    shifted = shift(gray, shiftx, shifty)
    gray = shifted

    cv2.imwrite("processed/" + str(no) + ".png", gray)
    cv2.imshow("imgs", gray)
    cv2.waitKey(0)
