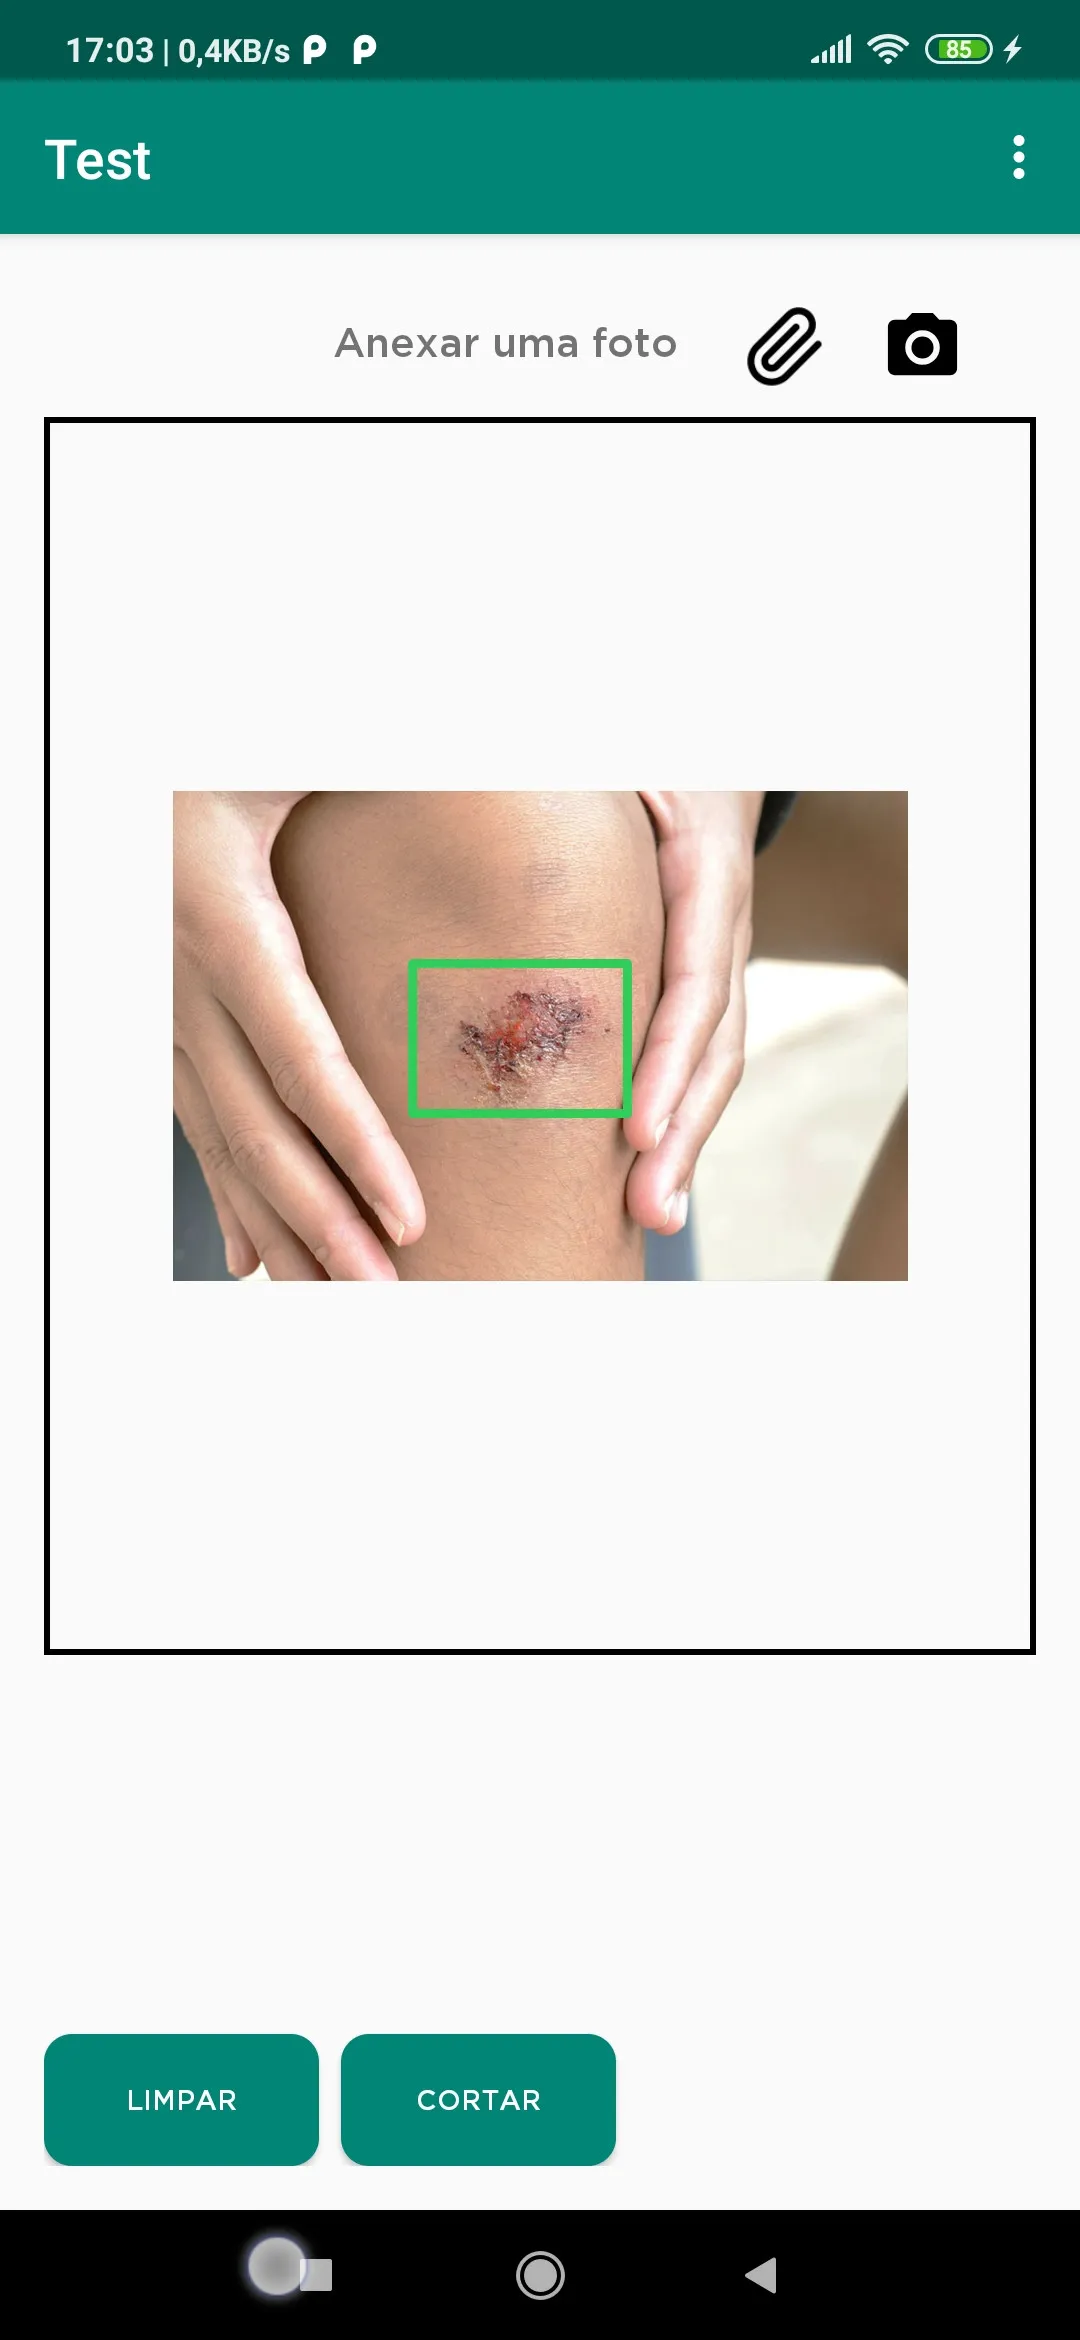
我正在开发一个检测病变区域的应用程序,为此我使用grabcut来检测ROI并从图像中删除背景。然而在某些图像中它无法很好地工作。它最终无法很好地识别感兴趣区域的边界。对于这种类型的工作,watershed可以更好地识别边缘,但是我在从grabcut到watershed的过渡中遇到了困难。在处理grabcut之前,用户使用touchevent在感兴趣的图像周围标记一个矩形(伤口区域),以便算法更容易地进行工作。如下图所示。
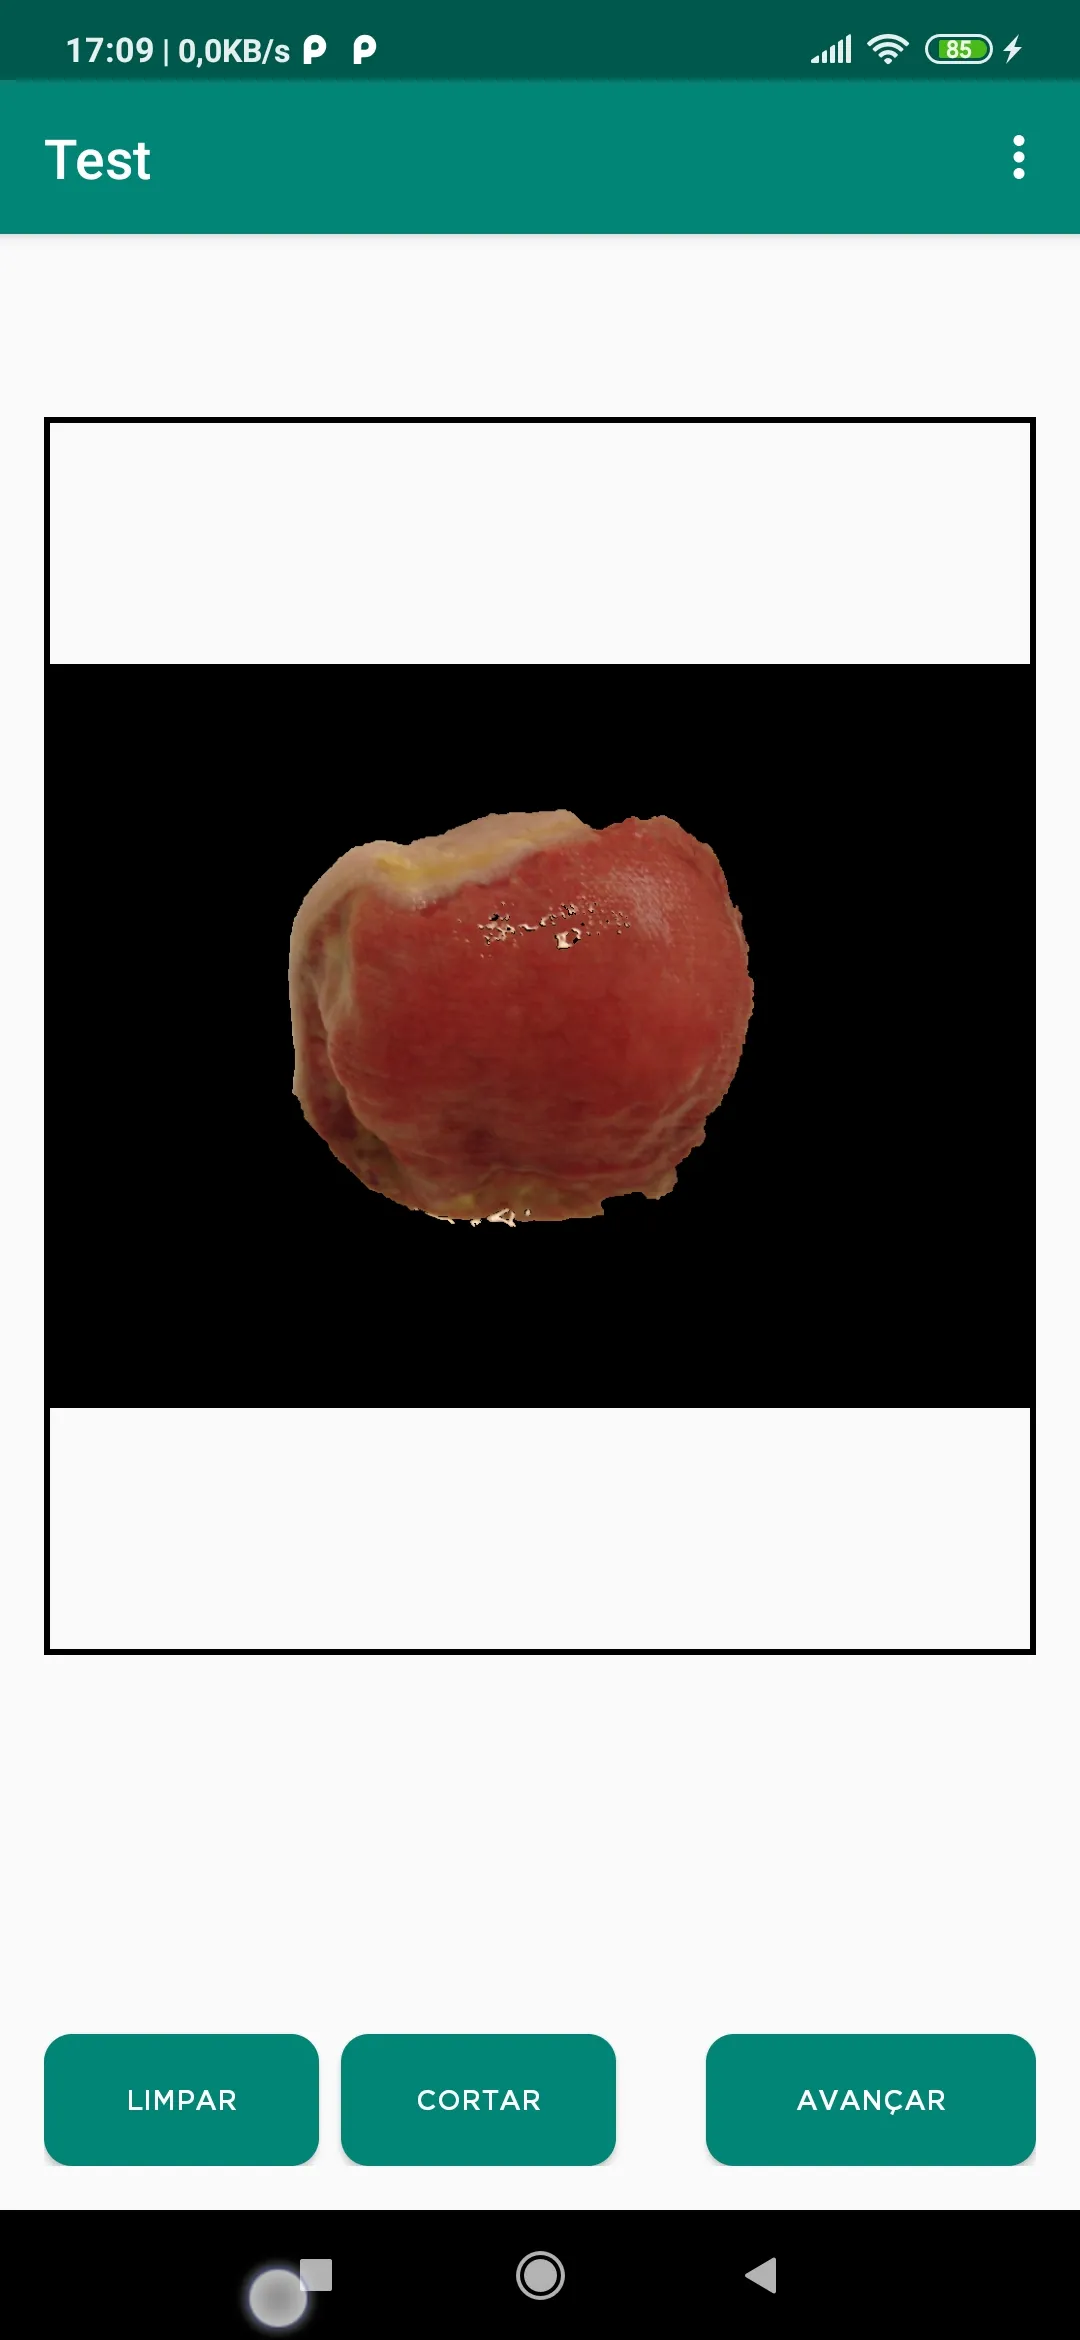
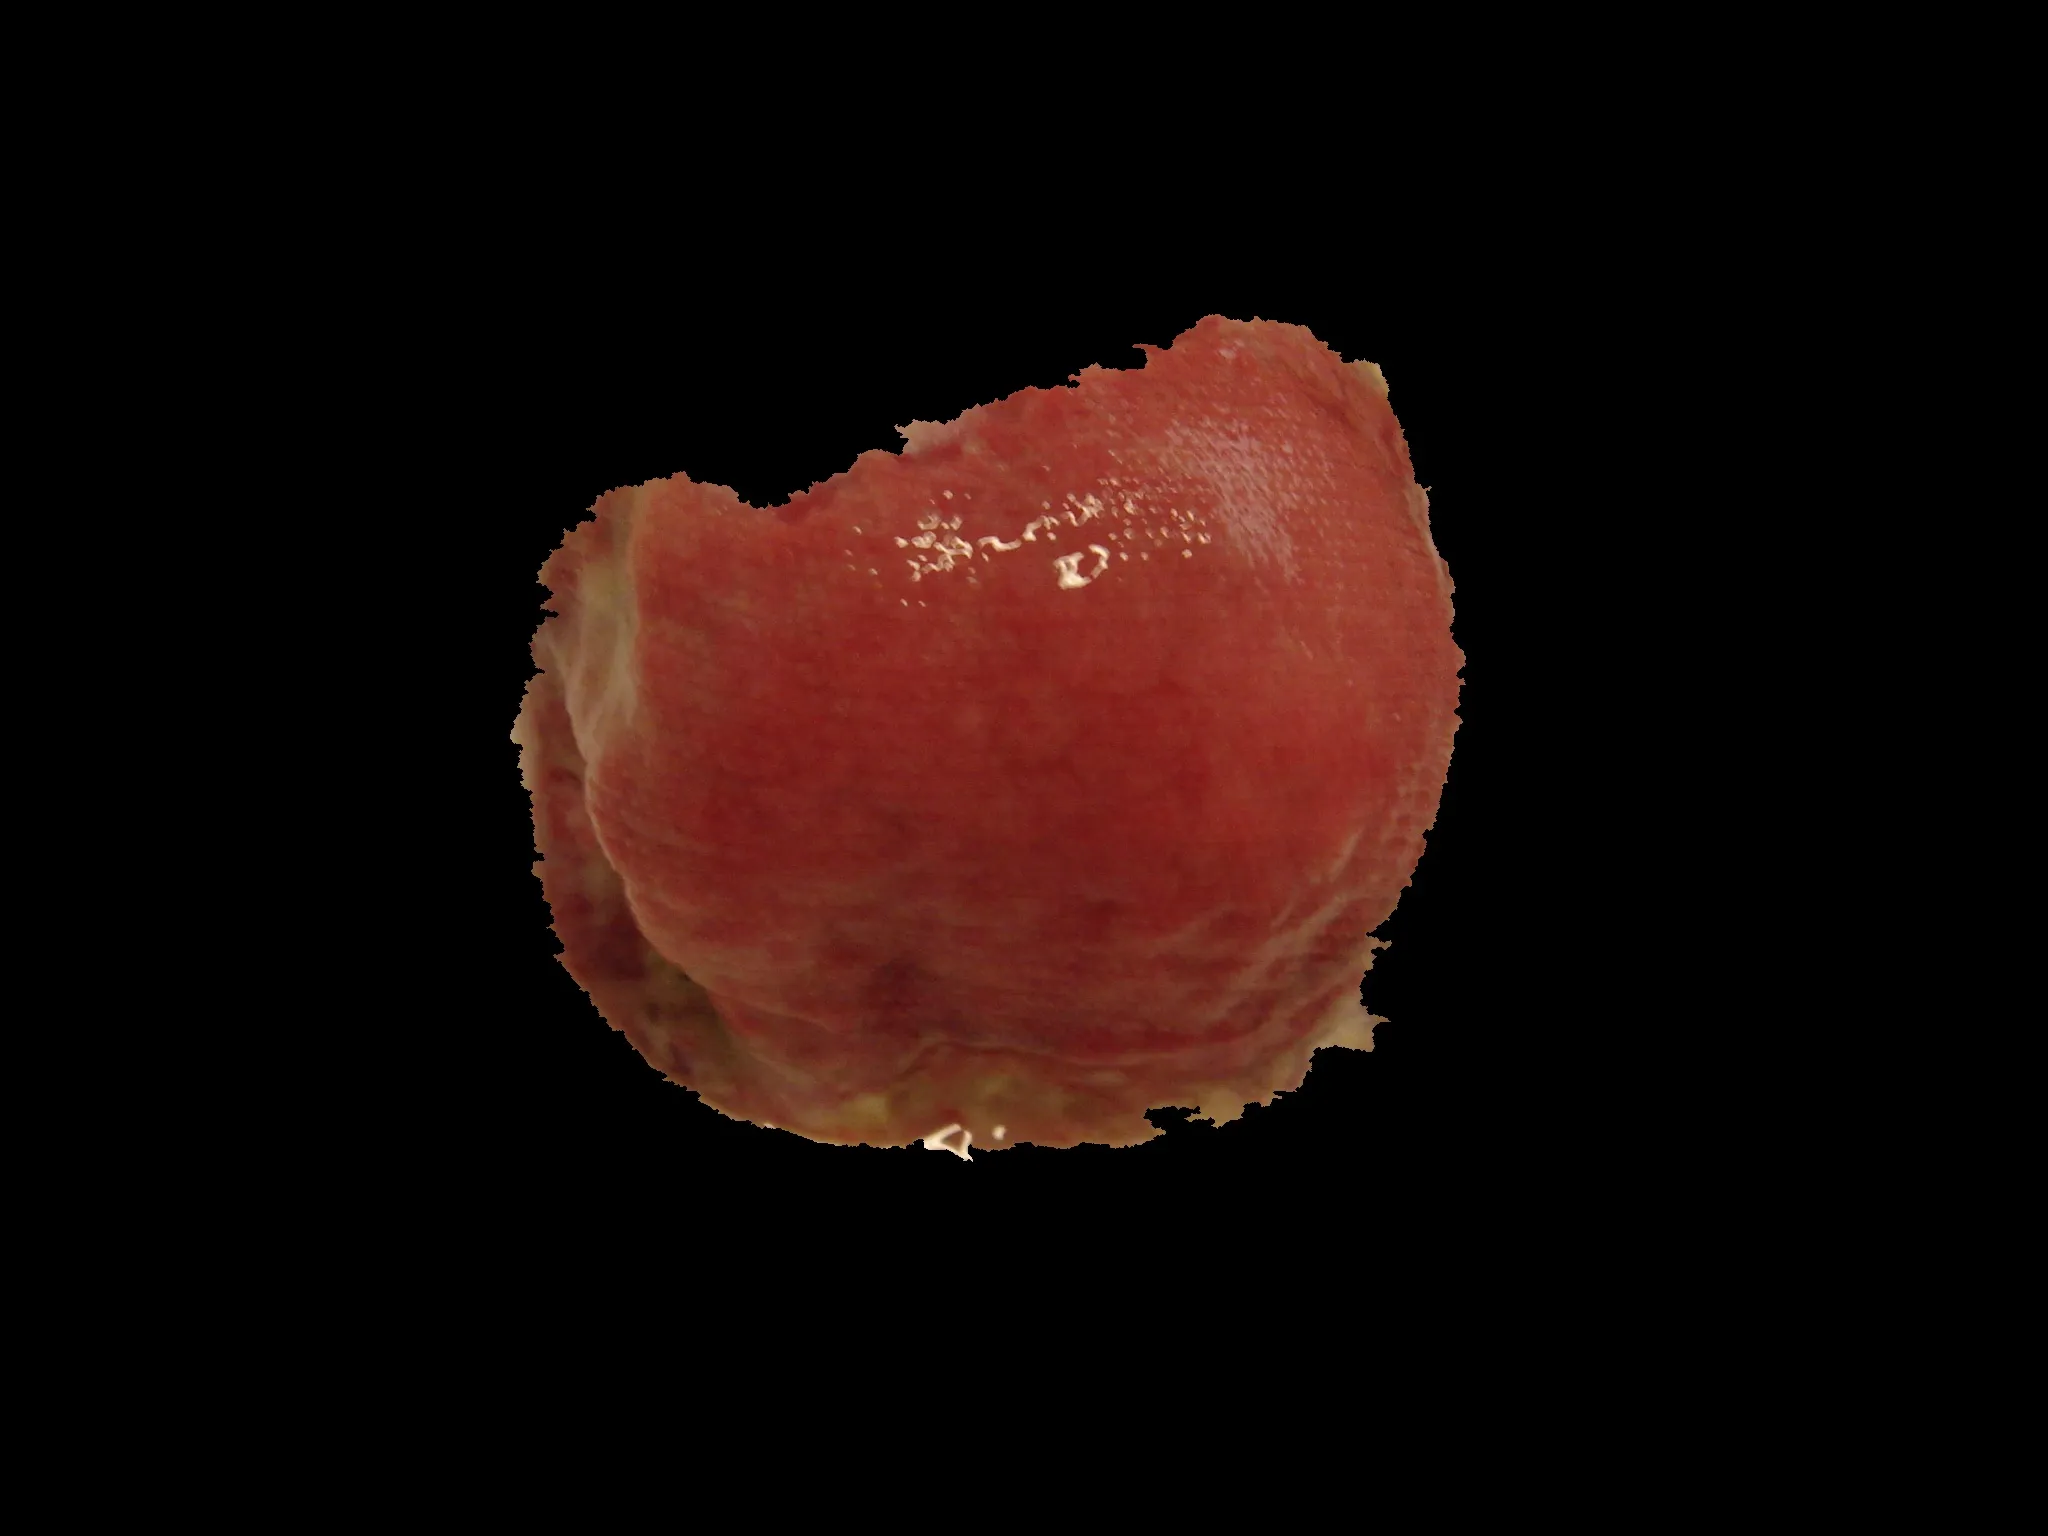
然而,在使用其他伤口图像时,分割效果不佳,ROI检测存在缺陷。
应用程序中使用grabcut的图像
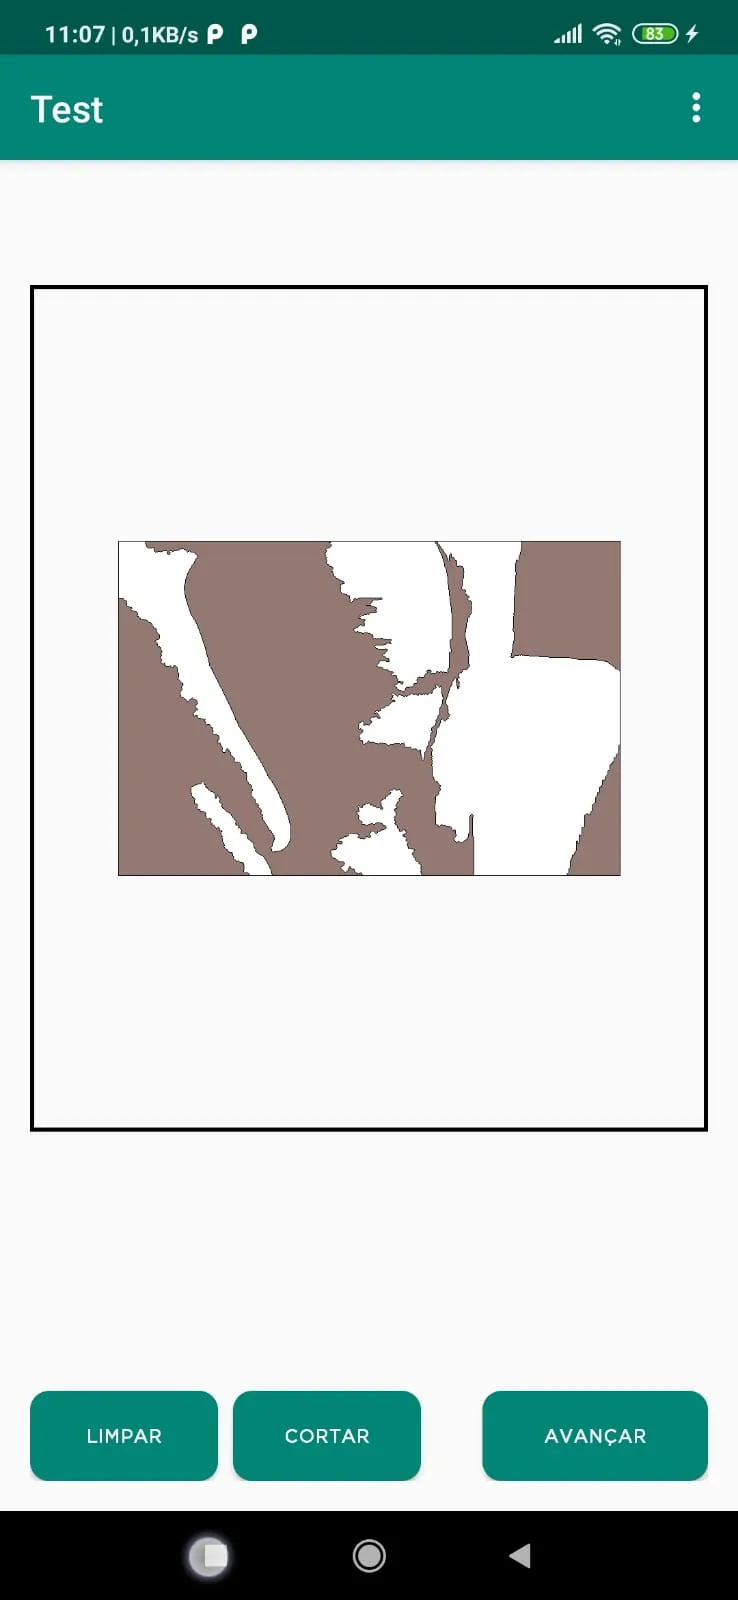
桌面上使用watershed的图像
这是代码:
private fun extractForegroundFromBackground(coordinates: Coordinates, currentPhotoPath: String): String {
    // TODO: Provide complex object that has both path and extension

    val width = bitmap?.getWidth()!!
    val height = bitmap?.getHeight()!!
    val rgba = Mat()
    val gray_mat = Mat()
    val threeChannel = Mat()
    Utils.bitmapToMat(bitmap, gray_mat)
    cvtColor(gray_mat, rgba, COLOR_RGBA2RGB)
    cvtColor(rgba, threeChannel, COLOR_RGB2GRAY)
    threshold(threeChannel, threeChannel, 100.0, 255.0, THRESH_OTSU)

    val rect = Rect(coordinates.first, coordinates.second)
    val fg = Mat(rect.size(), CvType.CV_8U)
    erode(threeChannel, fg, Mat(), Point(-1.0, -1.0), 10)
    val bg = Mat(rect.size(), CvType.CV_8U)
    dilate(threeChannel, bg, Mat(), Point(-1.0, -1.0), 5)
    threshold(bg, bg, 1.0, 128.0, THRESH_BINARY_INV)
    val markers = Mat(rgba.size(), CvType.CV_8U, Scalar(0.0))
    Core.add(fg, bg, markers)

    val marker_tempo = Mat()
    markers.convertTo(marker_tempo, CvType.CV_32S)

    watershed(rgba, marker_tempo)
    marker_tempo.convertTo(markers, CvType.CV_8U)

    val imgBmpExit = Bitmap.createBitmap(width, height, Bitmap.Config.RGB_565)
    Utils.matToBitmap(markers, imgBmpExit)

    image.setImageBitmap(imgBmpExit)


    // Run the grab cut algorithm with a rectangle (for subsequent iterations with touch-up strokes,
    // flag should be Imgproc.GC_INIT_WITH_MASK)
    //Imgproc.grabCut(srcImage, firstMask, rect, bg, fg, iterations, Imgproc.GC_INIT_WITH_RECT)

    // Create a matrix of 0s and 1s, indicating whether individual pixels are equal
    // or different between "firstMask" and "source" objects
    // Result is stored back to "firstMask"
    //Core.compare(mark, source, mark, Core.CMP_EQ)

    // Create a matrix to represent the foreground, filled with white color
    val foreground = Mat(srcImage.size(), CvType.CV_8UC3, Scalar(255.0, 255.0, 255.0))

    // Copy the foreground matrix to the first mask
    srcImage.copyTo(foreground, mark)

    // Create a red color
    val color = Scalar(255.0, 0.0, 0.0, 255.0)
    // Draw a rectangle using the coordinates of the bounding box that surrounds the foreground
    rectangle(srcImage, coordinates.first, coordinates.second, color)

    // Create a new matrix to represent the background, filled with black color
    val background = Mat(srcImage.size(), CvType.CV_8UC3, Scalar(0.0, 0.0, 0.0))

    val mask = Mat(foreground.size(), CvType.CV_8UC1, Scalar(255.0, 255.0, 255.0))
    // Convert the foreground's color space from BGR to gray scale
    cvtColor(foreground, mask, Imgproc.COLOR_BGR2GRAY)

    // Separate out regions of the mask by comparing the pixel intensity with respect to a threshold value
    threshold(mask, mask, 254.0, 255.0, Imgproc.THRESH_BINARY_INV)

    // Create a matrix to hold the final image
    val dst = Mat()
    // copy the background matrix onto the matrix that represents the final result
    background.copyTo(dst)

    val vals = Mat(1, 1, CvType.CV_8UC3, Scalar(0.0))
    // Replace all 0 values in the background matrix given the foreground mask
    background.setTo(vals, mask)

    // Add the sum of the background and foreground matrices by applying the mask
    Core.add(background, foreground, dst, mask)

    // Save the final image to storage
    Imgcodecs.imwrite(currentPhotoPath + "_tmp.png", dst)

    // Clean up used resources
    firstMask.release()
    source.release()
    //bg.release()
    //fg.release()
    vals.release()
    dst.release()

    return currentPhotoPath
}
退出:
如何更新代码以使用Watershed算法替代GrabCut?
<img src="https://i.stack.imgur.com/nmzwj.png" width="210" height="150">- karlphillip