过去几周,我一直在开发一个简单的概念验证应用程序,其中一个 3D 模型被投影到特定的增强现实标记(在我的情况下,我使用 Aruco 标记)中,在 IOS 中使用 Swift 和 Objective-C。
我校准了 iPad 相机的特定固定镜头位置,并用它来估计 AR 标记的姿态(从我的调试分析中看来相当准确)。问题似乎出现在我尝试使用 SceneKit 场景在标记上投影模型时(惊喜吧)。
我知道 opencv 和 SceneKit 中轴是不同的(Y 和 Z),并已经进行了纠正,以及这两个库之间的行顺序/列顺序差异。
在构建投影矩阵后,我将相同的变换应用于 3D 模型,从我的调试分析中看来,对象似乎被转换到所需的位置并具有所需的旋转。问题在于它从未重叠到标记的特定图像像素位置上。我使用 AVCapturePreviewVideoLayer 将视频放在与我的 SceneKit 视图相同的边界中。
是否有人知道为什么会这样?我尝试调整摄像机的视场角,但结果没有真正影响。
感谢您花时间阅读。
编辑1: 我将在此处发布一些代码以揭示我目前在做什么。
我在主视图中有两个子视图,一个是背景AVCaptureVideoPreviewLayer,另一个是SceneKitView。两者的边界与主视图相同。
在每个帧上,我使用opencv包装器输出每个标记的姿态:
    std::vector<int> ids;
    std::vector<std::vector<cv::Point2f>> corners, rejected;

    cv::aruco::detectMarkers(frame, _dictionary, corners, ids, _detectorParams, rejected);
    if (ids.size() > 0 ){
    cv::aruco::drawDetectedMarkers(frame, corners, ids);
    cv::Mat rvecs, tvecs;
    cv::aruco::estimatePoseSingleMarkers(corners, 2.6, _intrinsicMatrix, _distCoeffs, rvecs, tvecs);

    // Let's protect ourselves agains multiple markers
    if (rvecs.total() > 1)
        return;
    _markerFound = true;

    cv::Rodrigues(rvecs, _currentR);

    _currentT = tvecs;

    for (int row = 0; row < _currentR.rows; row++){
        for (int col = 0; col < _currentR.cols; col++){
            _currentExtrinsics.at<double>(row, col) = _currentR.at<double>(row, col);
        }
        _currentExtrinsics.at<double>(row, 3) = _currentT.at<double>(row);
    }
    _currentExtrinsics.at<double>(3,3) = 1;
    std::cout << tvecs << std::endl;

    // Convert coordinate systems of opencv to openGL (SceneKit)
    // Note that in openCV z goes away the camera (in openGL goes into the camera)
    // and y points down and on openGL point up
    // Another note: openCV has a column order matrix representation, while SceneKit
    // has a row order matrix, but we'll take care of it later.
    cv::Mat cvToGl = cv::Mat::zeros(4, 4, CV_64F);
    cvToGl.at<double>(0,0) = 1.0f;
    cvToGl.at<double>(1,1) = -1.0f; // invert the y axis
    cvToGl.at<double>(2,2) = -1.0f; // invert the z axis
    cvToGl.at<double>(3,3) = 1.0f;
    _currentExtrinsics = cvToGl * _currentExtrinsics;
    cv::aruco::drawAxis(frame, _intrinsicMatrix, _distCoeffs, rvecs, tvecs, 5);
然后在每个帧中,我将OpenCV矩阵转换为SCN4Matrix:
- (SCNMatrix4) transformToSceneKit:(cv::Mat&) openCVTransformation{
SCNMatrix4 mat = SCNMatrix4Identity;
// Transpose
openCVTransformation = openCVTransformation.t();

// copy the rotationRows
mat.m11 = (float) openCVTransformation.at<double>(0, 0);
mat.m12 = (float) openCVTransformation.at<double>(0, 1);
mat.m13 = (float) openCVTransformation.at<double>(0, 2);
mat.m14 = (float) openCVTransformation.at<double>(0, 3);

mat.m21 = (float)openCVTransformation.at<double>(1, 0);
mat.m22 = (float)openCVTransformation.at<double>(1, 1);
mat.m23 = (float)openCVTransformation.at<double>(1, 2);
mat.m24 = (float)openCVTransformation.at<double>(1, 3);

mat.m31 = (float)openCVTransformation.at<double>(2, 0);
mat.m32 = (float)openCVTransformation.at<double>(2, 1);
mat.m33 = (float)openCVTransformation.at<double>(2, 2);
mat.m34 = (float)openCVTransformation.at<double>(2, 3);

//copy the translation row
mat.m41 = (float)openCVTransformation.at<double>(3, 0);
mat.m42 = (float)openCVTransformation.at<double>(3, 1)+2.5;
mat.m43 = (float)openCVTransformation.at<double>(3, 2);
mat.m44 = (float)openCVTransformation.at<double>(3, 3);

return mat;
}
在找到 AR 标记的每个帧中,我会向场景中添加一个盒子,并将转换应用于对象节点:SCNBox *box = [SCNBox boxWithWidth:5.0 height:5.0 length:5.0 chamferRadius:0.0];
_boxNode = [SCNNode nodeWithGeometry:box];
if (found){
[self.delegate returnExtrinsicsMat:extrinsicMatrixOfTheMarker];
Mat R, T;
[self.delegate returnRotationMat:R];
[self.delegate returnTranslationMat:T];
SCNMatrix4 Transformation;
Transformation = [self transformToSceneKit:extrinsicMatrixOfTheMarker];
//_cameraNode.transform = SCNMatrix4Invert(Transformation);
[_sceneKitScene.rootNode addChildNode:_cameraNode];
//_cameraNode.camera.projectionTransform = SCNMatrix4Identity;
//_cameraNode.camera.zNear = 0.0;
_sceneKitView.pointOfView = _cameraNode;
_boxNode.transform = Transformation;
[_sceneKitScene.rootNode addChildNode:_boxNode];
//_boxNode.position = SCNVector3Make(Transformation.m41, Transformation.m42, Transformation.m43);
std::cout << (_boxNode.position.x) << " " << (_boxNode.position.y) << " " << (_boxNode.position.z) << std::endl << std::endl;
}
例如,如果翻译向量为(-1, 5, 20),则对象在场景中的位置为(-1, -5, -20),并且旋转也是正确的。问题是它从未出现在背景图像的正确位置。我将添加一些图片来展示结果。
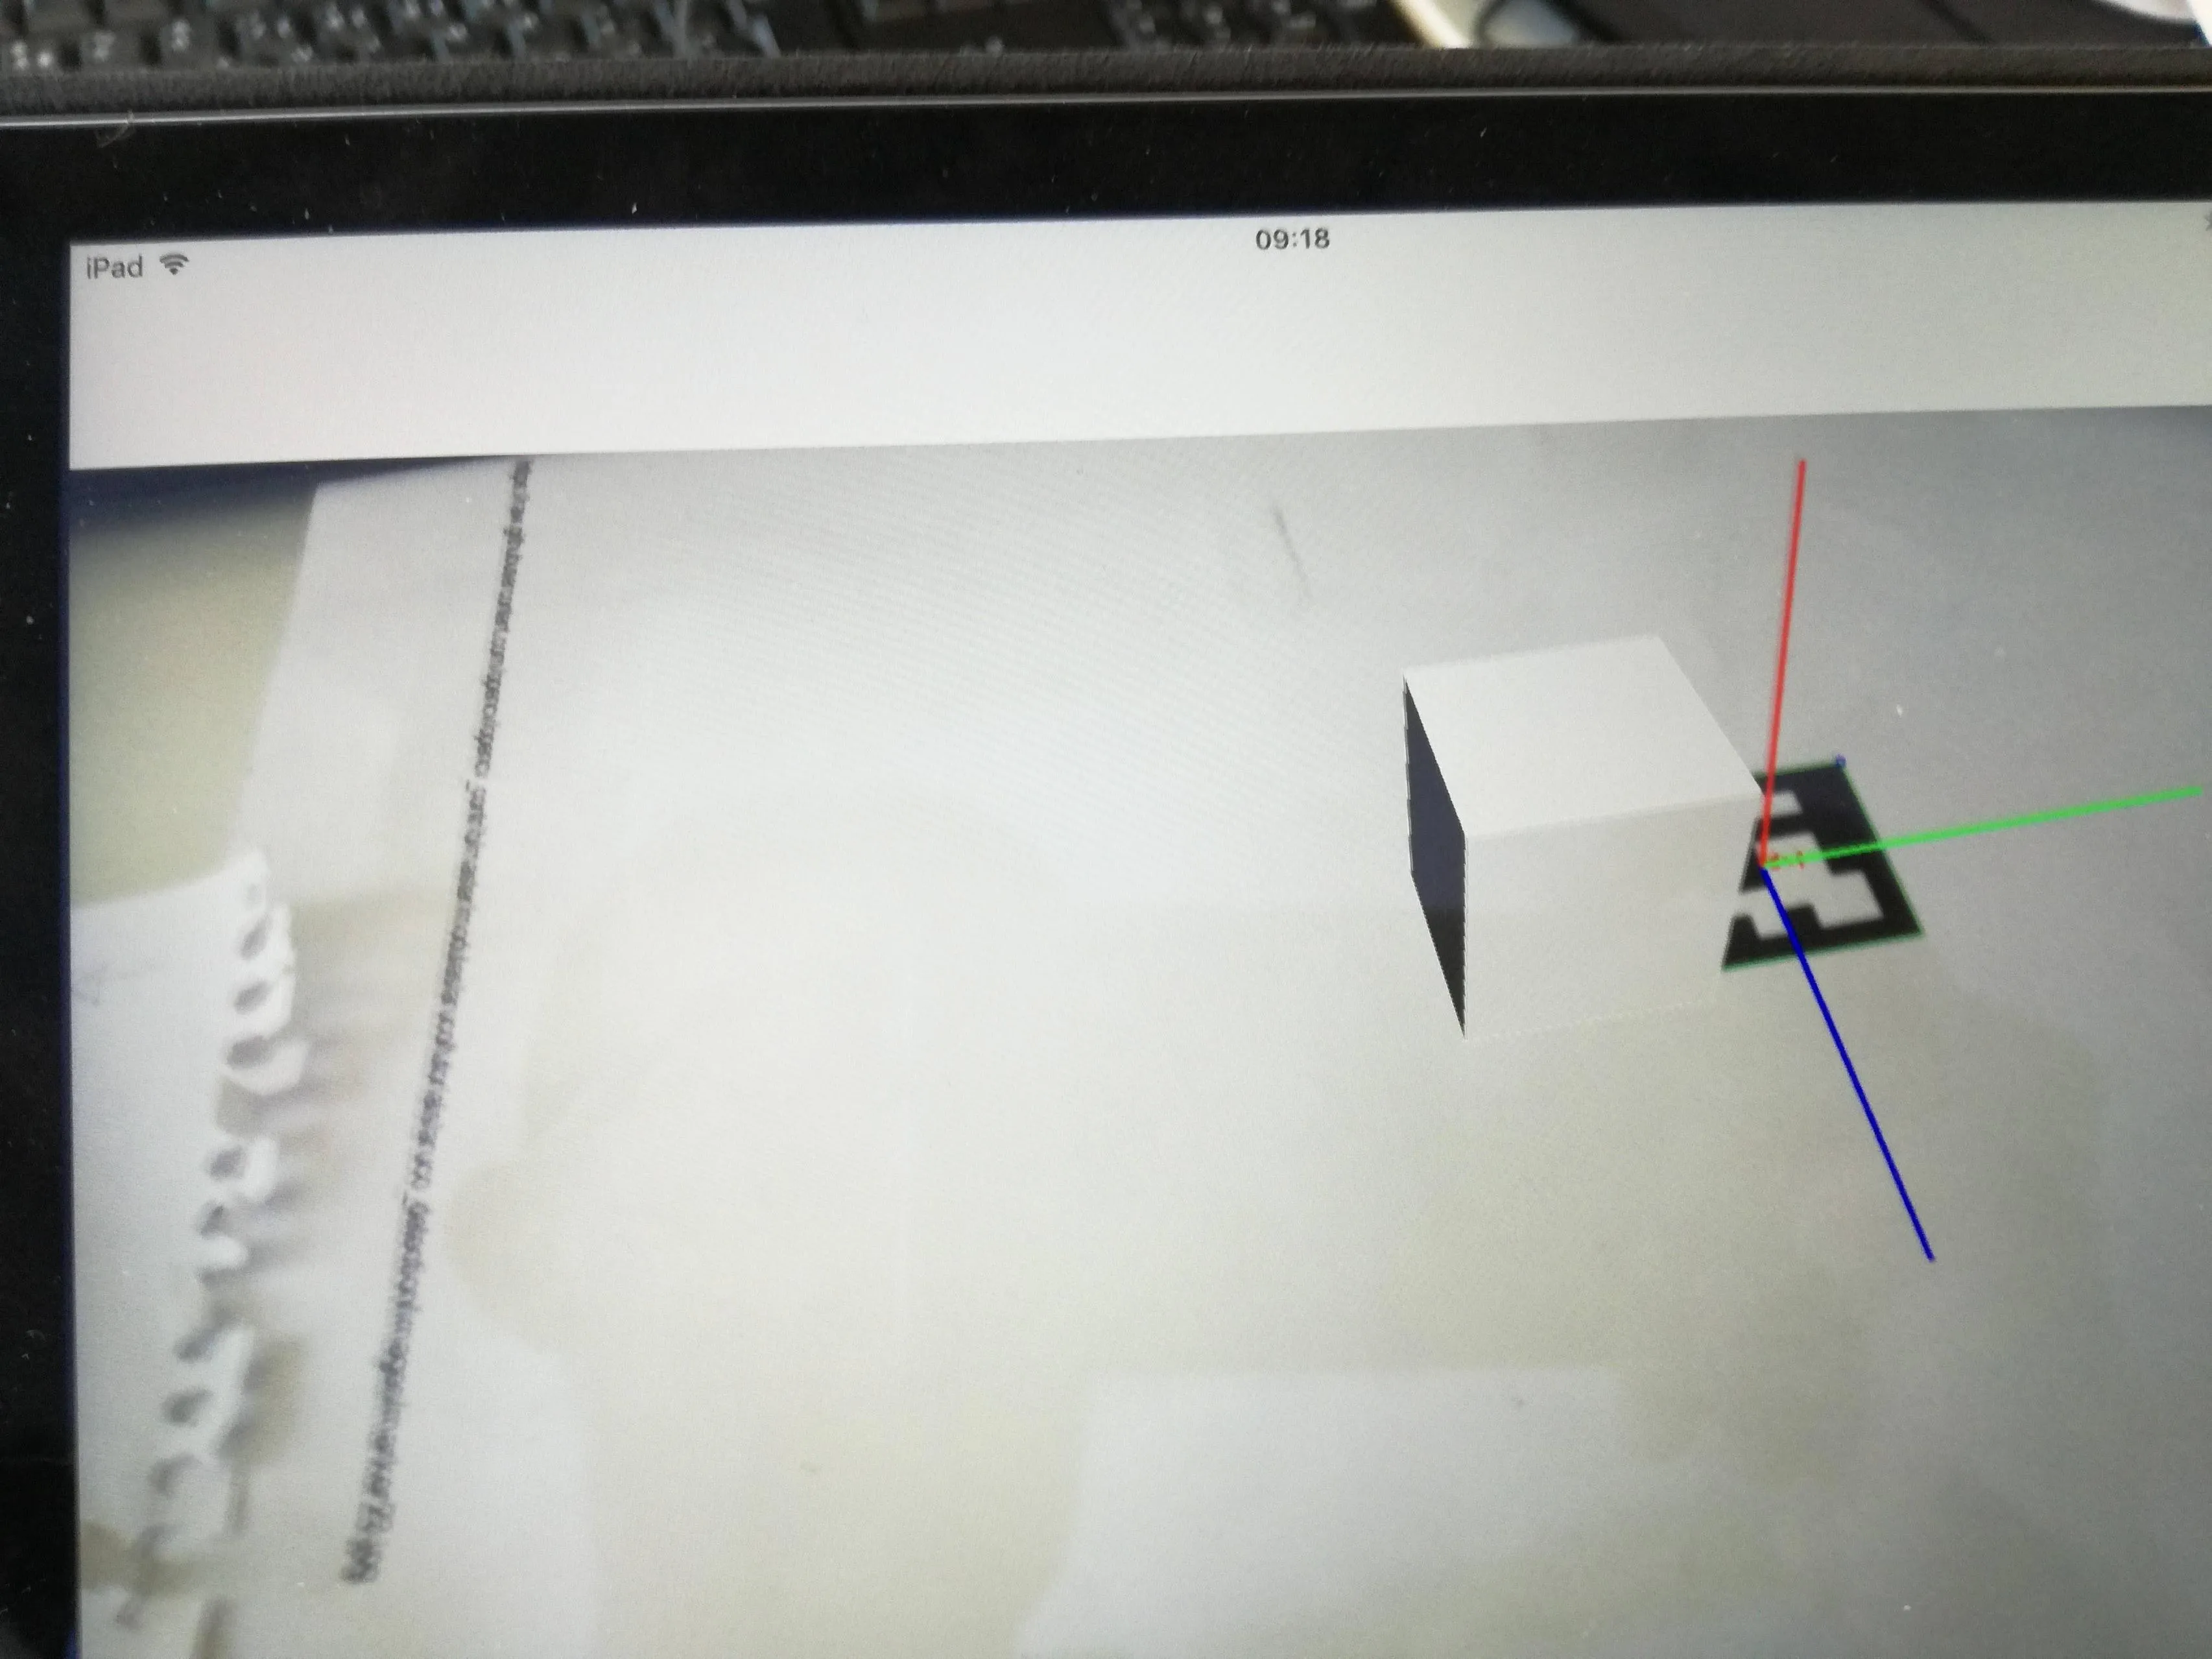
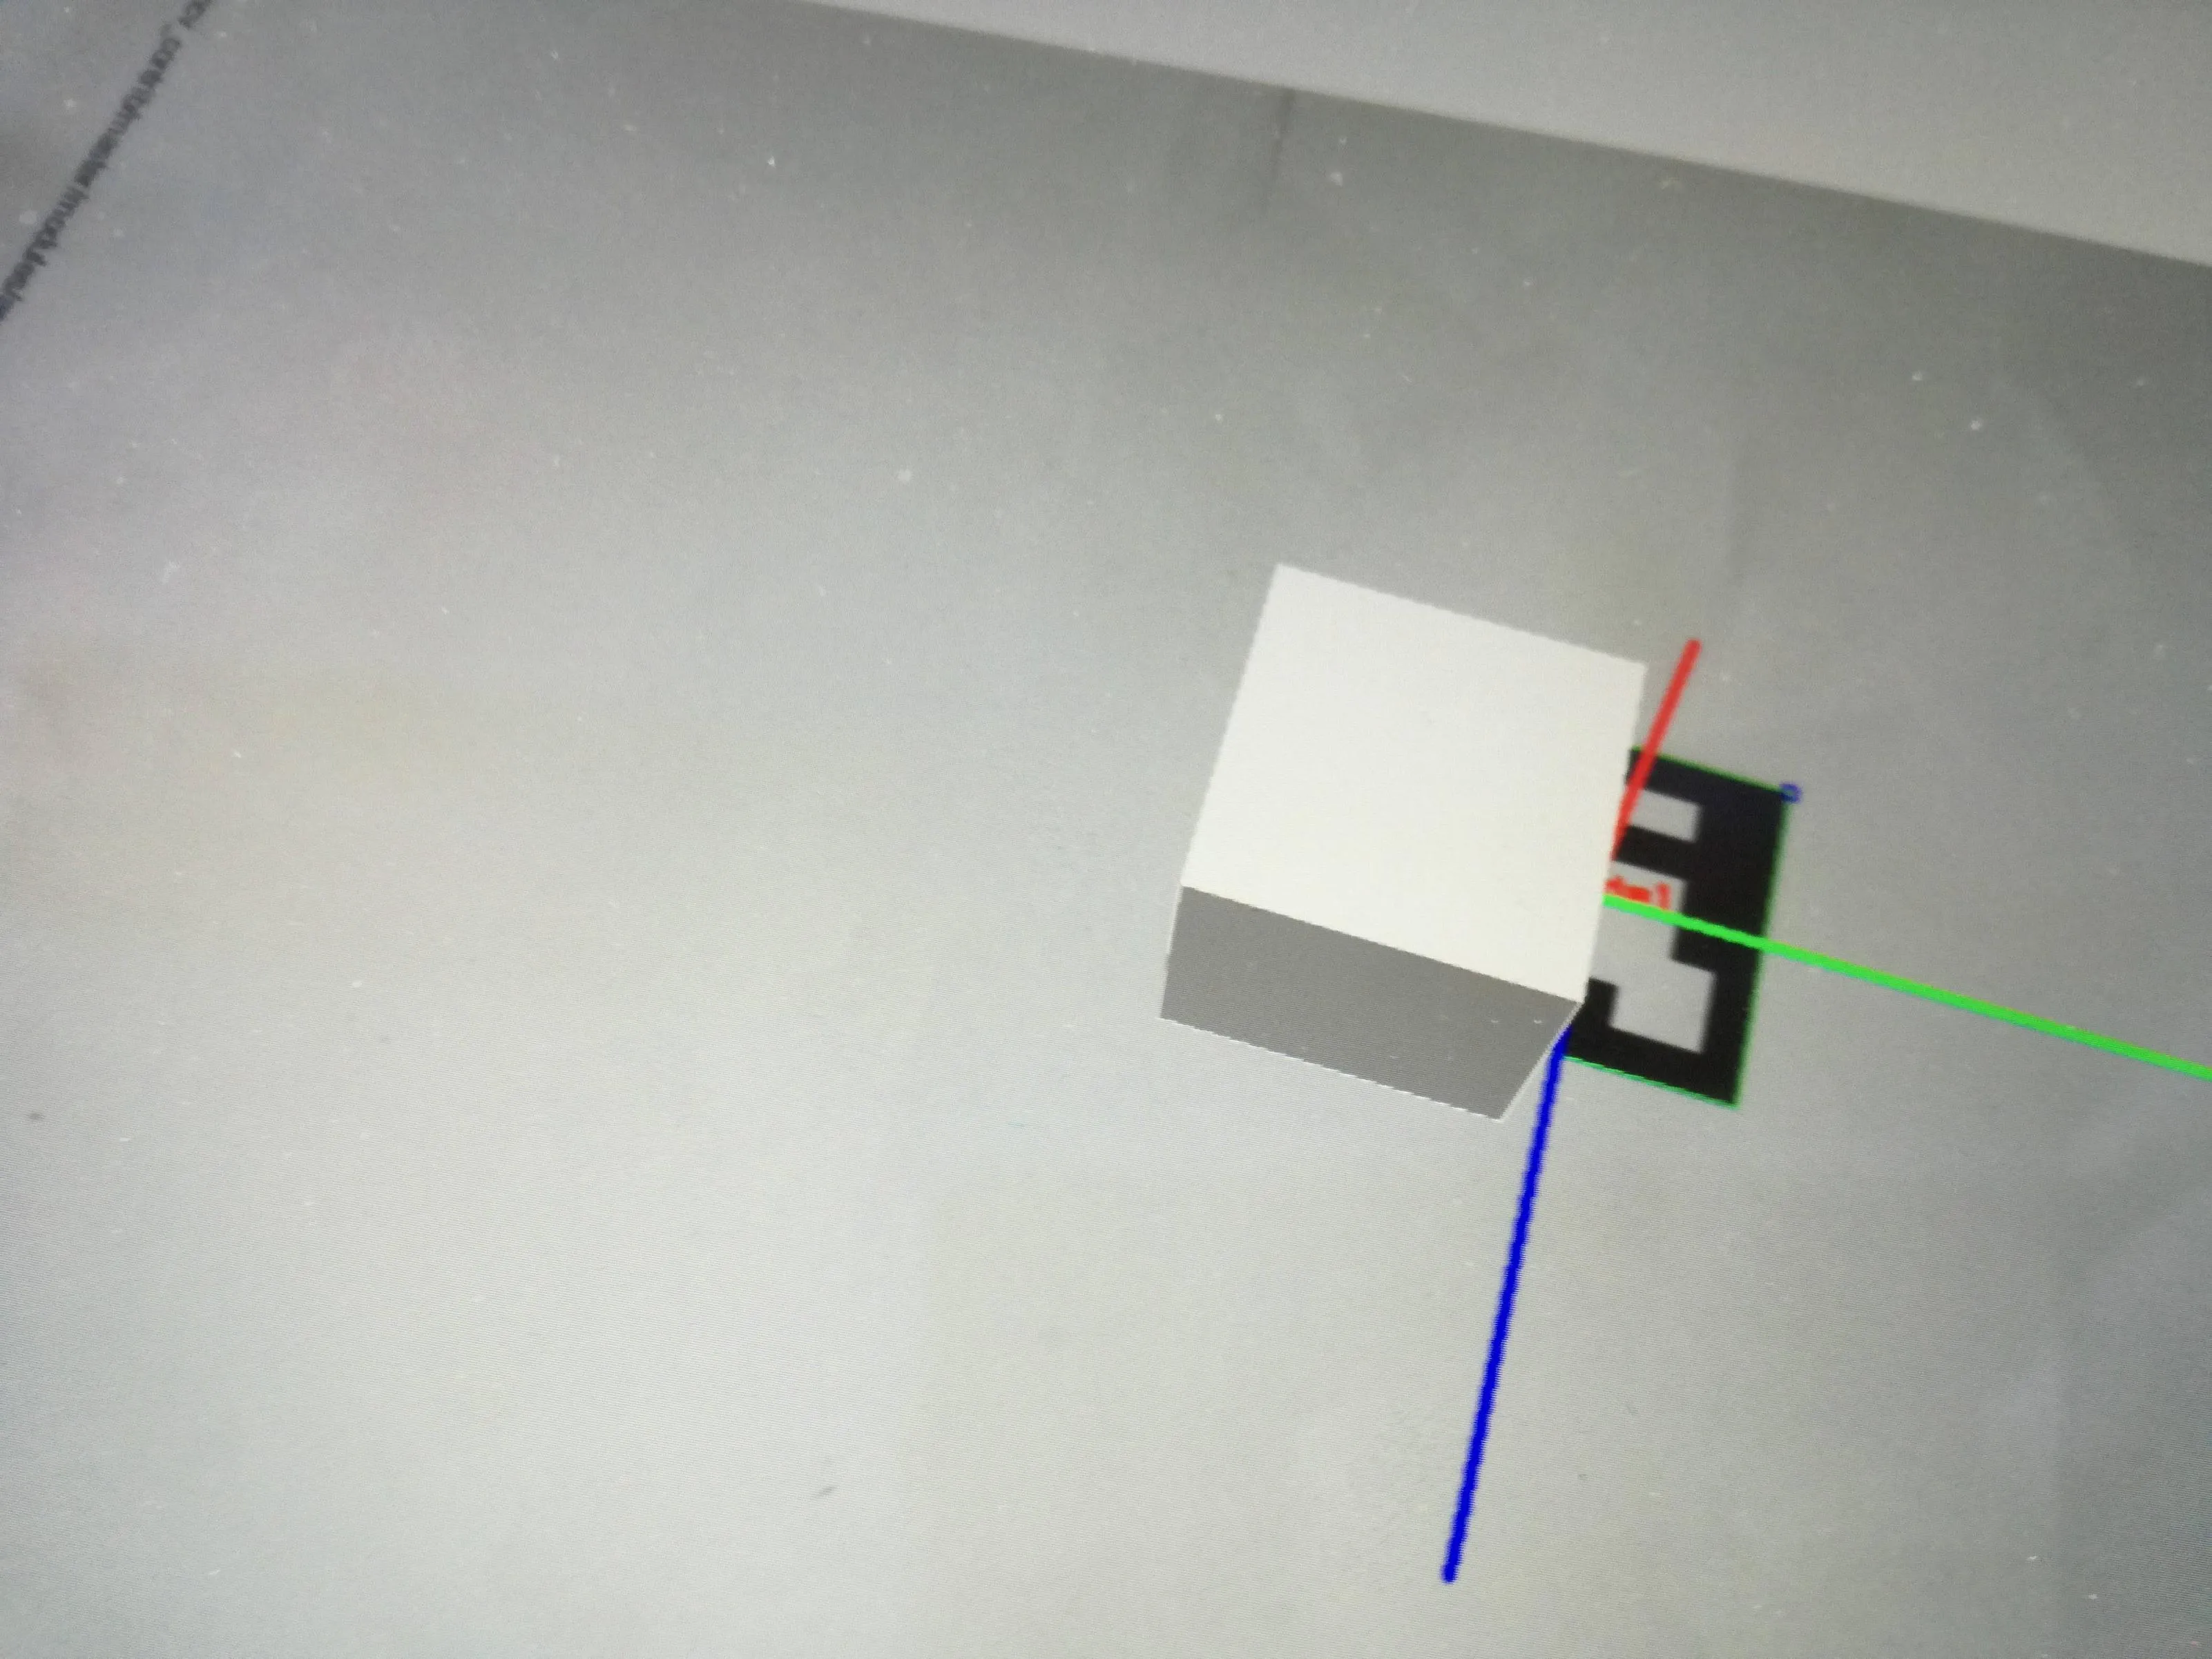
有人知道这是为什么吗?
SCNCamera有一个projectionTransform属性可以设置。 - jlsiewertxFov和yFov吗?虽然我不是这方面的专家,但在我的 AR 项目中,我将(1.82147, 0, 0, 0,0, -2.42863, 0, 0,0, 0, 1.00501, 1,0, 0, -0.100251, 0)设置为我的projectionTransform。结果很好,但我不知道当时写这个值的来源。 - jlsiewert