需要帮助,已经修复了几个小时但没有成功。
我想捕捉图像并在AVCaptureVideoPreviewLayer中显示预览,它以横向模式显示。然而,当我抓取图像时,它以纵向模式显示。
我不确定原因,希望有人可以帮助我 :)
谢谢阅读。
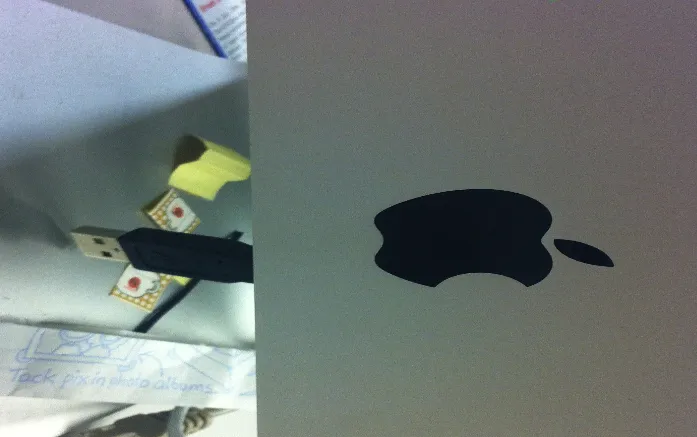
实时查看时 捕获并在uiimageview中显示时
我将NSData中的图像转换为UIImage。
我想捕捉图像并在AVCaptureVideoPreviewLayer中显示预览,它以横向模式显示。然而,当我抓取图像时,它以纵向模式显示。
我不确定原因,希望有人可以帮助我 :)
谢谢阅读。
实时查看时
捕获并在uiimageview中显示时
- (void)addStillImageOutput
{
    [self setStillImageOutput:[[AVCaptureStillImageOutput alloc] init]];
    NSDictionary *outputSettings = [[NSDictionary alloc] initWithObjectsAndKeys:AVVideoCodecJPEG,AVVideoCodecKey,nil];
    [[self stillImageOutput] setOutputSettings:outputSettings];

    AVCaptureConnection *videoConnection = nil;
    for (AVCaptureConnection *connection in [[self stillImageOutput] connections]) {
        for (AVCaptureInputPort *port in [connection inputPorts]) {
            if ([[port mediaType] isEqual:AVMediaTypeVideo] ) {
                videoConnection = connection;
                break;
            }
        }
        if (videoConnection) {
            break;
        }
    }

    [[self captureSession] addOutput:[self stillImageOutput]];
}

   - (void)captureStillImage
{
    AVCaptureConnection *videoConnection = nil;
    for (AVCaptureConnection *connection in [[self stillImageOutput] connections]) {
        for (AVCaptureInputPort *port in [connection inputPorts]) {
            if ([[port mediaType] isEqual:AVMediaTypeVideo]) {
                videoConnection = connection;
                break;
            }
        }

        if([videoConnection isVideoOrientationSupported])
        {
            UIInterfaceOrientation orientation = [UIApplication sharedApplication].statusBarOrientation;

             if (orientation == UIInterfaceOrientationLandscapeLeft ) {
                 //NSLog(@"2222UIInterfaceOrientationLandscapeLeft");

            [videoConnection setVideoOrientation:AVCaptureVideoOrientationLandscapeLeft];
             }
             if (orientation == UIInterfaceOrientationLandscapeRight )
             {//NSLog(@"222UIInterfaceOrientationLandscapeRight");

            [videoConnection setVideoOrientation:AVCaptureVideoOrientationLandscapeRight];
             }

        }
        if (videoConnection) {
            break;
        }
    }

    //NSLog(@"about to request a capture from: %@", [self stillImageOutput]);
    [[self stillImageOutput] captureStillImageAsynchronouslyFromConnection:videoConnection

                                                         completionHandler:^(CMSampleBufferRef imageSampleBuffer, NSError *error) {
                CFDictionaryRef exifAttachments = CMGetAttachment(imageSampleBuffer, kCGImagePropertyExifDictionary, NULL);

            if (exifAttachments) {
               ////NSLog(@"attachements: %@", exifAttachments);
               }
            else
            {
                         //NSLog(@"no attachments");

            }

        NSData *imageData = [AVCaptureStillImageOutput jpegStillImageNSDataRepresentation:imageSampleBuffer];
        UIImage *image = [[UIImage alloc] initWithData:imageData];

        //NSData *jpgImageData = UIImageJPEGRepresentation(image, 0.9);
        //UIImage *jpgImage = [[UIImage alloc]initWithData:jpgImageData];
        [self setStillImage:image];
        self.imageExifDict = (__bridge NSDictionary *)exifAttachments;
                ////NSLog(@"NSdictionary from CFDict %@",self.imageExifDict);
//
        [[NSNotificationCenter defaultCenter] postNotificationName:kImageCapturedSuccessfully object:nil];

            }];
}
我将NSData中的图像转换为UIImage。
self.capturedImage.image = [[self captureManager] stillImage];
AVCaptureVideoPreviewLayer中显示横向模式。 - user2545330