在PyQt5应用程序中添加Matplotlib工具栏

14

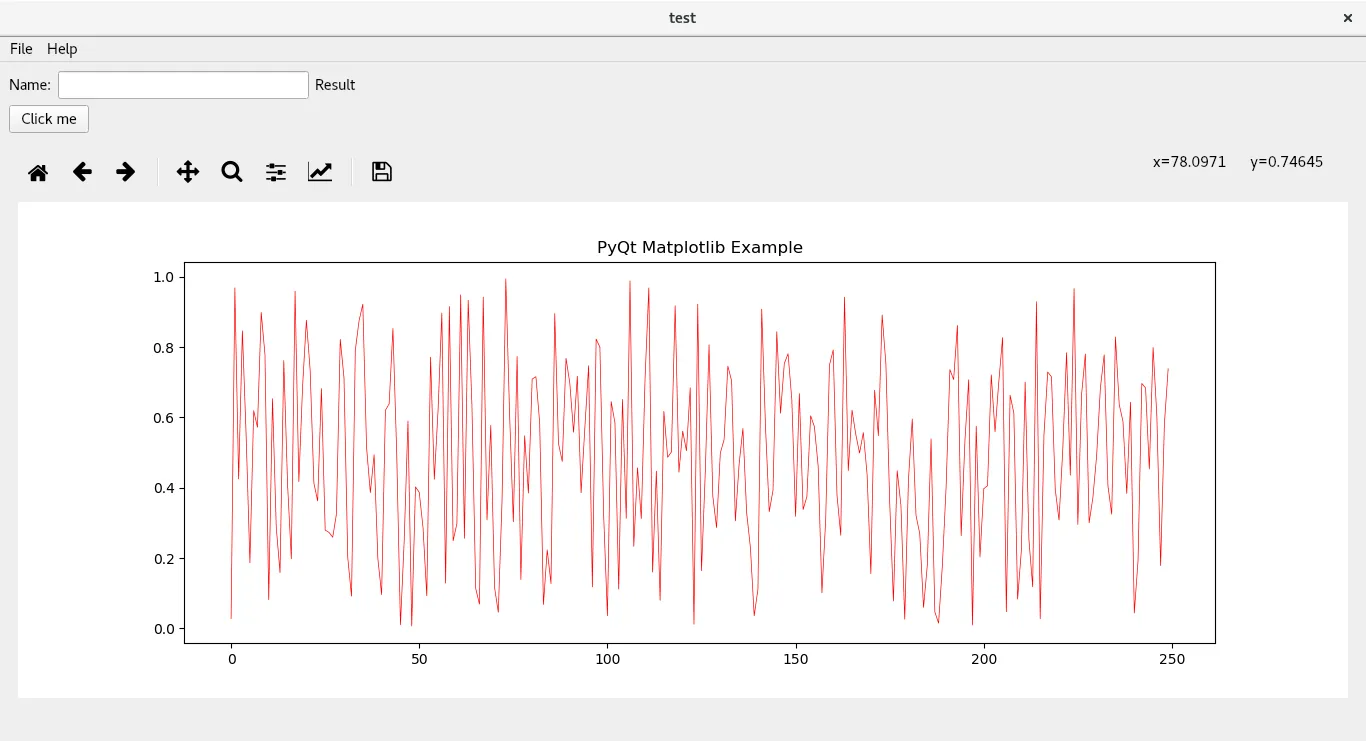
这是一个使用Python和Qt完成的非常简单的应用程序,其中包含嵌入式的matplotlib图形。我想在图形上方包括标准工具栏(缩放、主页等)。这可能吗?下面是代码示例。

import sys
from PyQt5 import QtCore
from PyQt5.QtWidgets import QApplication, QMainWindow, QMenu, QVBoxLayout, QSizePolicy, QMessageBox, QWidget, QPushButton, QAction, QLineEdit, QLabel
from PyQt5.QtGui import QIcon
from PyQt5 import QtWidgets
from PyQt5.QtCore import QSize

from matplotlib.backends.backend_qt5agg import FigureCanvasQTAgg as FigureCanvas
from matplotlib.figure import Figure
import matplotlib.pyplot as plt
import random

from matplotlib.backends.backend_qt5agg import FigureCanvasQTAgg as FigureCanvas
from matplotlib.backends.backend_qt5agg import NavigationToolbar2QT as NavigationToolbar


class MainWindow(QMainWindow):
    def __init__(self):

        QMainWindow.__init__(self)

        self.title = 'test'
        self.left = 10
        self.top = 10
        self.width = 1920
        self.height = 1080

        self.setWindowTitle(self.title)
        self.setGeometry(self.left, self.top, self.width, self.height)

        m = PlotCanvas(self, width=10, height=8)
        m.move(0,100)

        self.statusBar().showMessage('Ready')

        mainMenu = self.menuBar()
        mainMenu.setNativeMenuBar(False)
        fileMenu = mainMenu.addMenu('File')
        helpMenu = mainMenu.addMenu('Help')

        exitButton = QAction(QIcon('exit24.png'), 'Exit', self)
        exitButton.setShortcut('Ctrl+Q')
        exitButton.setStatusTip('Exit application')
        exitButton.triggered.connect(self.close)
        fileMenu.addAction(exitButton)


        self.nameLabel = QLabel(self)
        self.nameLabel.setText('Name:')
        self.line = QLineEdit(self)

        self.nameLabel2 = QLabel(self)
        self.nameLabel2.setText('Result')
        #self.line2 = QLineEdit(self)

        self.line.move(80, 20)
        self.line.resize(200, 32)
        self.nameLabel.move(20, 20)

        #self.line2.move(500, 20)
        #self.line2.resize(500, 32)
        self.nameLabel2.move(500, 20)

        pybutton = QPushButton('Click me', self)
        pybutton.clicked.connect(self.clickMethod)
        pybutton.resize(100,32)
        pybutton.move(50, 50)

    def clickMethod(self):
        print('Clicked Pyqt button.')
        if((self.line.text() == '')):
            self.statusBar().showMessage('Not a Number')
        else:
            print('Number: ' + str(float(self.line.text())*2))
            self.statusBar().showMessage('Introduction of a number')
            self.nameLabel2.setText(str(float(self.line.text())*2))


class PlotCanvas(FigureCanvas):

    def __init__(self, parent=None, width=10, height=8, dpi=100):
        fig = Figure(figsize=(width, height), dpi=dpi)
        self.axes = fig.add_subplot(111)

        FigureCanvas.__init__(self, fig)
        self.setParent(parent)
        #self.addWidget(toolbar)


        FigureCanvas.setSizePolicy(self, QSizePolicy.Expanding, QSizePolicy.Expanding)
        FigureCanvas.updateGeometry(self)
        self.plot()

    def plot(self):
        data = [random.random() for i in range(250)]
        ax = self.figure.add_subplot(111)
        ax.plot(data, 'r-', linewidth = 0.5)
        ax.set_title('PyQt Matplotlib Example')
        self.draw()

if __name__ == "__main__":
    app = QtWidgets.QApplication(sys.argv)
    mainWin = MainWindow()
    mainWin.show()
    sys.exit( app.exec_())

这段代码包含一个按钮、状态栏、matplotlib绘图和一个QlineEdit。


1
从来没有想到这会这么容易!那是一个非常棒的功能,感谢你让我知道它。 - Joël
1个回答

18

要创建一个NavigationToolbar,您必须传递画布和父级,但由于它们将一起使用,建议按照下面所示创建小部件:

class WidgetPlot(QWidget):
    def __init__(self, *args, **kwargs):
        QWidget.__init__(self, *args, **kwargs)
        self.setLayout(QVBoxLayout())
        self.canvas = PlotCanvas(self, width=10, height=8)
        self.toolbar = NavigationToolbar(self.canvas, self)
        self.layout().addWidget(self.toolbar)
        self.layout().addWidget(self.canvas)

然后我会将 m = PlotCanvas(self, width = 10, height = 8) 改为 m = WidgetPlot(self),这样就可以解决你的问题了。

另外:

为了有适当的顺序,建议使用布局,在下面的代码中,我展示了使用布局的相同代码:

import sys
from PyQt5.QtWidgets import QApplication, QWidget, QMainWindow, QAction, QVBoxLayout, QHBoxLayout, QLabel, QLineEdit, QSpacerItem, QSizePolicy, QPushButton
from PyQt5.QtGui import QIcon
from PyQt5.QtCore import QSize

from matplotlib.figure import Figure
import matplotlib.pyplot as plt
import random

from matplotlib.backends.backend_qt5agg import FigureCanvasQTAgg as FigureCanvas
from matplotlib.backends.backend_qt5agg import NavigationToolbar2QT as NavigationToolbar


class MainWindow(QMainWindow):
    def __init__(self):
        QMainWindow.__init__(self)

        self.title = 'test'
        self.left = 10
        self.top = 10
        self.width = 1920
        self.height = 1080

        self.setWindowTitle(self.title)
        self.setGeometry(self.left, self.top, self.width, self.height)

        self.statusBar().showMessage('Ready')

        mainMenu = self.menuBar()
        mainMenu.setNativeMenuBar(False)
        fileMenu = mainMenu.addMenu('File')
        helpMenu = mainMenu.addMenu('Help')

        exitButton = QAction(QIcon('exit24.png'), 'Exit', self)
        exitButton.setShortcut('Ctrl+Q')
        exitButton.setStatusTip('Exit application')
        exitButton.triggered.connect(self.close)
        fileMenu.addAction(exitButton)


        widget =  QWidget(self)
        self.setCentralWidget(widget)
        vlay = QVBoxLayout(widget)
        hlay = QHBoxLayout()
        vlay.addLayout(hlay)

        self.nameLabel = QLabel('Name:', self)
        self.line = QLineEdit(self)
        self.nameLabel2 = QLabel('Result', self)

        hlay.addWidget(self.nameLabel)
        hlay.addWidget(self.line)
        hlay.addWidget(self.nameLabel2)
        hlay.addItem(QSpacerItem(1000, 10, QSizePolicy.Expanding))

        pybutton = QPushButton('Click me', self)
        pybutton.clicked.connect(self.clickMethod)
        hlay2 = QHBoxLayout()
        hlay2.addWidget(pybutton)
        hlay2.addItem(QSpacerItem(1000, 10, QSizePolicy.Expanding))
        vlay.addLayout(hlay2)
        m = WidgetPlot(self)
        vlay.addWidget(m)

    def clickMethod(self):
        print('Clicked Pyqt button.')
        if self.line.text() == '':
            self.statusBar().showMessage('Not a Number')
        else:
            print('Number: {}'.format(float(self.line.text())*2))
            self.statusBar().showMessage('Introduction of a number')
            self.nameLabel2.setText(str(float(self.line.text())*2))

class WidgetPlot(QWidget):
    def __init__(self, *args, **kwargs):
        QWidget.__init__(self, *args, **kwargs)
        self.setLayout(QVBoxLayout())
        self.canvas = PlotCanvas(self, width=10, height=8)
        self.toolbar = NavigationToolbar(self.canvas, self)
        self.layout().addWidget(self.toolbar)
        self.layout().addWidget(self.canvas)

class PlotCanvas(FigureCanvas):
    def __init__(self, parent=None, width=10, height=8, dpi=100):
        fig = Figure(figsize=(width, height), dpi=dpi)
        FigureCanvas.__init__(self, fig)
        self.setParent(parent)
        FigureCanvas.setSizePolicy(self, QSizePolicy.Expanding, QSizePolicy.Expanding)
        FigureCanvas.updateGeometry(self)
        self.plot()

    def plot(self):
        data = [random.random() for i in range(250)]
        ax = self.figure.add_subplot(111)
        ax.plot(data, 'r-', linewidth = 0.5)
        ax.set_title('PyQt Matplotlib Example')
        self.draw()

if __name__ == "__main__":
    app = QApplication(sys.argv)
    mainWin = MainWindow()
    mainWin.show()
    sys.exit( app.exec_())

输出:

在此输入图片描述


你是手写代码还是使用设计工具,比如Qt Designer? - nunodsousa

网页内容由stack overflow 提供, 点击上面的
可以查看英文原文,
原文链接