在iOS中运行长时间任务时加载“覆盖层”

91

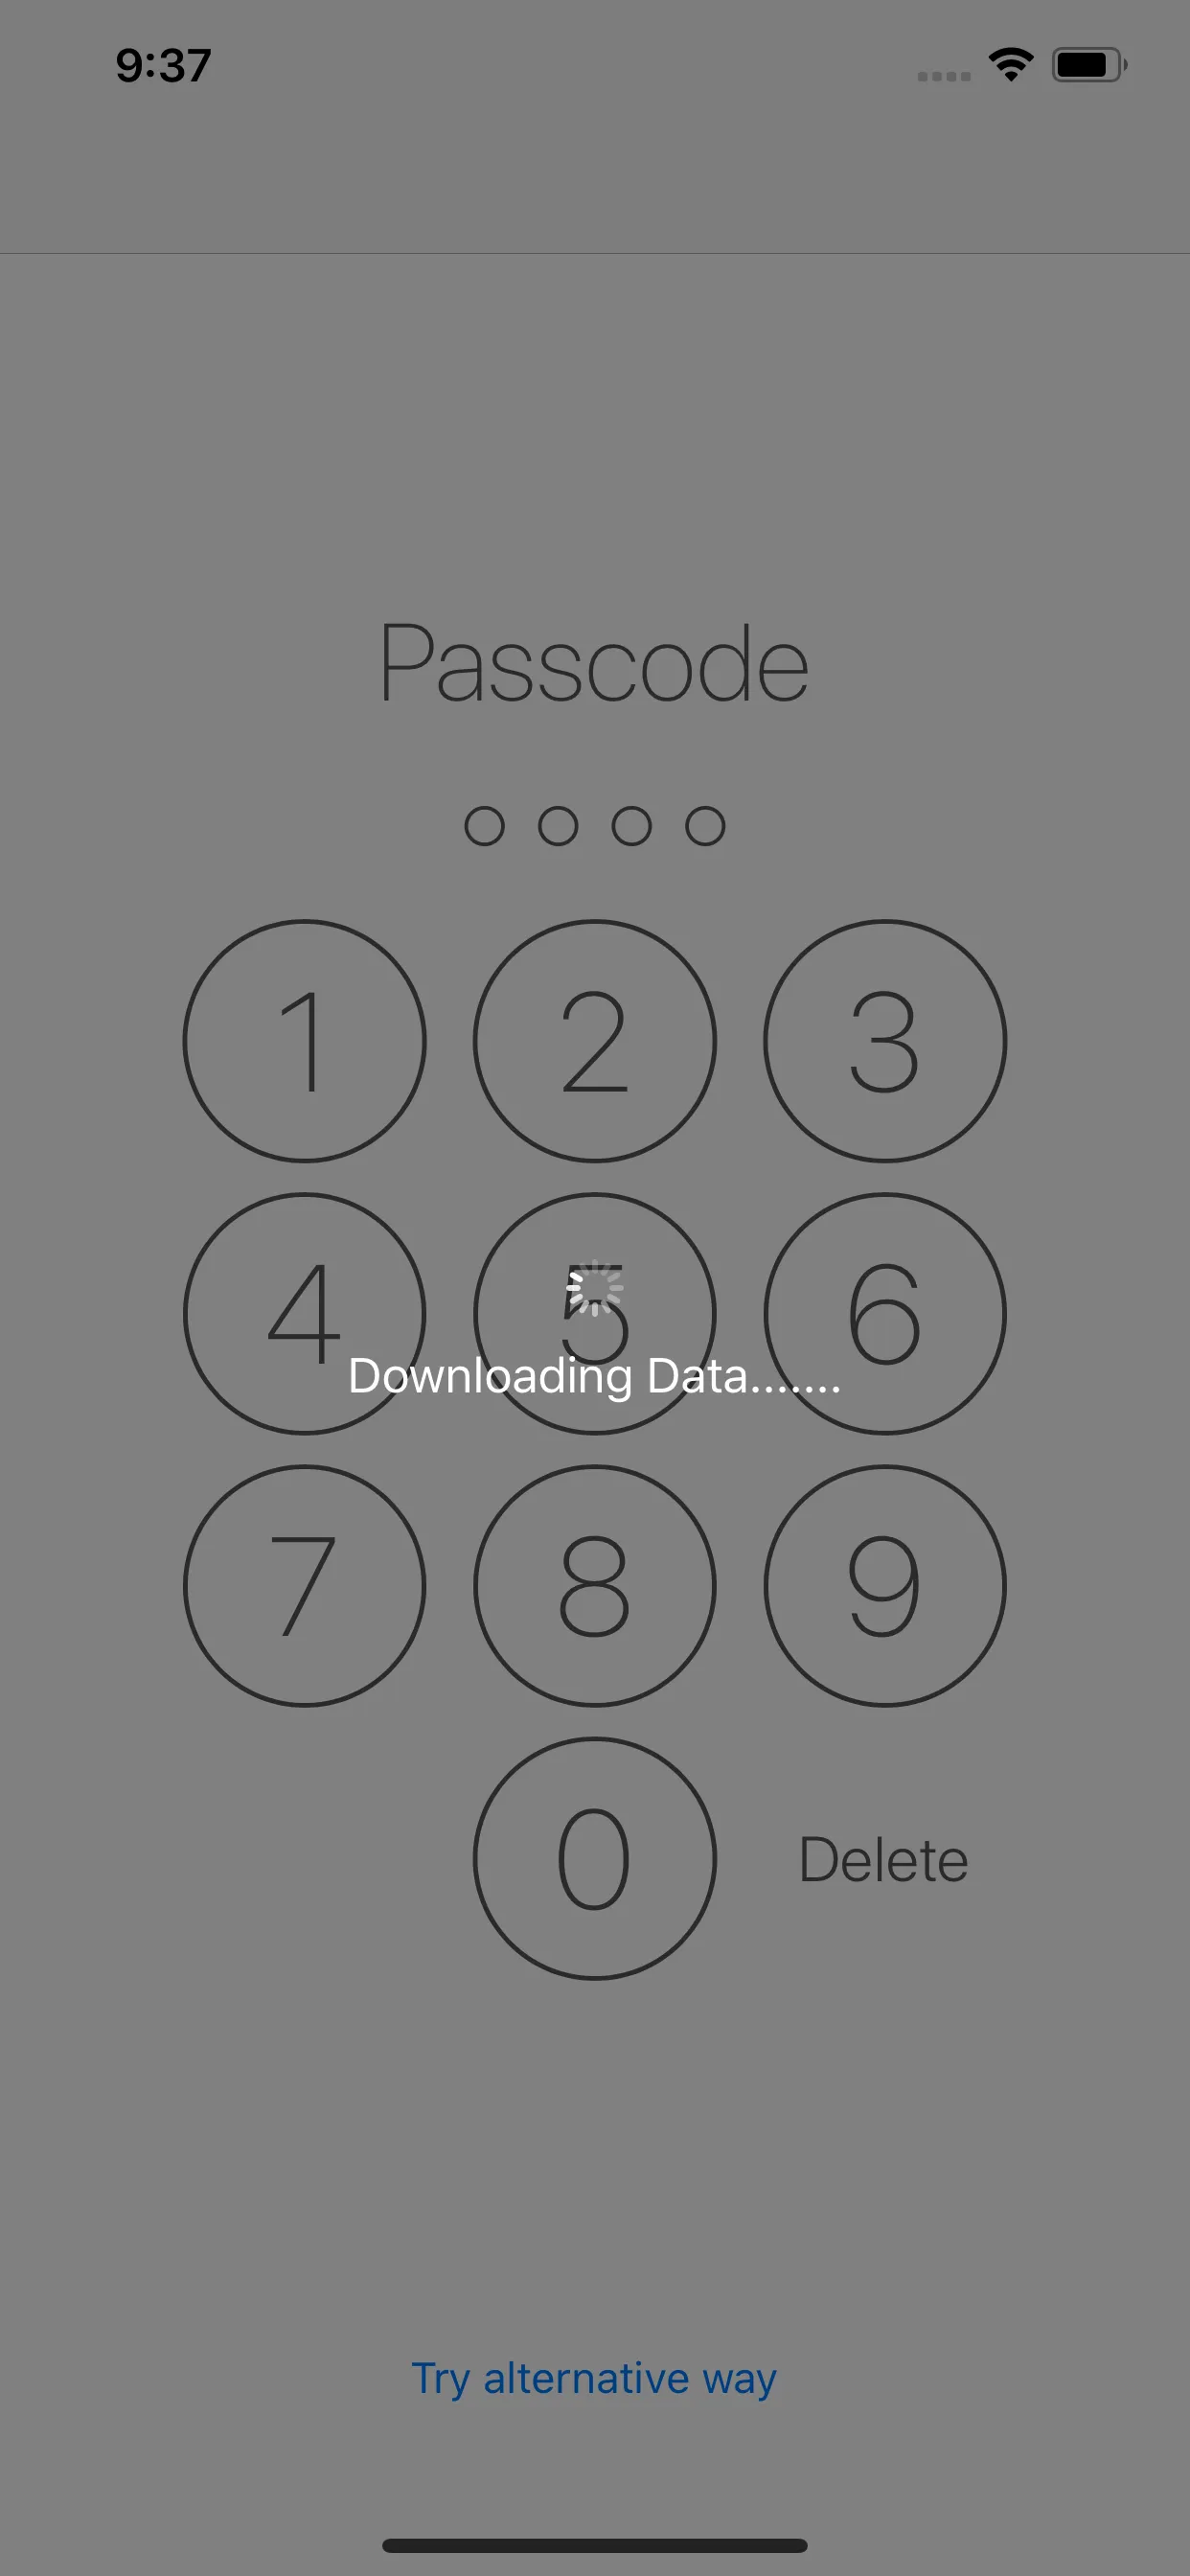
当执行长时间任务时,Swift IOS应用程序中加载覆盖层的示例。例如从远程服务器加载数据。我搜索了谷歌,但没有找到答案。

更新:

感谢@Sebastian Dressler,这是简单的方法。我更新了我的代码并运行得很好。

public class LoadingOverlay{

var overlayView = UIView()
var activityIndicator = UIActivityIndicatorView()

class var shared: LoadingOverlay {
    struct Static {
        static let instance: LoadingOverlay = LoadingOverlay()
    }
    return Static.instance
}

    public func showOverlay(view: UIView) {

        overlayView.frame = CGRectMake(0, 0, 80, 80)
        overlayView.center = view.center
        overlayView.backgroundColor = UIColor(hex: 0x444444, alpha: 0.7)
        overlayView.clipsToBounds = true
        overlayView.layer.cornerRadius = 10

        activityIndicator.frame = CGRectMake(0, 0, 40, 40)
        activityIndicator.activityIndicatorViewStyle = .WhiteLarge
        activityIndicator.center = CGPointMake(overlayView.bounds.width / 2, overlayView.bounds.height / 2)

        overlayView.addSubview(activityIndicator)
        view.addSubview(overlayView)

        activityIndicator.startAnimating()
    }

    public func hideOverlayView() {
        activityIndicator.stopAnimating()
        overlayView.removeFromSuperview()
    }
}

使用 let:

LoadingOverlay.shared.showOverlay(self.view)
//To to long tasks
LoadingOverlay.shared.hideOverlayView()

2
你的请求几乎不可能实现。而且,仅仅获得一个简单的“翻译”也毫无意义。如果你在谷歌上搜索 Objective-C 中的叠加效果,你会找到一些关于如何在 iOS / OS X 上实现它的条目。 - Sebastian Dressler
13个回答

237

上面的答案添加了一个加载视图,但它不会阻止屏幕上的点击事件,也没有为其他部分提供覆盖。您可以按照以下方式实现:

let alert = UIAlertController(title: nil, message: "Please wait...", preferredStyle: .Alert)

alert.view.tintColor = UIColor.blackColor()
let loadingIndicator: UIActivityIndicatorView = UIActivityIndicatorView(frame: CGRectMake(10, 5, 50, 50)) as UIActivityIndicatorView
loadingIndicator.hidesWhenStopped = true
loadingIndicator.activityIndicatorViewStyle = UIActivityIndicatorViewStyle.Gray
loadingIndicator.startAnimating();

alert.view.addSubview(loadingIndicator)
presentViewController(alert, animated: true, completion: nil)

Swift 3.0

let alert = UIAlertController(title: nil, message: "Please wait...", preferredStyle: .alert)

let loadingIndicator = UIActivityIndicatorView(frame: CGRect(x: 10, y: 5, width: 50, height: 50))
loadingIndicator.hidesWhenStopped = true
loadingIndicator.activityIndicatorViewStyle = UIActivityIndicatorViewStyle.gray
loadingIndicator.startAnimating();

alert.view.addSubview(loadingIndicator)
present(alert, animated: true, completion: nil)

Swift 4.0及更高版本

let alert = UIAlertController(title: nil, message: "Please wait...", preferredStyle: .alert)

let loadingIndicator = UIActivityIndicatorView(frame: CGRect(x: 10, y: 5, width: 50, height: 50))
loadingIndicator.hidesWhenStopped = true
loadingIndicator.style = UIActivityIndicatorView.Style.gray
loadingIndicator.startAnimating();

alert.view.addSubview(loadingIndicator)
present(alert, animated: true, completion: nil)

然后您可以像以下方式隐藏它:

dismiss(animated: false, completion: nil)

它将显示如下所示: 在此输入图片描述


4
在XCode 8.2中,dismissViewControllerAnimated(false, completion: nil)已经不存在了。它已经被更改为dismiss(animated: false, completion: nil)。 - Olanrewaju O. Joseph
5
一个更安全的dismiss方法是:internal func dismissAlert() { if let vc = self.presentedViewController, vc is UIAlertController { dismiss(animated: false, completion: nil) } }。该方法判断当前视图控制器是否为UIAlertController,并在是的情况下执行dismiss操作,以避免不必要的错误。 - Derek Soike
对于Swift 4.0选项,我得到了这个警告: “警告:尝试在未在窗口层次结构中的 <MyProj.MyViewController: 0x7fc4f3222710> 上呈现<UIAlertController: 0x7fc4f106e600>!” - zaitsman
1
运行良好,但在取消 **navigationController?.pushViewController(adminHomeVC,animated: true)** 后无法正常工作..(Swift 4) - Manivel Gopi
在 Swift 4 中,将 loadingIndicator.style 改为 loadingIndicator.activityIndicatorViewStyle - Developer
iOS 13 中的另一个变化是,'gray' 已被弃用:重命名为 'UIActivityIndicatorView.Style.medium'。 - ShadeToD

35

只需创建一个浮层视图,并将其添加到您的父视图中,在完成任务后将其移除,例如要添加浮层视图:

var overlay : UIView? // This should be a class variable

[ ... ]

overlay = UIView(frame: view.frame)
overlay!.backgroundColor = UIColor.blackColor()
overlay!.alpha = 0.8

view.addSubview(overlay!)

需要移除:

overlay?.removeFromSuperview()

感谢 @Sebastian Dressler,我刚刚更新了我的问题。你能把上面的代码翻译成Swift吗? - Sonrobby
1
不,我不这么认为。我提供的东西可以用作基本框架。你只需要在其上添加其余部分即可。 - Sebastian Dressler
1
截至今天(2015年11月),似乎需要使用overlay!.removeFromSuperView()。【注意感叹号而不是问号】 - Derek
可以确认 overlay... 上的 ! - jshbrmn
1
在“removeFromSuperview()”中,“v”是小写的。 - Max Lipsky

33

模糊背景 + 活动指示器,Swift 5 示例

extension UIView {
    func showBlurLoader() {
        let blurLoader = BlurLoader(frame: frame)
        self.addSubview(blurLoader)
    }

    func removeBluerLoader() {
        if let blurLoader = subviews.first(where: { $0 is BlurLoader }) {
            blurLoader.removeFromSuperview()
        }
    }
}


class BlurLoader: UIView {

    var blurEffectView: UIVisualEffectView?

    override init(frame: CGRect) {
        let blurEffect = UIBlurEffect(style: .dark)
        let blurEffectView = UIVisualEffectView(effect: blurEffect)
        blurEffectView.frame = frame
        blurEffectView.autoresizingMask = [.flexibleWidth, .flexibleHeight]
        self.blurEffectView = blurEffectView
        super.init(frame: frame)
        addSubview(blurEffectView)
        addLoader()
    }

    required init?(coder aDecoder: NSCoder) {
        fatalError("init(coder:) has not been implemented")
    }

    private func addLoader() {
        guard let blurEffectView = blurEffectView else { return }
        let activityIndicator = UIActivityIndicatorView(style: .whiteLarge)
        activityIndicator.frame = CGRect(x: 0, y: 0, width: 50, height: 50)
        blurEffectView.contentView.addSubview(activityIndicator)
        activityIndicator.center = blurEffectView.contentView.center
        activityIndicator.startAnimating()
    }
}

demo


如何使用这个? - Spurdow
啊,谢谢,我已经搞定了,将UIViewController添加为self.view.addSubview(overlay)。 - Spurdow
很棒的解决方案! - andzaOs
您可以在viewController中使用以下代码来显示模糊加载器: self.view.showBlurLoader() 同样,您也可以使用以下代码来移除它: self.view.removeBluerLoader() - Anil
加载器没有覆盖“食谱”标题,如何覆盖它?因为如果有返回按钮,用户可以单击它并在不加载数据的情况下返回。 - Divyesh_08
显示剩余2条评论

10

如果像我一样晚了,我对@Sonrobby的代码进行了一些修改。据我了解,@Sonrobby在每次showOverlay调用时将活动添加到覆盖层中。有些配置可以传递给init函数,只允许在showOverlay方法中放置。

我还更改了覆盖层的背景为黑色,因为我的应用程序大多是白色的。

这里是代码:

public class LoadingOverlay{

    var overlayView : UIView!
    var activityIndicator : UIActivityIndicatorView!

    class var shared: LoadingOverlay {
        struct Static {
            static let instance: LoadingOverlay = LoadingOverlay()
        }
        return Static.instance
    }

    init(){
        self.overlayView = UIView()
        self.activityIndicator = UIActivityIndicatorView()

        overlayView.frame = CGRectMake(0, 0, 80, 80)
        overlayView.backgroundColor = UIColor(white: 0, alpha: 0.7)
        overlayView.clipsToBounds = true
        overlayView.layer.cornerRadius = 10
        overlayView.layer.zPosition = 1

        activityIndicator.frame = CGRectMake(0, 0, 40, 40)
        activityIndicator.center = CGPointMake(overlayView.bounds.width / 2, overlayView.bounds.height / 2)
        activityIndicator.activityIndicatorViewStyle = .WhiteLarge
        overlayView.addSubview(activityIndicator)
    }

    public func showOverlay(view: UIView) {
        overlayView.center = view.center
        view.addSubview(overlayView)
        activityIndicator.startAnimating()
    }

    public func hideOverlayView() {
        activityIndicator.stopAnimating()
        overlayView.removeFromSuperview()
    }
}

7

这是一个可用于所有视图控制器的扩展解决方案,避免产生冲突。

创建一个 LoadingDialog+ViewContoller.swift 文件。

参考答案 @Ajinkya Patil。 适用于 Swift 4.0 及更高版本。

import UIKit

struct ProgressDialog {
    static var alert = UIAlertController()
    static var progressView = UIProgressView()
    static var progressPoint : Float = 0{
        didSet{
            if(progressPoint == 1){
                ProgressDialog.alert.dismiss(animated: true, completion: nil)
            }
        }
    }
}
extension UIViewController{
   func LoadingStart(){
        ProgressDialog.alert = UIAlertController(title: nil, message: "Please wait...", preferredStyle: .alert)
    
    let loadingIndicator = UIActivityIndicatorView(frame: CGRect(x: 10, y: 5, width: 50, height: 50))
    loadingIndicator.hidesWhenStopped = true
    loadingIndicator.style = UIActivityIndicatorView.Style.gray
    loadingIndicator.startAnimating();

    ProgressDialog.alert.view.addSubview(loadingIndicator)
    present(ProgressDialog.alert, animated: true, completion: nil)
  }

  func LoadingStop(){
    ProgressDialog.alert.dismiss(animated: true, completion: nil)
  }
}

在任何你想要的地方调用ViewController中的函数,像这样:

self.LoadingStart()

以下是如何停止加载对话框的方法。

self.LoadingStop()

6

6

除了之前的回答外,如果您尝试运行代码,可能会遇到问题。就我个人而言,有一次在viewDidLoad期间,因为我试图segue到一个场景,然后立即调用此函数,导致showOverlay未被正确调用。

如果您遇到类似我的问题,建议进行以下修复和更改方法。

修复:将两个代码块都作为闭包放置到dispatch_async调用中,如下所示:

dispatch_async(dispatch_get_main_queue(),
 { //code });

方法:在调用您的代码时,对主队列进行dispatch_after调用以延迟几毫秒的调用。

原因是仅仅是因为在viewDidLoad期间请求UI执行了太多操作。

如果本附录对解决方法有所帮助,我会很高兴。

-Joel Long

P.S. 解决方案适用于XCode v6.3.2


6

Swift 5

class func showUniversalLoadingView(_ show: Bool, loadingText : String = "") {
    let existingView = UIApplication.shared.windows[0].viewWithTag(1200)
    if show {
        if existingView != nil {
            return
        }
        let loadingView = self.makeLoadingView(withFrame: UIScreen.main.bounds, loadingText: loadingText)
        loadingView?.tag = 1200
        UIApplication.shared.windows[0].addSubview(loadingView!)
    } else {
        existingView?.removeFromSuperview()
    }

}


 class func makeLoadingView(withFrame frame: CGRect, loadingText text: String?) -> UIView? {
    let loadingView = UIView(frame: frame)
    loadingView.backgroundColor = UIColor(red: 0, green: 0, blue: 0, alpha: 0.5)
    let activityIndicator = UIActivityIndicatorView(frame: CGRect(x: 0, y: 0, width: 100, height: 100))
    //activityIndicator.backgroundColor = UIColor(red:0.16, green:0.17, blue:0.21, alpha:1)
    activityIndicator.layer.cornerRadius = 6
    activityIndicator.center = loadingView.center
    activityIndicator.hidesWhenStopped = true
    activityIndicator.style = .white
    activityIndicator.startAnimating()
    activityIndicator.tag = 100 // 100 for example

    loadingView.addSubview(activityIndicator)
    if !text!.isEmpty {
        let lbl = UILabel(frame: CGRect(x: 0, y: 0, width: 200, height: 30))
        let cpoint = CGPoint(x: activityIndicator.frame.origin.x + activityIndicator.frame.size.width / 2, y: activityIndicator.frame.origin.y + 80)
        lbl.center = cpoint
        lbl.textColor = UIColor.white
        lbl.textAlignment = .center
        lbl.text = text
        lbl.tag = 1234
        loadingView.addSubview(lbl)
    }
    return loadingView
}

用途

showUniversalLoadingView(true, loadingText: "Downloading Data.......")

在这里输入图片描述

展示通用加载视图(showUniversalLoadingView)(true)
在这里输入图片描述

移除加载器

showUniversalLoadingView(false)

5

更新了@sonrobby的答案,添加了背景视图和通过调整掩模处理方向...这可以用于简单的事情。

public class LoadingOverlay{

    var overlayView = UIView()
    var activityIndicator = UIActivityIndicatorView()
    var bgView = UIView()

    class var shared: LoadingOverlay {
        struct Static {
            static let instance: LoadingOverlay = LoadingOverlay()
        }
        return Static.instance
    }

    public func showOverlay(view: UIView) {

        bgView.frame = view.frame
        bgView.backgroundColor = UIColor.gray
        bgView.addSubview(overlayView)
        bgView.autoresizingMask = [.flexibleLeftMargin,.flexibleTopMargin,.flexibleRightMargin,.flexibleBottomMargin,.flexibleHeight, .flexibleWidth]
        overlayView.frame = CGRect(x: 0, y: 0, width: 80, height: 80)
        overlayView.center = view.center
        overlayView.autoresizingMask = [.flexibleLeftMargin,.flexibleTopMargin,.flexibleRightMargin,.flexibleBottomMargin]
        overlayView.backgroundColor = UIColor.black
        overlayView.clipsToBounds = true
        overlayView.layer.cornerRadius = 10

        activityIndicator.frame = CGRect(x: 0, y: 0, width: 40, height: 40)
        activityIndicator.activityIndicatorViewStyle = .whiteLarge
        activityIndicator.center = CGPoint(x: overlayView.bounds.width / 2, y: overlayView.bounds.height / 2)

        overlayView.addSubview(activityIndicator)
        view.addSubview(bgView)
        self.activityIndicator.startAnimating()

    }

    public func hideOverlayView() {
        activityIndicator.stopAnimating()
        bgView.removeFromSuperview()
    }
}

如果您将其添加到keywindow中,它就可以覆盖导航栏和选项卡栏... 就像这样。
LoadingOverlay.shared.showOverlay(view: UIApplication.shared.keyWindow!)

使用 bgView.frame = view.bounds 不是更安全吗?因为 view.frame.origin 可能与 (0,0) 不同。 - Nicolas Miari
Overlay的目标是覆盖提供给它的视图...它不必关心原点在哪里...如果需要覆盖整个屏幕,请将其应用于keywindow。如果您遇到问题,请告诉我,以便我重新查看它。 - anoop4real
我想说的是,视图的 frame 属性始终在父视图的坐标系中。如果您希望覆盖整个视图,您必须确保该框架与目标(父)视图一样大,但也要从 (0,0) 开始。否则,如果父视图不在原点或其父视图上,则叠加层也不会在原点。 - Nicolas Miari
好的,让我尝试一些样本...然后相应地更新代码。 - anoop4real
没问题。它大部分时间都能工作,只是一个小技术细节。 - Nicolas Miari

3

Swift 3.

我使用了下面@Lucho的代码,并将叠加层背景颜色改为透明,添加了一个旋转器的颜色。

public class LoadingOverlay {

    var overlayView : UIView!
    var activityIndicator : UIActivityIndicatorView!

    class var shared: LoadingOverlay {
        struct Static {
            static let instance: LoadingOverlay = LoadingOverlay()
        }
        return Static.instance
    }

    init(){
        self.overlayView = UIView()
        self.activityIndicator = UIActivityIndicatorView()

        overlayView.frame = CGRect(0, 0, 80, 80)
        overlayView.backgroundColor = .clear
        overlayView.clipsToBounds = true
        overlayView.layer.cornerRadius = 10
        overlayView.layer.zPosition = 1

        activityIndicator.frame = CGRect(0, 0, 40, 40)
        activityIndicator.center = CGPoint(overlayView.bounds.width / 2, overlayView.bounds.height / 2)
        activityIndicator.activityIndicatorViewStyle = .whiteLarge
        activityIndicator.color = .gray
        overlayView.addSubview(activityIndicator)
    }

    public func showOverlay(view: UIView) {
        overlayView.center = view.center
        view.addSubview(overlayView)
        activityIndicator.startAnimating()
    }

    public func hideOverlayView() {
        activityIndicator.stopAnimating()
        overlayView.removeFromSuperview()
    }
}

网页内容由stack overflow 提供, 点击上面的
可以查看英文原文,
原文链接