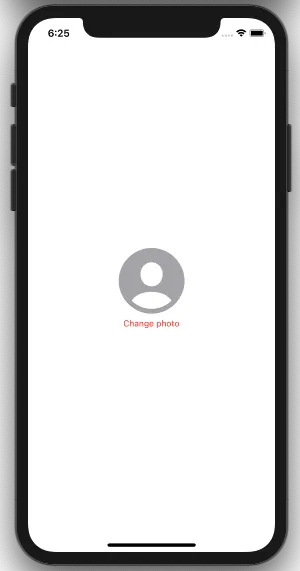
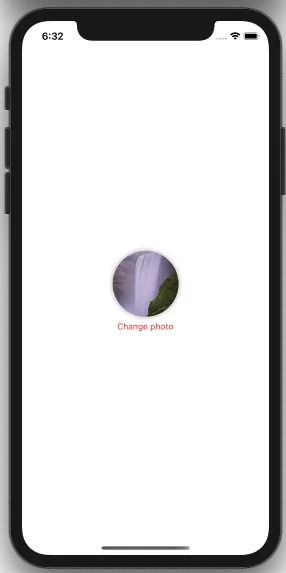
我正在使用这段代码来创建一个自定义的摄像头裁剪:
UIImagePickerController 编辑视图圆形叠加
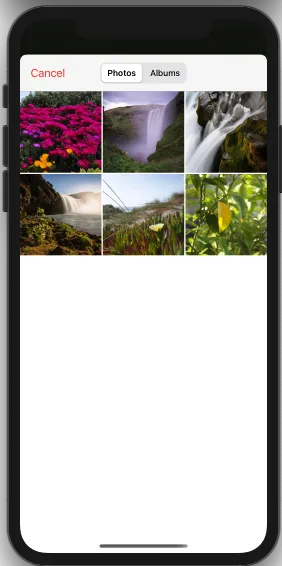
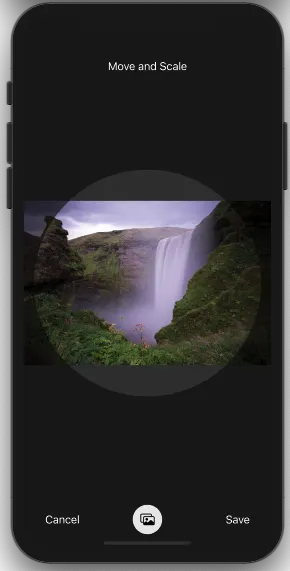
这在相机胶卷中运行得很完美,但拍照时则不行。
如果我将 [navigationController.viewControllers count] == 3 改为 [navigationController.viewControllers count] == 1,则相机也可以正常工作,但在下一个视图(预览视图,用于接受照片)中则不行。
请有人帮帮我?
如果我将 [navigationController.viewControllers count] == 3 改为 [navigationController.viewControllers count] == 1,则相机也可以正常工作,但在下一个视图(预览视图,用于接受照片)中则不行。
请有人帮帮我?
-(void)actionSheet:(UIActionSheet *)actionSheet clickedButtonAtIndex:(NSInteger)buttonIndex{
if (buttonIndex == 0) {
    NSLog(@"Camara");
    UIImagePickerController * imagePicker = [[UIImagePickerController alloc] init];
    imagePicker.allowsEditing = YES;
    imagePicker.sourceType = UIImagePickerControllerSourceTypeCamera;
    imagePicker.delegate = self;
    self.isCamera = YES;

    [self presentViewController:imagePicker animated:YES completion:nil];

}else{
    NSLog(@"Carrete");
    UIImagePickerController *imagePickerController = [[UIImagePickerController alloc]init];
    imagePickerController.allowsEditing = YES;
    imagePickerController.delegate = self;
    imagePickerController.sourceType =  UIImagePickerControllerSourceTypePhotoLibrary;
    self.isCamera = NO;
    [self presentViewController:imagePickerController animated:YES completion:nil];
}
}
- (void)navigationController:(UINavigationController *)navigationController didShowViewController:(UIViewController *)viewController animated:(BOOL)animated{
if (self.isCamera) {
if ([navigationController.viewControllers count] == 1)
{
CGFloat screenHeight = [[UIScreen mainScreen] bounds].size.height;
UIView *plCropOverlay = [[[viewController.view.subviews objectAtIndex:1]subviews] objectAtIndex:0];
plCropOverlay.hidden = YES;
int position = 0;
if (screenHeight == 568)
{
position = 124;
}
else
{
position = 80;
}
CAShapeLayer *circleLayer = [CAShapeLayer layer];
UIBezierPath *path2 = [UIBezierPath bezierPathWithOvalInRect:
CGRectMake(0.0f, position, 320.0f, 320.0f)];
[path2 setUsesEvenOddFillRule:YES];
[circleLayer setPath:[path2 CGPath]];
[circleLayer setFillColor:[[UIColor clearColor] CGColor]];
UIBezierPath *path = [UIBezierPath bezierPathWithRoundedRect:CGRectMake(0, 0, 320, screenHeight-72) cornerRadius:0];
[path appendPath:path2];
[path setUsesEvenOddFillRule:YES];
CAShapeLayer *fillLayer = [CAShapeLayer layer];
fillLayer.path = path.CGPath;
fillLayer.fillRule = kCAFillRuleEvenOdd;
fillLayer.fillColor = [UIColor blackColor].CGColor;
fillLayer.opacity = 0.8;
[viewController.view.layer addSublayer:fillLayer];
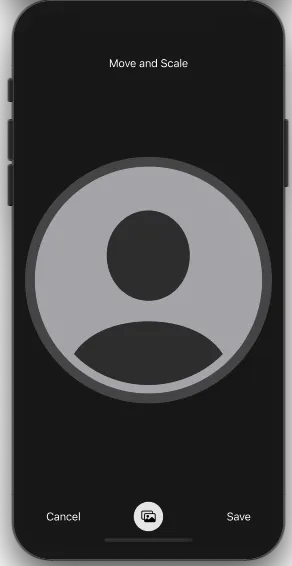
UILabel *moveLabel = [[UILabel alloc]initWithFrame:CGRectMake(0, 10, 320, 50)];
[moveLabel setText:@"Move and Scale"];
[moveLabel setTextAlignment:NSTextAlignmentCenter];
[moveLabel setTextColor:[UIColor whiteColor]];
[viewController.view addSubview:moveLabel];
}
}else{
if ([navigationController.viewControllers count] == 3)
{
CGFloat screenHeight = [[UIScreen mainScreen] bounds].size.height;
UIView *plCropOverlay = [[[viewController.view.subviews objectAtIndex:1]subviews] objectAtIndex:0];
plCropOverlay.hidden = YES;
int position = 0;
if (screenHeight == 568)
{
position = 124;
}
else
{
position = 80;
}
CAShapeLayer *circleLayer = [CAShapeLayer layer];
UIBezierPath *path2 = [UIBezierPath bezierPathWithOvalInRect:
CGRectMake(0.0f, position, 320.0f, 320.0f)];
[path2 setUsesEvenOddFillRule:YES];
[circleLayer setPath:[path2 CGPath]];
[circleLayer setFillColor:[[UIColor clearColor] CGColor]];
UIBezierPath *path = [UIBezierPath bezierPathWithRoundedRect:CGRectMake(0, 0, 320, screenHeight-72) cornerRadius:0];
[path appendPath:path2];
[path setUsesEvenOddFillRule:YES];
CAShapeLayer *fillLayer = [CAShapeLayer layer];
fillLayer.path = path.CGPath;
fillLayer.fillRule = kCAFillRuleEvenOdd;
fillLayer.fillColor = [UIColor blackColor].CGColor;
fillLayer.opacity = 0.8;
[viewController.view.layer addSublayer:fillLayer];
UILabel *moveLabel = [[UILabel alloc]initWithFrame:CGRectMake(0, 10, 320, 50)];
[moveLabel setText:@"Move and Scale"];
[moveLabel setTextAlignment:NSTextAlignmentCenter];
[moveLabel setTextColor:[UIColor whiteColor]];
[viewController.view addSubview:moveLabel];
}
}
}