我制作了两个GIF来解释我想做的事情。灰色边框是我要求的尺寸(700 * 525)。它们位于此问题的底部。
我希望所有大于给定宽度和高度的图像都缩小到边框(从中心开始),然后裁剪边缘。以下是我拼凑的一些代码来尝试实现这一点:
这里有一些GIF图,可以直观地解释我想要实现的内容: GIF 1: 图像比例在
我希望所有大于给定宽度和高度的图像都缩小到边框(从中心开始),然后裁剪边缘。以下是我拼凑的一些代码来尝试实现这一点:
if ($heightofimage => 700 && $widthofimage => 525){
    if ($heightofimage > $widthofimage){

        $widthofimage = 525;
        $heightofimage = //scaled height.

        //crop height to 700.

    }

    if ($heightofimage < $widthofimage){

        $widthofimage = //scaled width.
        $heightofimage = 700;

        //crop width to 525.

    }
}else{
    echo "image too small";
}
这里有一些GIF图,可以直观地解释我想要实现的内容: GIF 1: 图像比例在
x方向上过大。
GIF 2:这里的图像比例在y方向上过大。
@timclutton的图像质量比较
我使用了您的方法(点击此处使用PHP进行自己的测试),然后将其与原始照片进行了比较,如您所见有很大的差异:
您的PHP方法:
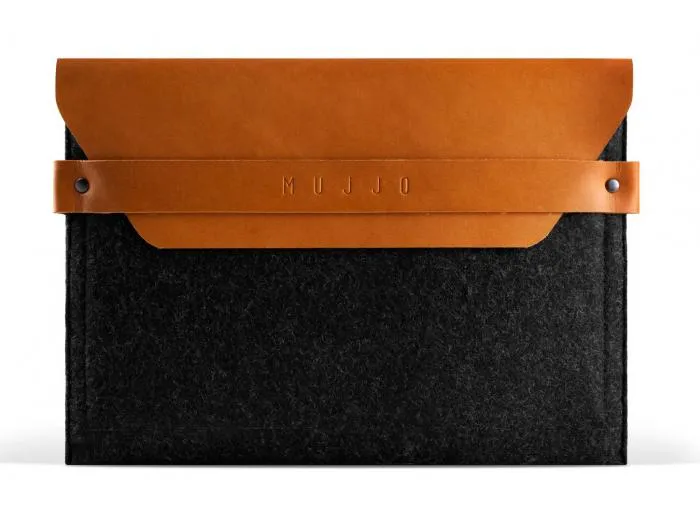
(来源:tragicclothing.co.uk)
实际文件:
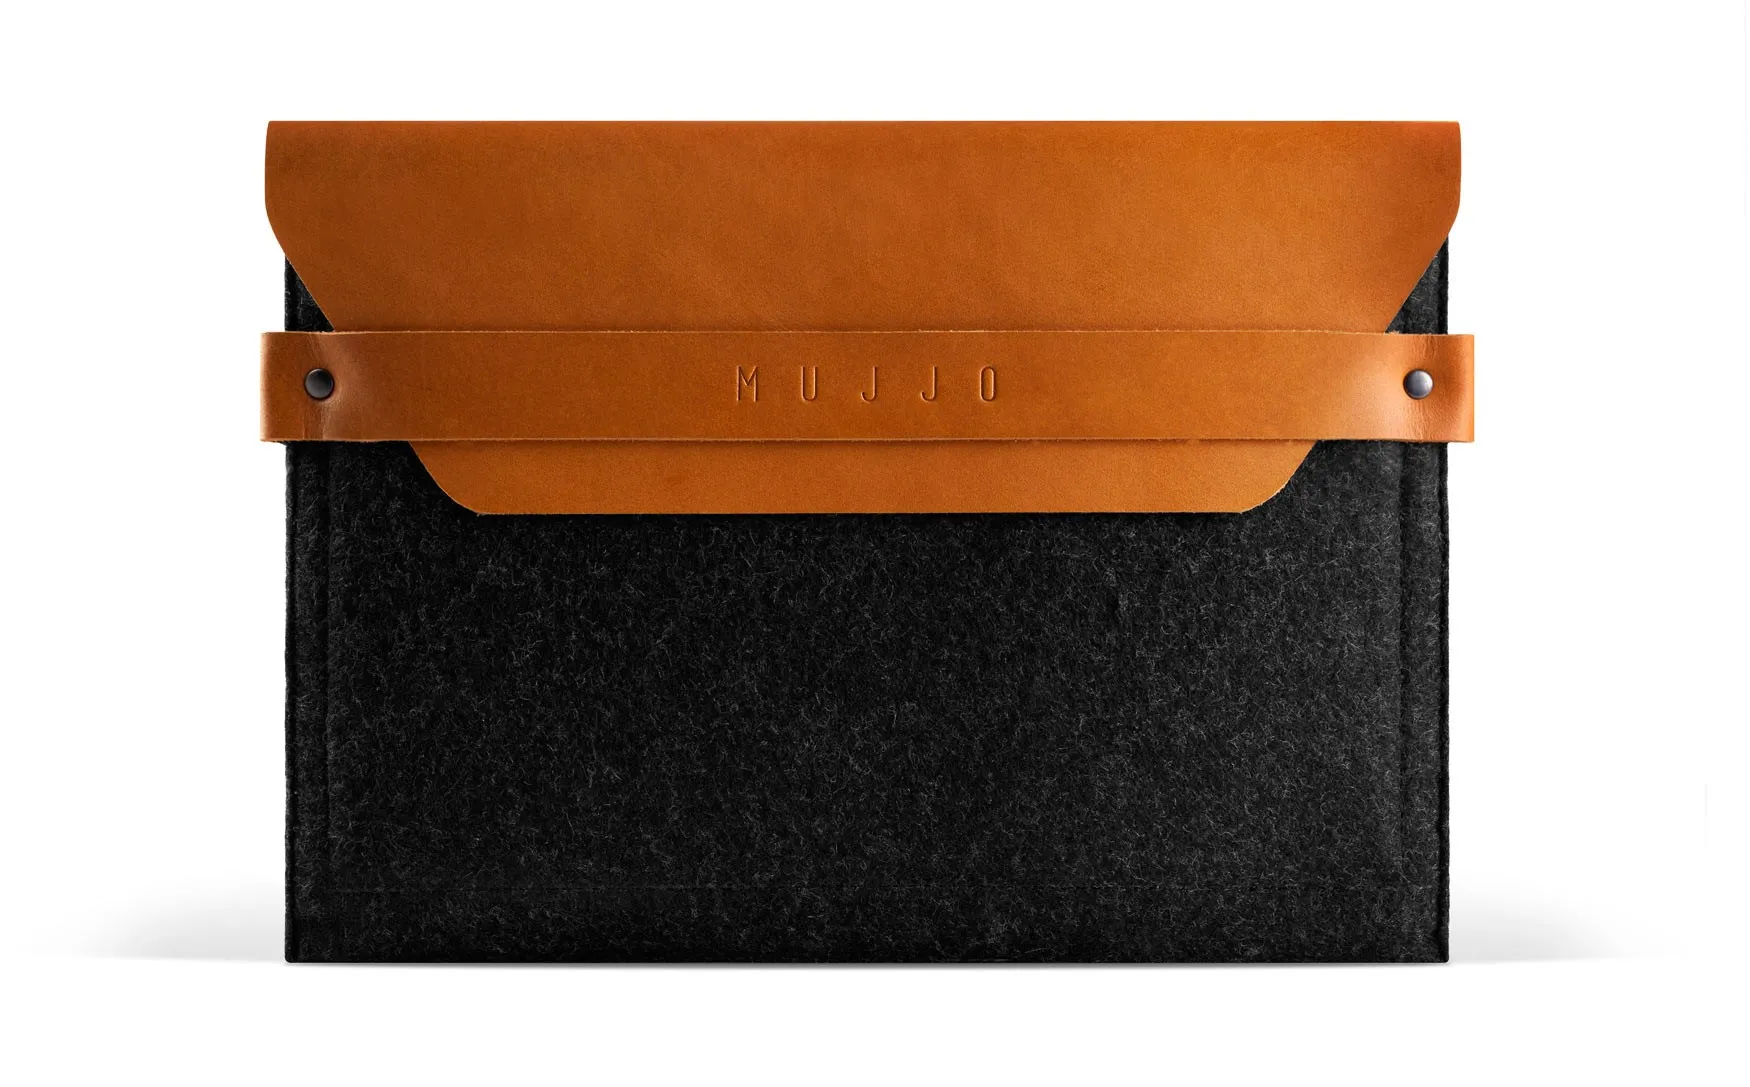
(来源:mujjo.com)
background-size:cover感兴趣。这里有一个例子。请注意,它的浏览器兼容性有些受限。(顺便说一句,动态GIF的使用很不错。) - showdev