我试图将SwiftUI路径添加到Scenekit场景中(作为SCNShape)。
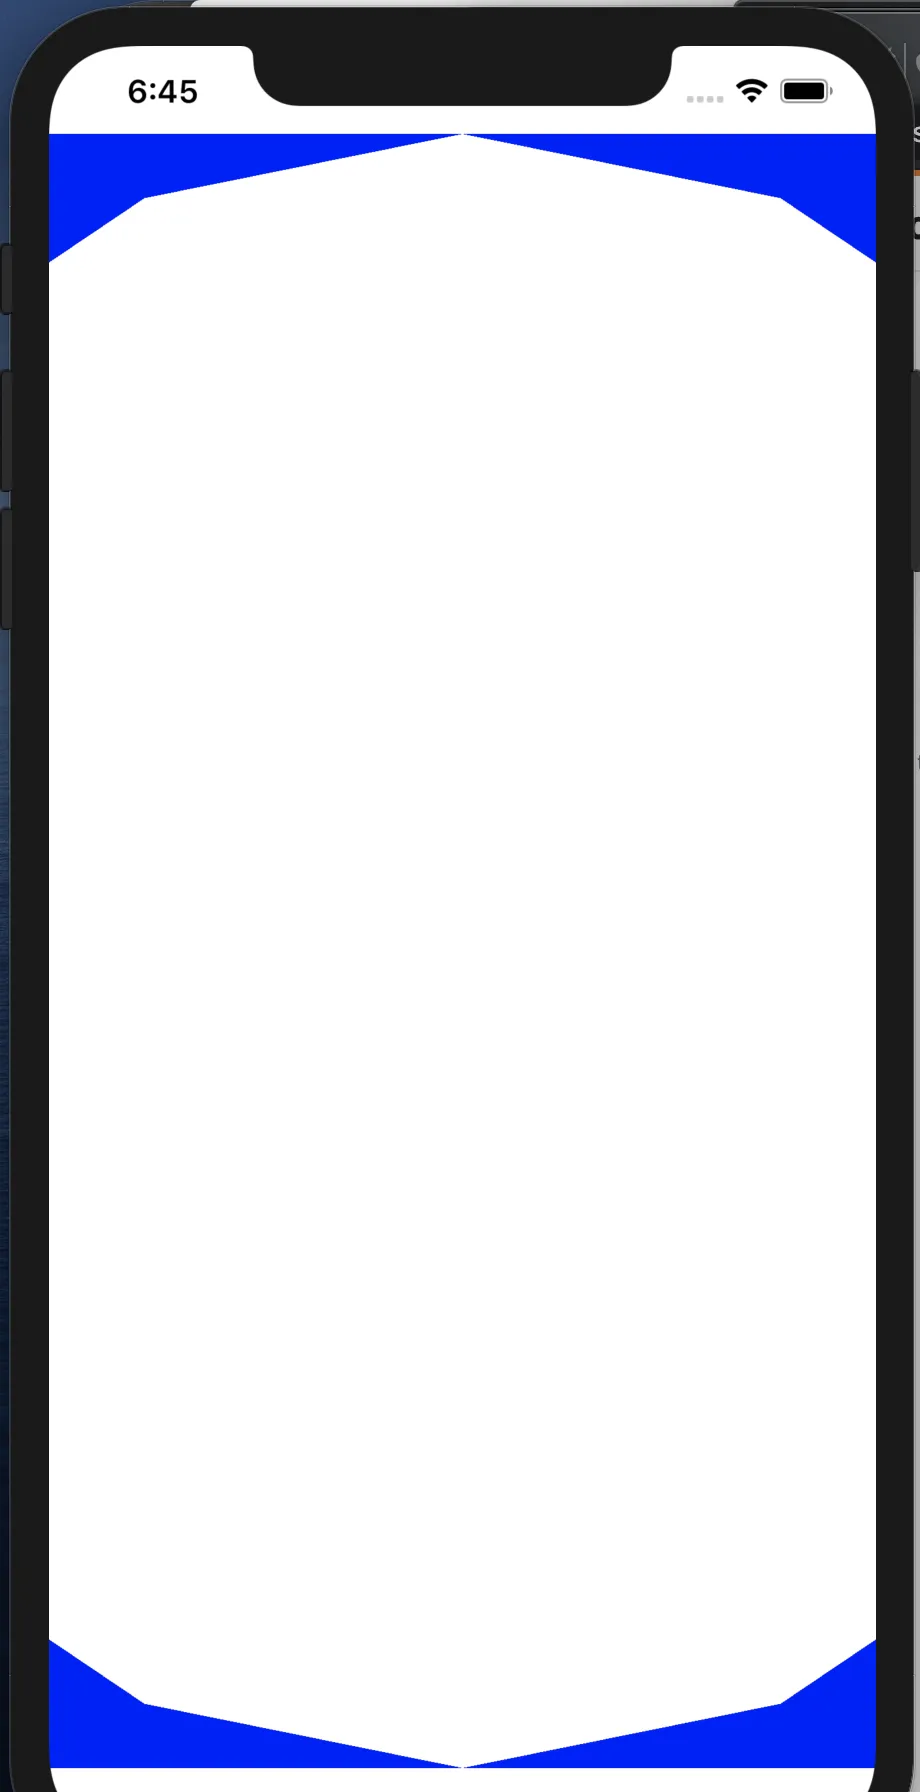
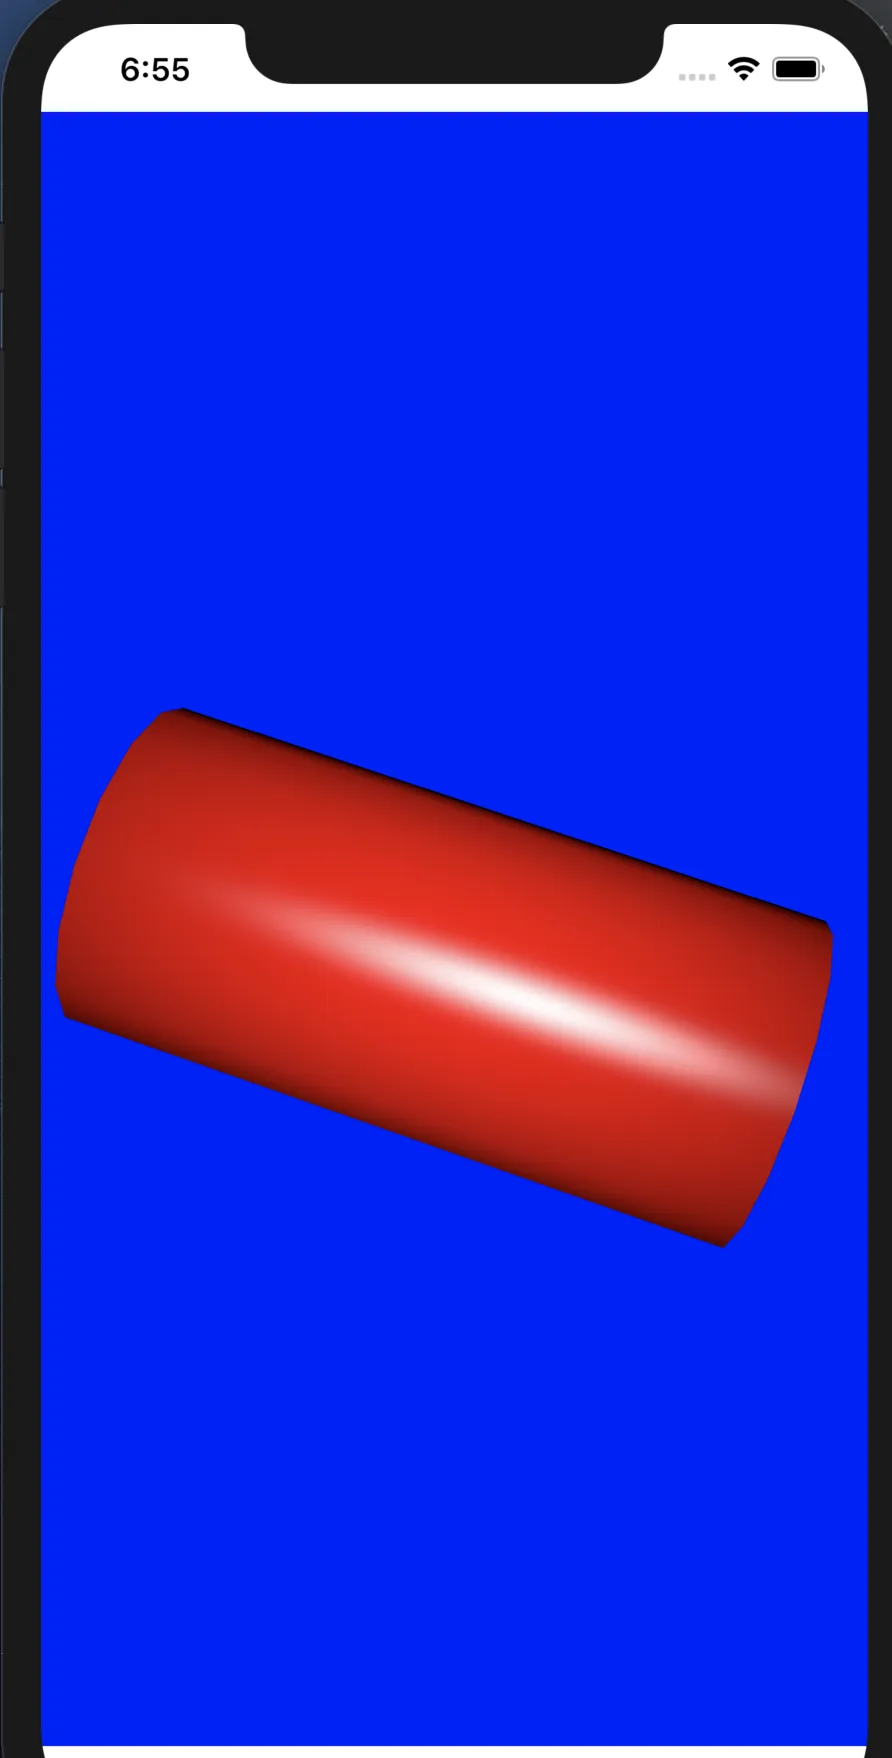
我创建了: Scenekit 视图(图片1) SwiftUI 路径(图片2)
然后我尝试根据以下方法调用SwiftUI路径: 无法使用UIBezierPath和SCNShape创建圆形
   let scnpath = ContentView()
   let shape = SCNShape(path: scnpath)
   let shapeNode = SCNNode(geometry: shape)
没有起作用,结果如下:
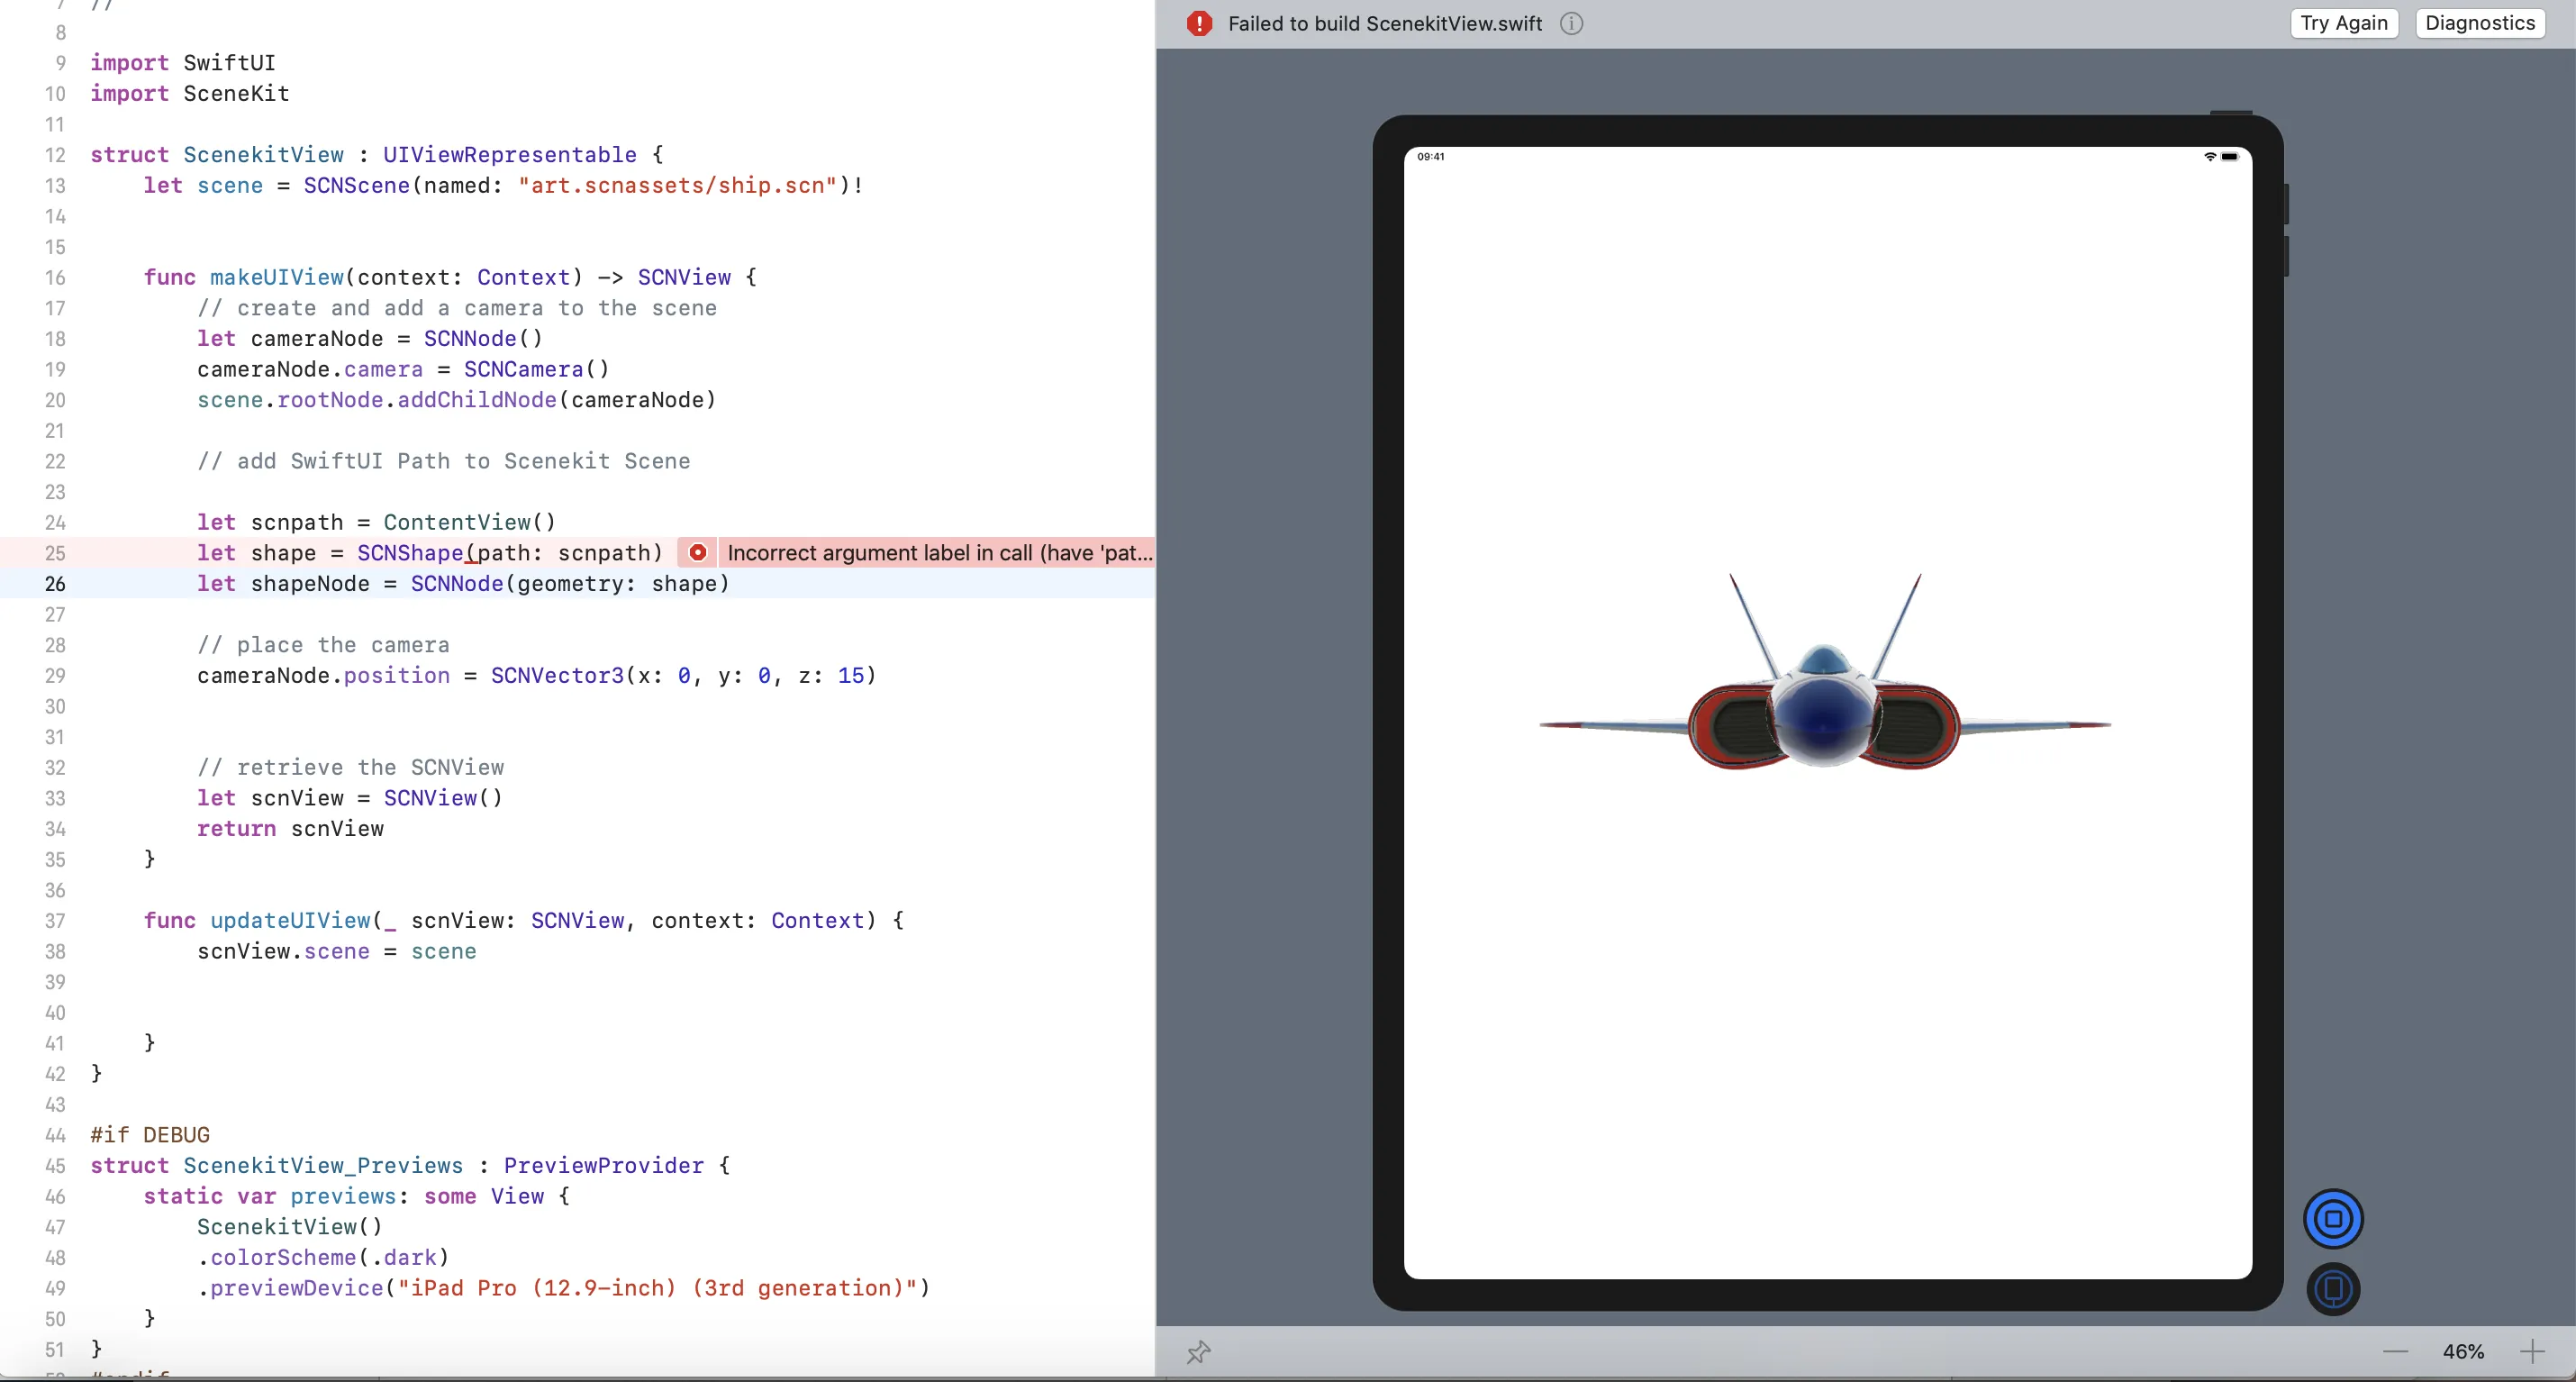
import SwiftUI
import SceneKit

struct ScenekitView : UIViewRepresentable {
    let scene = SCNScene(named: "art.scnassets/ship.scn")!


    func makeUIView(context: Context) -> SCNView {
        // create and add a camera to the scene
        let cameraNode = SCNNode()
        cameraNode.camera = SCNCamera()
        scene.rootNode.addChildNode(cameraNode)

        // add SwiftUI Path to Scenekit Scene

        let scnpath = ContentView()
        let shape = SCNShape(path: scnpath)
        let shapeNode = SCNNode(geometry: shape)

        // place the camera
        cameraNode.position = SCNVector3(x: 0, y: 0, z: 15)


        // retrieve the SCNView
        let scnView = SCNView()
        return scnView
    }

    func updateUIView(_ scnView: SCNView, context: Context) {
        scnView.scene = scene


    }
}

#if DEBUG
struct ScenekitView_Previews : PreviewProvider {
    static var previews: some View {
        ScenekitView()
        .colorScheme(.dark)
        .previewDevice("iPad Pro (12.9-inch) (3rd generation)")
    }
}
#endif
import SwiftUI
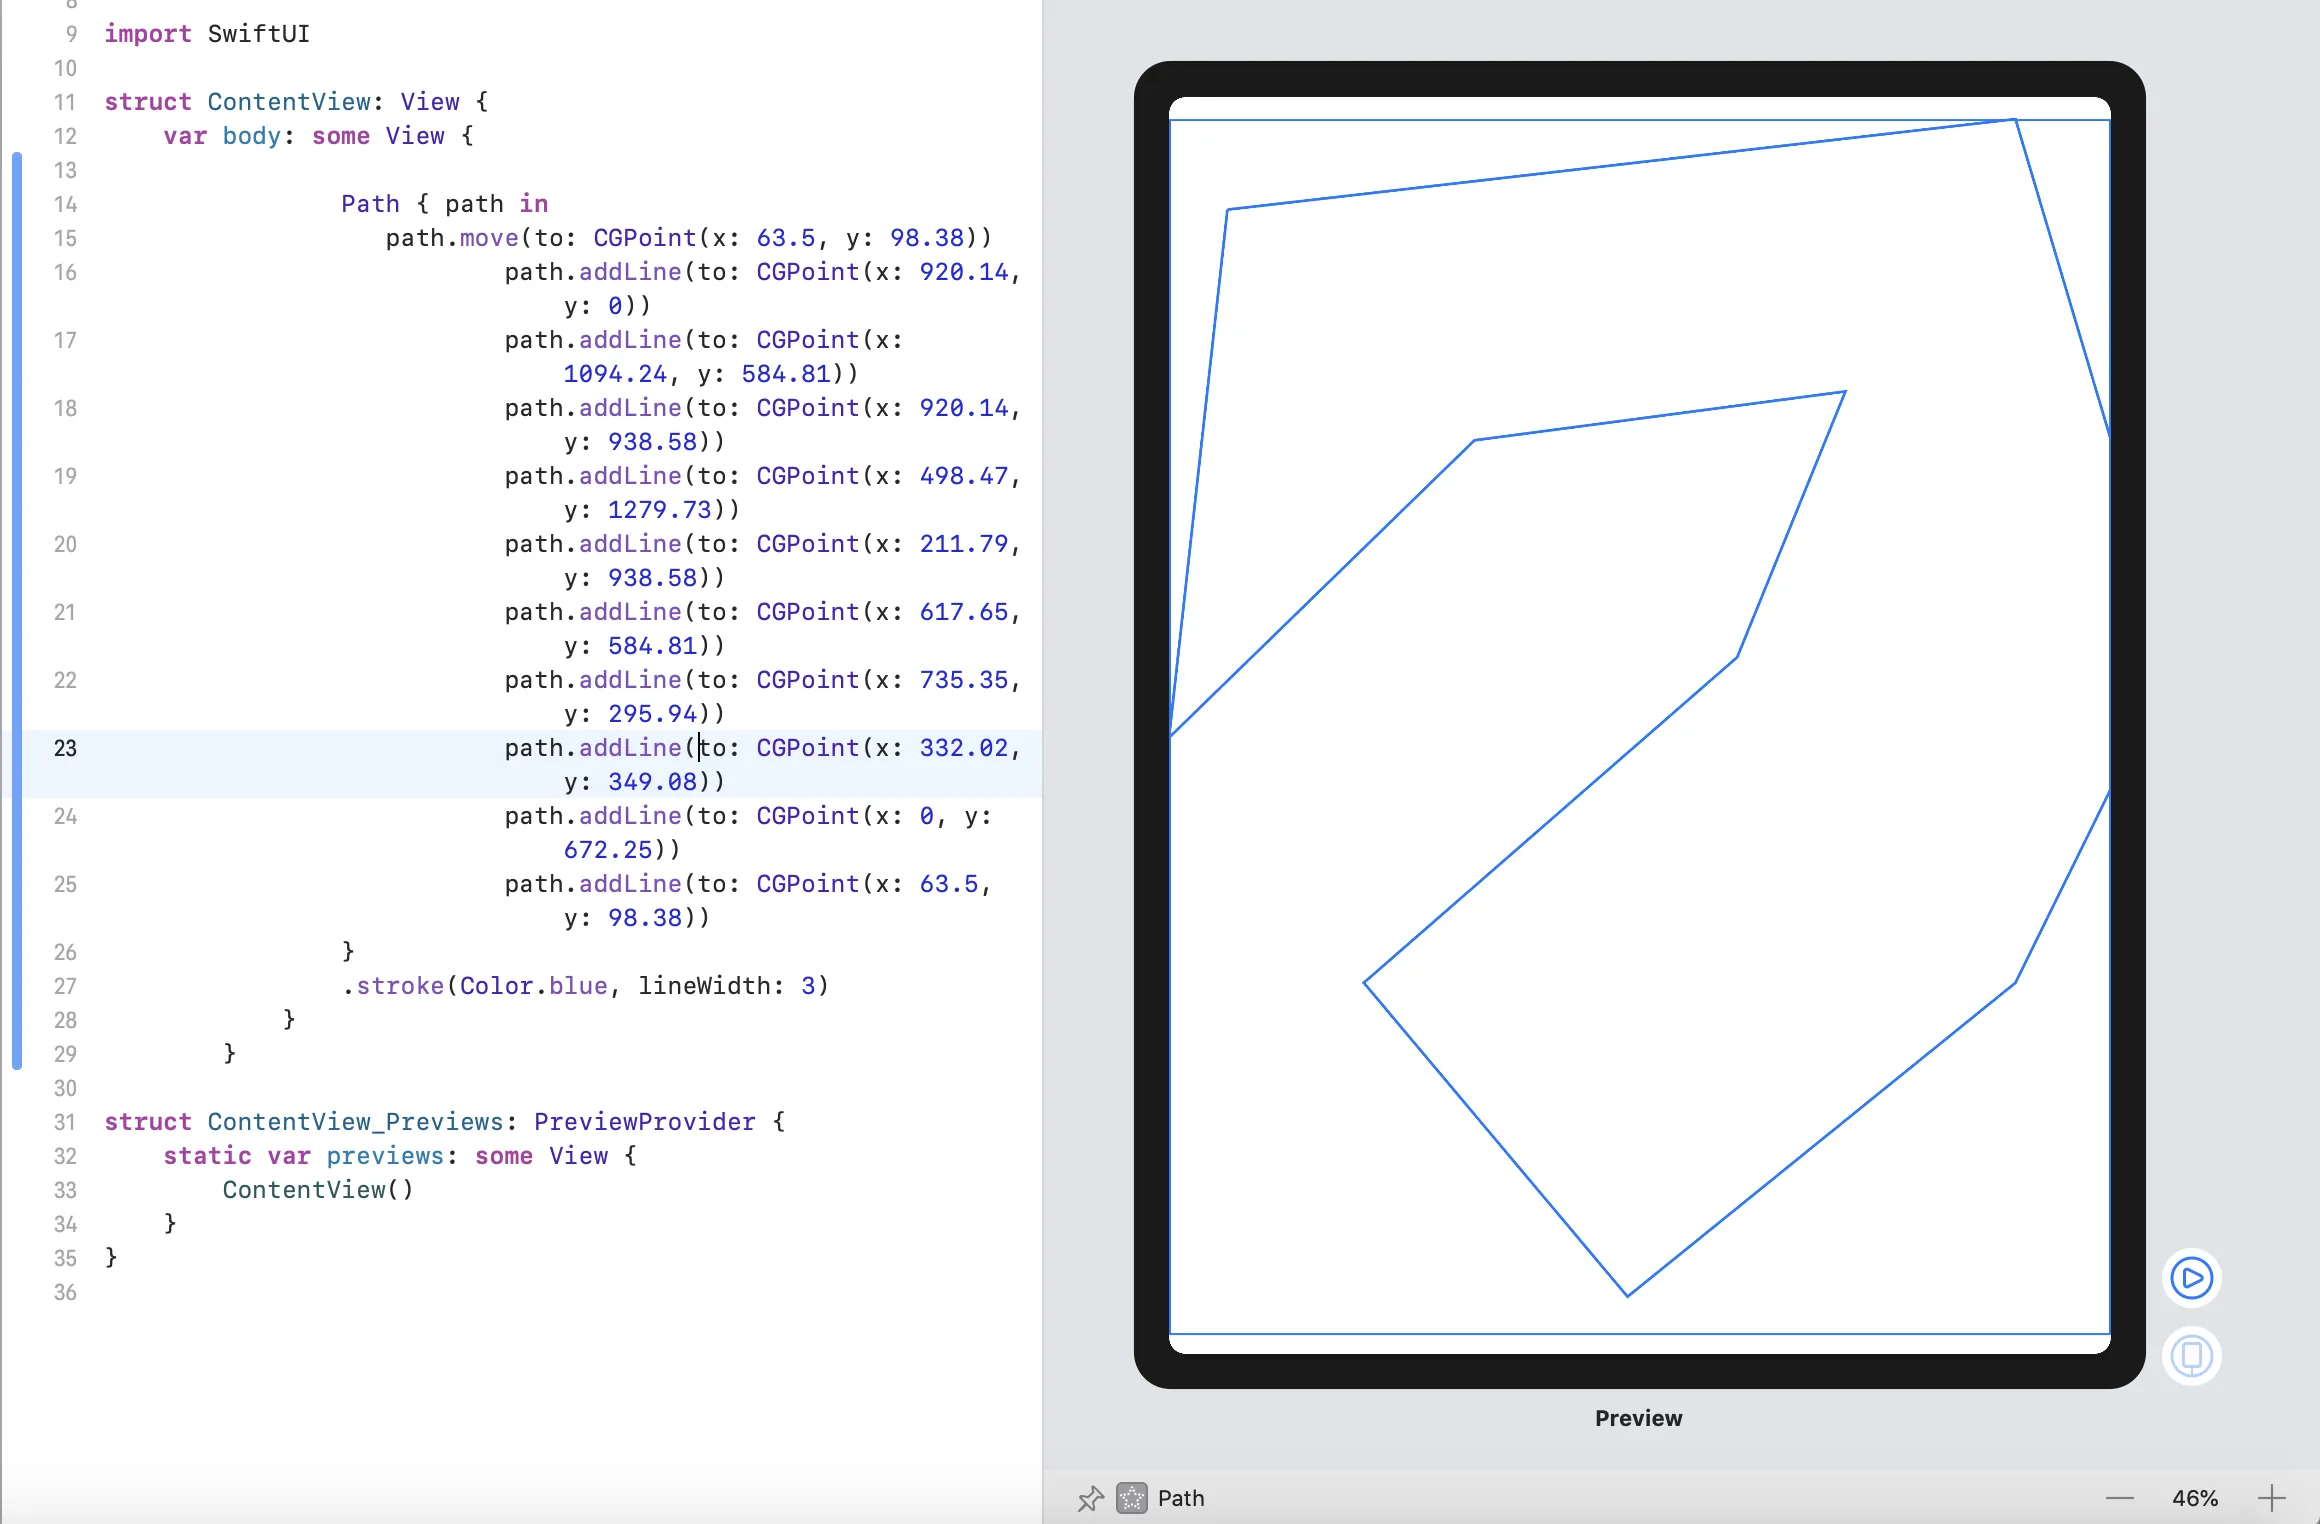
struct ContentView: View {
var body: some View {
Path { path in
path.move(to: CGPoint(x: 63.5, y: 98.38))
path.addLine(to: CGPoint(x: 920.14, y: 0))
path.addLine(to: CGPoint(x: 1094.24, y: 584.81))
path.addLine(to: CGPoint(x: 920.14, y: 938.58))
path.addLine(to: CGPoint(x: 498.47, y: 1279.73))
path.addLine(to: CGPoint(x: 211.79, y: 938.58))
path.addLine(to: CGPoint(x: 617.65, y: 584.81))
path.addLine(to: CGPoint(x: 735.35, y: 295.94))
path.addLine(to: CGPoint(x: 332.02, y: 349.08))
path.addLine(to: CGPoint(x: 0, y: 672.25))
path.addLine(to: CGPoint(x: 63.5, y: 98.38))
}
.stroke(Color.blue, lineWidth: 3)
}
}
struct ContentView_Previews: PreviewProvider {
static var previews: some View {
ContentView()
}
}
非常感谢任何帮助!
谢谢