看一下形态学变换。我们可以先使用一个大卷积核,比如size为(15,15)的MORPH_ELLIPSE进行膨胀操作。然后再使用相同大小的卷积核进行腐蚀操作来缩小斑块。请查看
这里的文档。请注意,OpenCV还提供了链接或序列化的形态学操作。请参见
这里。然后你会发现我的建议是一个“闭合”操作。
更新:
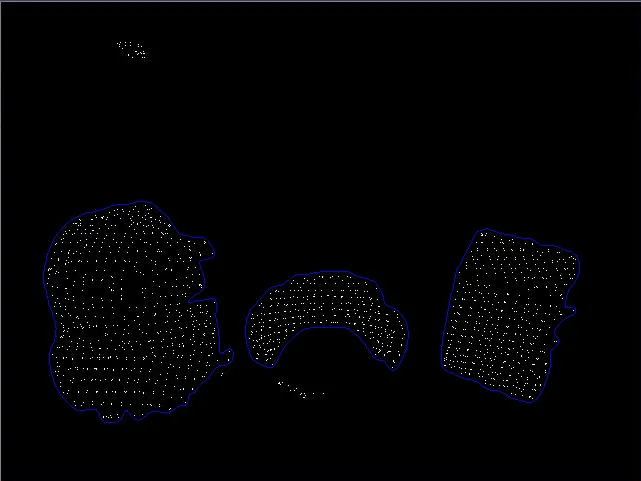
我尝试使用简单的膨胀和轮廓来得出图像中显示的结果。结果似乎满足问题的一般要求。
同样,应用程序中“实时”的含义没有具体说明,但这组操作可以快速执行,并且可以轻松地应用于30fps的应用程序。
以下是代码片段:
cvtColor(src, gray, CV_BGR2GRAY);
threshold(gray, gray, 128.0, 128.0, THRESH_BINARY);
dilate(gray, dest, getStructuringElement(MORPH_ELLIPSE, Size(13,13)));
vector<vector<Point> > contours;
vector<Vec4i> hierarchy;
findContours(dest, contours, hierarchy, CV_RETR_TREE, CV_CHAIN_APPROX_SIMPLE, Point(0,0));
float maxArea = 0.0f;
for (size_t i = 0; i< contours.size(); i++)
{
if (contourArea(contours[i]) >= maxArea)
{
maxArea = contourArea(contours[i]);
}
}
float minArea = 0.20f * maxArea;
vector<vector<Point> > prunedContours;
for (size_t i = 0; i< contours.size(); i++)
{
if (contourArea(contours[i]) >= minArea)
{
prunedContours.push_back(contours[i]);
}
}
vector<vector<Point> > smoothedContours;
smoothedContours.resize(prunedContours.size());
for (size_t i=0;i<prunedContours.size();i++)
{
vector<float> x;
vector<float> y;
const size_t n = prunedContours[i].size();
for (size_t j=0;j<n;j++)
{
x.push_back(prunedContours[i][j].x);
y.push_back(prunedContours[i][j].y);
}
Mat G;
transpose(getGaussianKernel(11,4.0,CV_32FC1),G);
vector<float> xSmooth;
vector<float> ySmooth;
filter2D(x,xSmooth, CV_32FC1, G);
filter2D(y,ySmooth, CV_32FC1, G);
for (size_t j=0;j<n;j++)
{
smoothedContours[i].push_back(Point2f(xSmooth[j],ySmooth[j]));
}
}
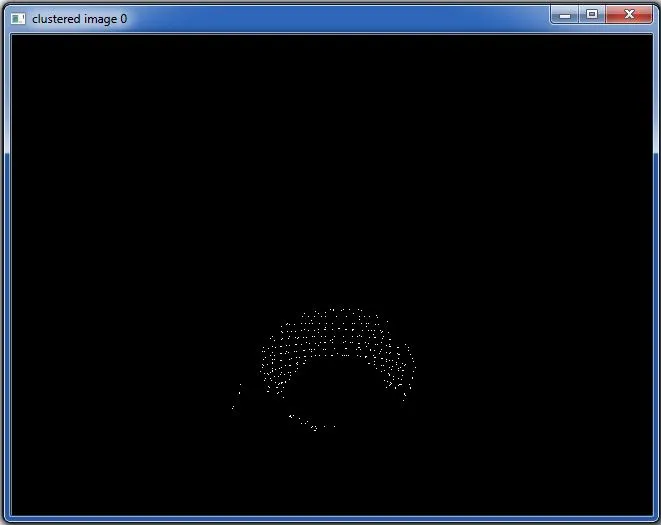
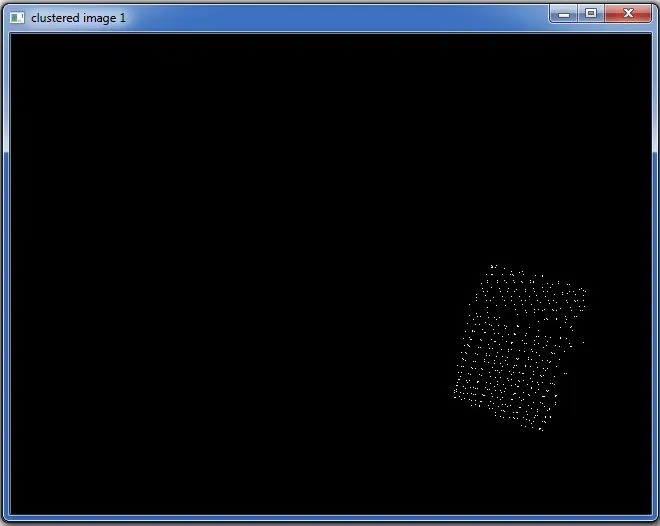
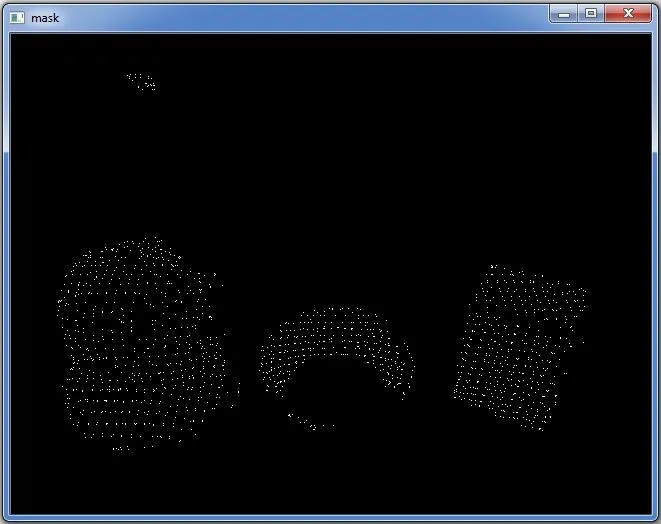 我想重构或者上采样这张图片(我不确定应该用哪个词),使得结果图像像这样:
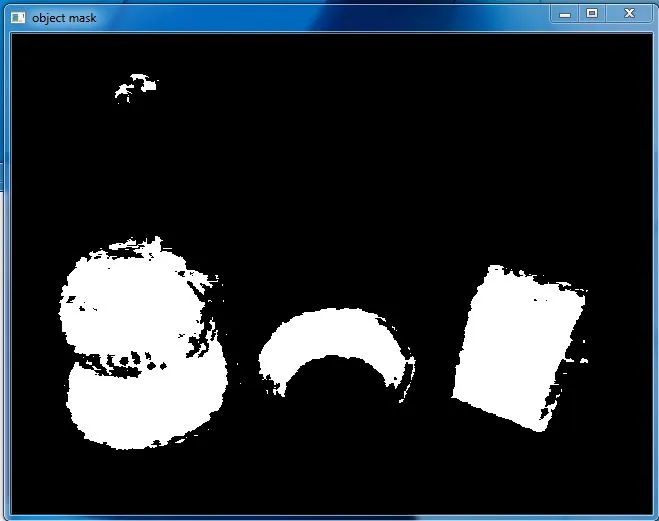 它不需要和示例图像完全相同,但是主要思路是填充原始图像。
 。
。