我有一张正方形的图片(尽管这个问题也适用于矩形图片)。我希望将图片显示得尽可能大,如果需要的话可以拉伸图片以填满其父视图,同时仍然保持纵横比。但是问题在于,我无法拉伸图片并“匹配”ImageView的高度和宽度。
这是我的XML布局文件:
<?xml version="1.0" encoding="utf-8"?>
<RelativeLayout xmlns:android="http://schemas.android.com/apk/res/android"
                android:layout_width="fill_parent"
                android:layout_height="wrap_content"
                android:padding="10dp">

    <ImageView android:id="@+id/image"
               android:layout_width="fill_parent"
               android:layout_height="fill_parent"
               android:adjustViewBounds="true"
               android:scaleType="fitCenter"
               android:layout_marginTop="10dp"/>

    <TextView android:id="@+id/name"
              android:layout_below="@id/image"
              android:layout_alignLeft="@id/image"
              android:layout_marginTop="20dp"
              android:layout_width="fill_parent"
              android:layout_height="wrap_content"
              android:textSize="18dp"/>

    <TextView android:id="@+id/name2"
              android:layout_below="@id/name"
              android:layout_width="fill_parent"
              android:layout_height="wrap_content"
              android:textSize="14dp"/>


</RelativeLayout>
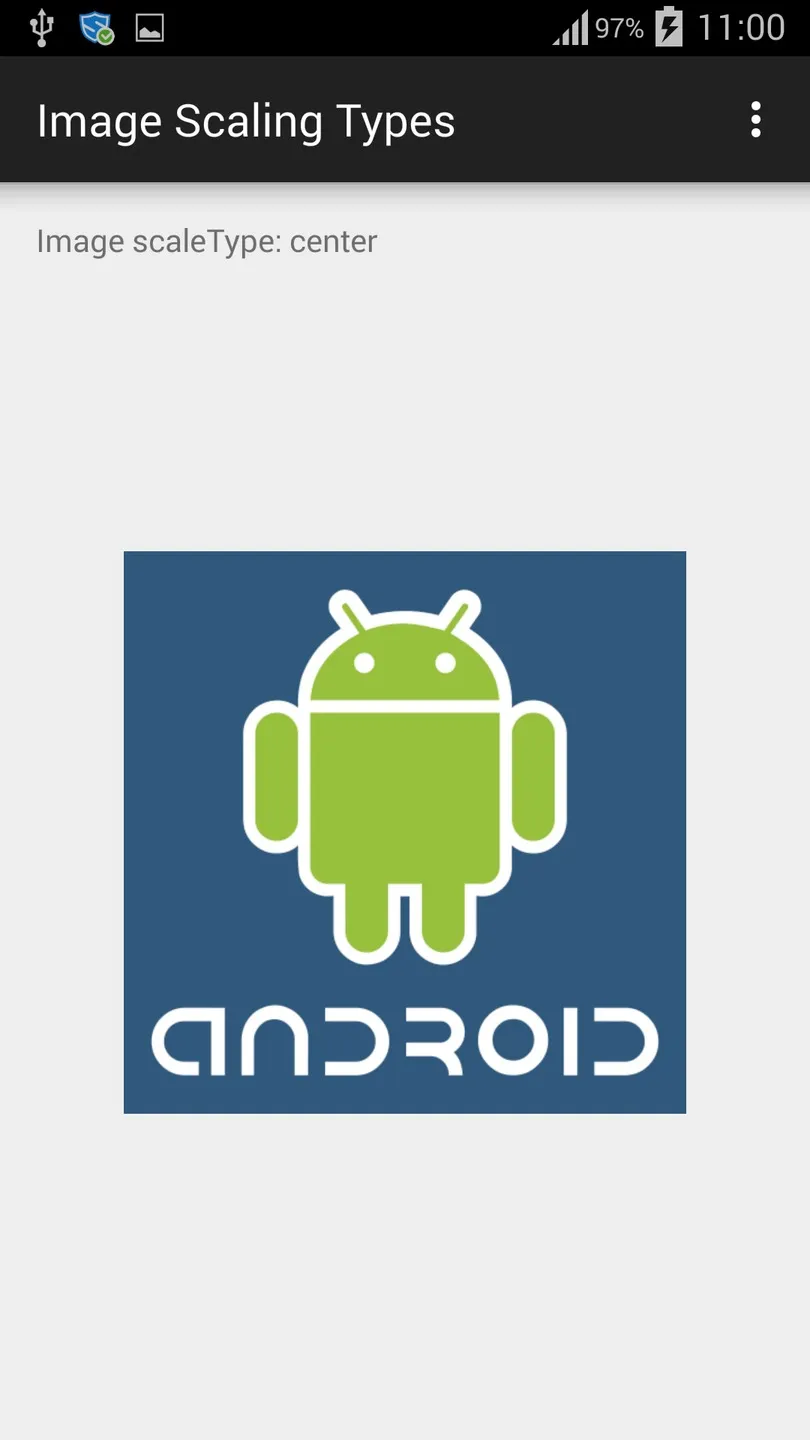
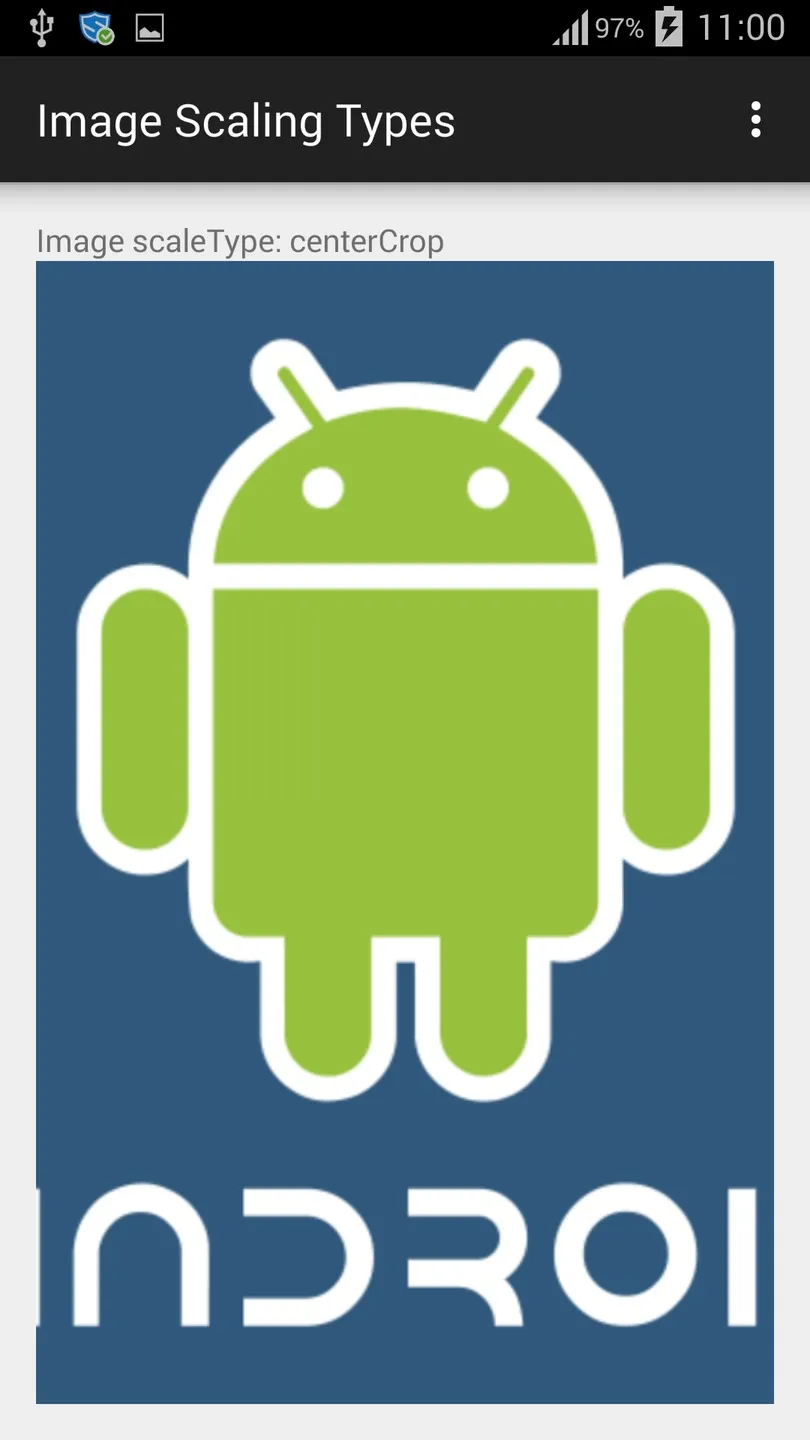
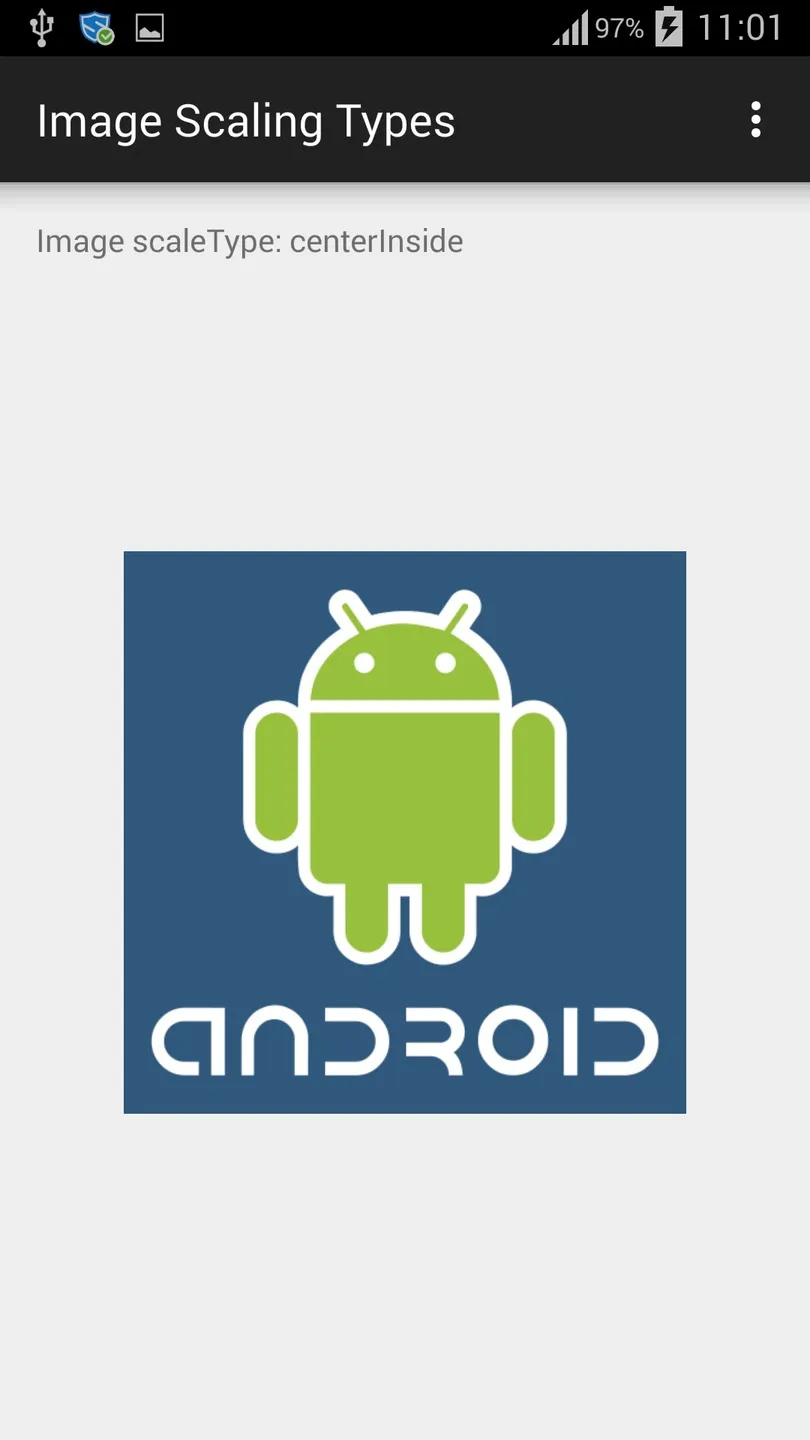
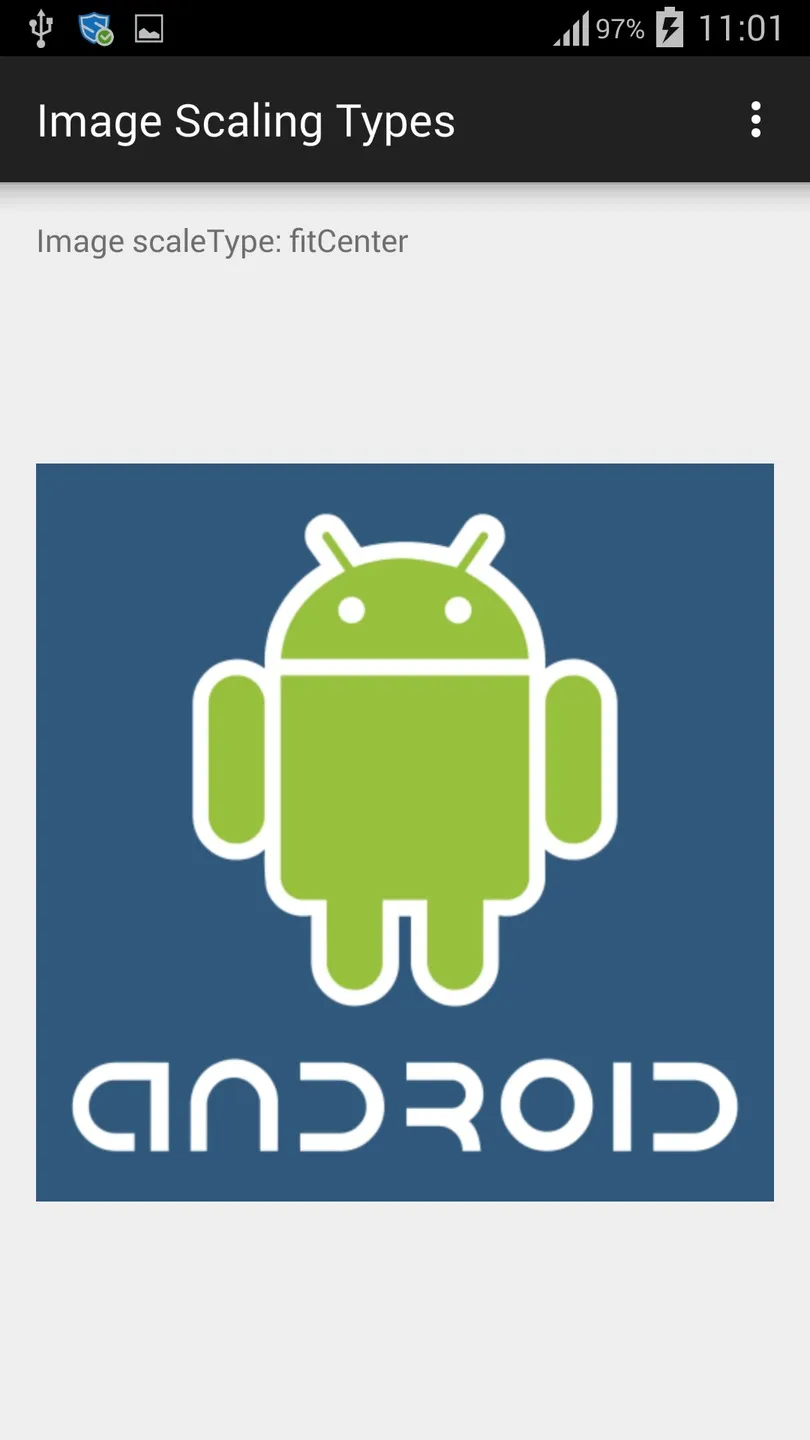
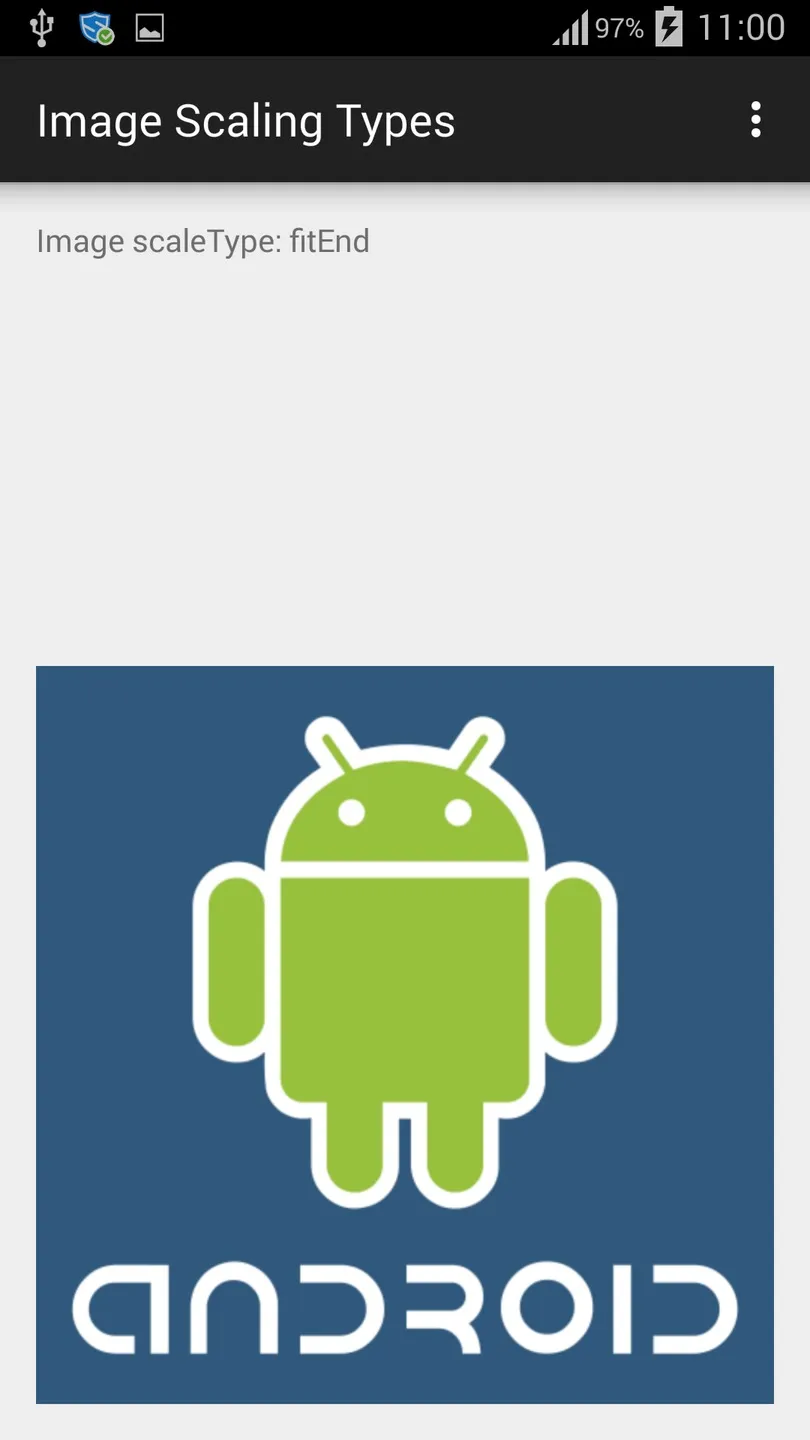
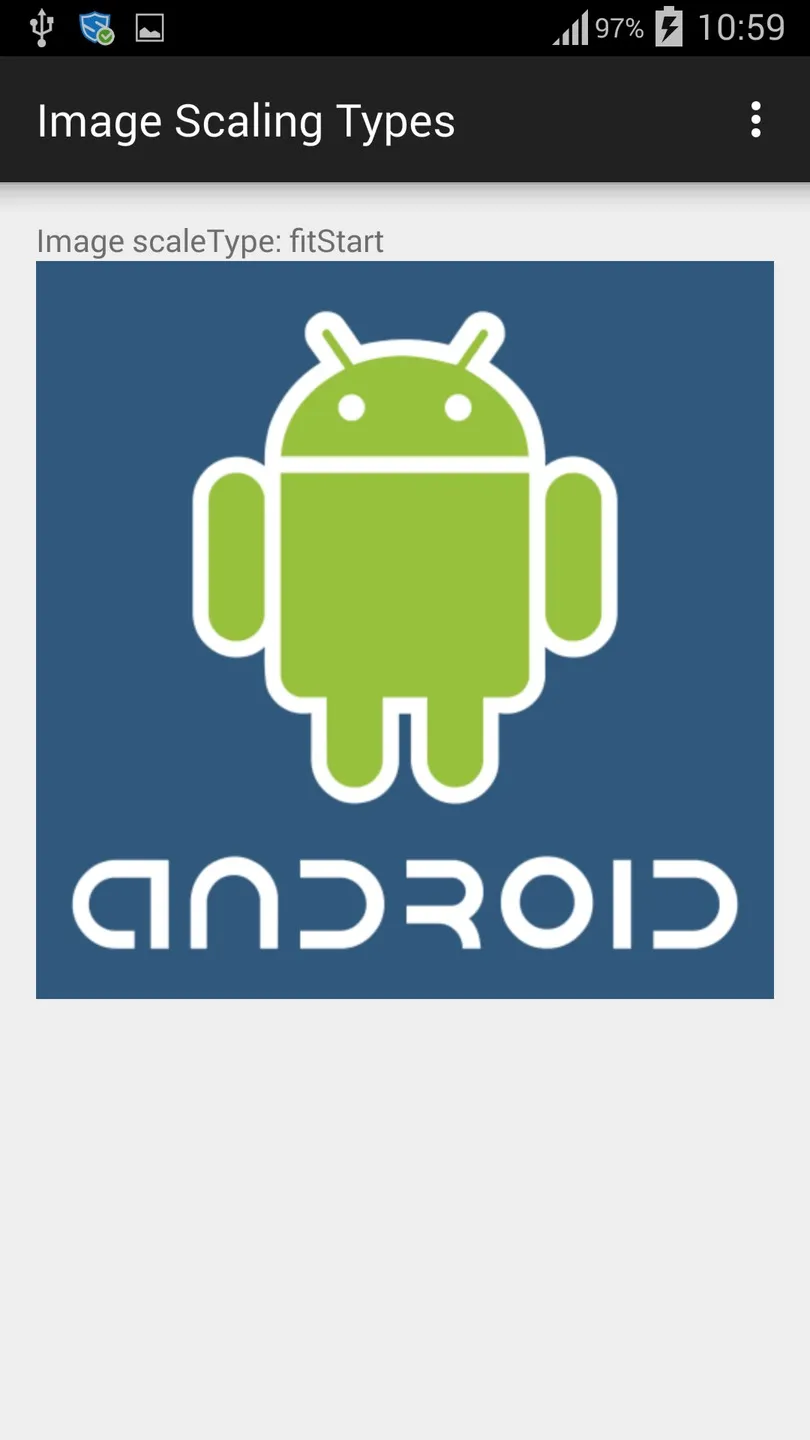
fill_parent、wrap_content和多个scaleType:fitCenter、fitStart、fitEnd、centerInside。它们都以正确的纵横比绘制图像,但没有一种实际上将图像和ImageView本身缩放,导致TextView被推到屏幕下方,ImageView内有空白区域、图像未缩放或图像被裁剪。我无法找出正确的组合方式。
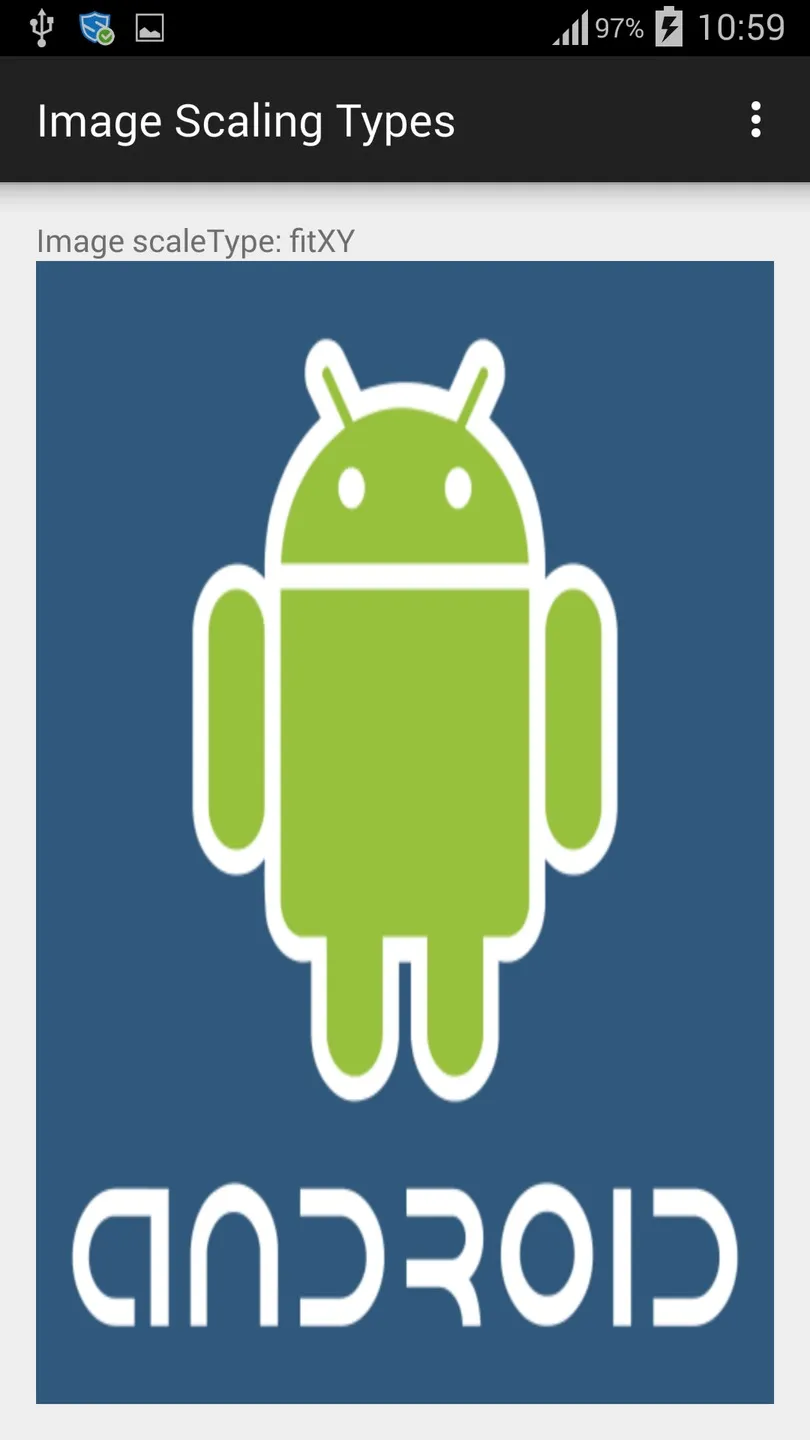
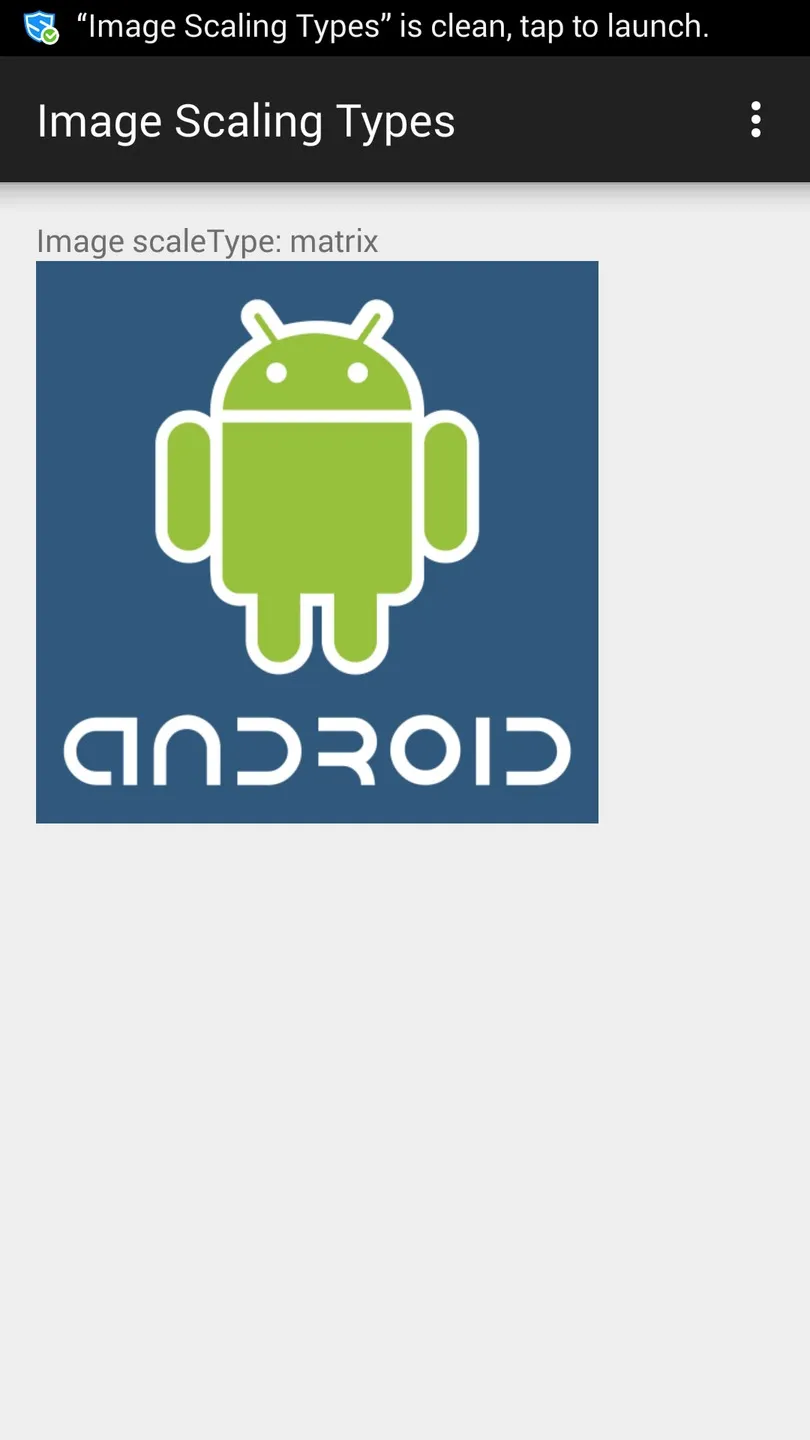
adjustViewBounds=true。但它似乎没有调整 ImageView 的边界大小。 - garbagecollectorandroid:scaleType="fitXY"吗?它会将图像拉伸以匹配您分配的宽度和高度(即,它不会考虑纵横比)。 - Sufian