在Swift中动画自定义UIView属性

5

大家好!

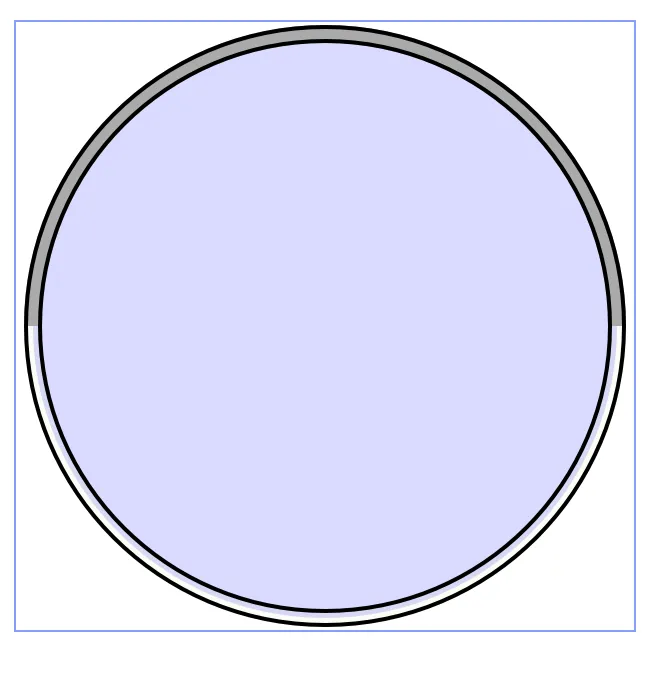
我使用CoreGraphics创建了一个圆形进度视图,看起来并更新如下:
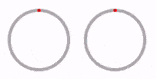
50% enter image description here 75% enter image description here

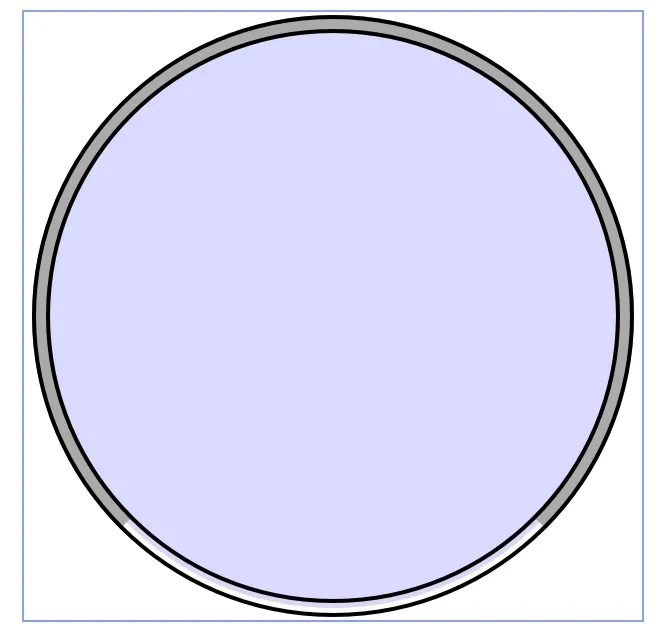
这个类是一个UIView类,它有一个名为“progress”的变量,用于确定填充圆形的程度。

它工作得很好,但我想能够动画地更改进度变量,以便条形动画平滑。

我已经从无数的例子中读到,需要有一个CALayer类和View类一起使用,我已经做了,但它根本不会动画。

两个问题:

  1. Can I keep the graphic I drew in CoreGraphics, or do I need to somehow redraw it in CALayer?
  2. My current (attempted) solution crashes towards the bottom at: anim.fromValue = pres.progress. What's up?

    class CircleProgressView: UIView {
        @IBInspectable var backFillColor: UIColor = UIColor.blueColor()
        @IBInspectable var fillColor: UIColor = UIColor.greenColor()
        @IBInspectable var strokeColor: UIColor = UIColor.greenColor()
    
        dynamic var progress: CGFloat = 0.00 {
            didSet {
                self.layer.setValue(progress, forKey: "progress")
            }
        }
    
        var distToDestination: CGFloat = 10.0
        @IBInspectable var arcWidth: CGFloat = 20
        @IBInspectable var outlineWidth: CGFloat = 5
    
        override class func layerClass() -> AnyClass {
            return CircleProgressLayer.self
        }
    
        override func drawRect(rect: CGRect) {
    
            var fillColor = self.fillColor
    
            if distToDestination < 3.0 {
                fillColor = UIColor.greenColor()
            } else {
                fillColor = self.fillColor
            }
    
            //Drawing the inside of the container
    
            //Drawing in the container
            let center = CGPoint(x:bounds.width/2, y: bounds.height/2)
            let radius: CGFloat = max(bounds.width, bounds.height) - 10
            let startAngle: CGFloat = 3 * π / 2
            let endAngle: CGFloat = 3 * π / 2 + 2 * π
            let path = UIBezierPath(arcCenter: center, radius: radius/2 - arcWidth/2, startAngle: startAngle, endAngle: endAngle, clockwise: true)
            path.lineWidth = arcWidth
            backFillColor.setStroke()
            path.stroke()
            let fill = UIColor.blueColor().colorWithAlphaComponent(0.15)
            fill.setFill()
            path.fill()
    
            //Drawing the fill path. Same process
            let fillAngleLength =  (π) * progress
            let fillStartAngle = 3 * π / 2 - fillAngleLength
            let fillEndAngle = 3 * π / 2 + fillAngleLength
    
            let fillPath_fill = UIBezierPath(arcCenter: center, radius: radius/2 - arcWidth/2, startAngle: fillStartAngle, endAngle: fillEndAngle, clockwise: true)
            fillPath_fill.lineWidth = arcWidth
            fillColor.setStroke()
            fillPath_fill.stroke()
    
            //Drawing container outline on top
            let outlinePath_outer = UIBezierPath(arcCenter: center, radius: radius / 2 - outlineWidth / 2, startAngle: startAngle, endAngle: endAngle, clockwise: true)
            let outlinePath_inner = UIBezierPath(arcCenter: center, radius: radius / 2 - arcWidth + outlineWidth / 2, startAngle: startAngle, endAngle: endAngle, clockwise: true)
            outlinePath_outer.lineWidth = outlineWidth
            outlinePath_inner.lineWidth = outlineWidth
            strokeColor.setStroke()
            outlinePath_outer.stroke()
            outlinePath_inner.stroke()
        }
    }
    
    class CircleProgressLayer: CALayer {
        @NSManaged var progress: CGFloat
    
        override class func needsDisplayForKey(key: String) -> Bool {
            if key == "progress" {
                return true
            }
            return super.needsDisplayForKey(key)
        }
    
        override func actionForKey(key: String) -> CAAction? {
            if (key == "progress") {
                if let pres = self.presentationLayer() {
                    let anim: CABasicAnimation = CABasicAnimation.init(keyPath: key)
                    anim.fromValue = pres.progress
                    anim.duration = 0.2
                    return anim
                }
    
            return super.actionForKey(key)
            } else {
                return super.actionForKey(key)
            }
        }
    }
    
感谢您的帮助!

我相信这就是在actionForKey() -> CAAction?中发生的事情。 - Ted Lasso
2个回答

13

试试这个吧 :)

class ViewController: UIViewController {

    let progressView = CircleProgressView(frame:CGRect(x: 0.0, y: 0.0, width: 200.0, height: 200))

    override func viewDidLoad() {
        super.viewDidLoad()
        let button = UIButton()
        button.frame = CGRectMake(0, 300, 200, 100)
        button.backgroundColor = UIColor.yellowColor()
        button.addTarget(self, action: #selector(ViewController.tap), forControlEvents: UIControlEvents.TouchUpInside)
        view.addSubview(button)
        view.addSubview(progressView)

        progressView.progress = 1.0
   }

    func tap() {
        if  progressView.progress == 0.5 {
            progressView.progress = 1.0
        } else {
            progressView.progress = 0.5
        }
    }
}

class CircleProgressView: UIView {

    dynamic var progress: CGFloat = 0.00 {
        didSet {
            let animation = CABasicAnimation()
            animation.keyPath = "progress"
            animation.fromValue = circleLayer().progress
            animation.toValue = progress
            animation.duration = Double(0.5)
            self.layer.addAnimation(animation, forKey: "progress")
            circleLayer().progress = progress
        }
    }

    func circleLayer() ->  CircleProgressLayer {
        return self.layer as! CircleProgressLayer
    }

    override class func layerClass() -> AnyClass {
        return CircleProgressLayer.self
    }
}

class CircleProgressLayer: CALayer {
    @NSManaged var progress: CGFloat

    override class func needsDisplayForKey(key: String) -> Bool {
        if key == "progress" {
            return true
        }
        return super.needsDisplayForKey(key)
    }

    var backFillColor: UIColor = UIColor.blueColor()
    var fillColor: UIColor = UIColor.greenColor()
    var strokeColor: UIColor = UIColor.greenColor()
    var distToDestination: CGFloat = 10.0
    var arcWidth: CGFloat = 20
    var outlineWidth: CGFloat = 5

    override func drawInContext(ctx: CGContext) {
        super.drawInContext(ctx)

        UIGraphicsPushContext(ctx)

        //Drawing in the container
        let center = CGPoint(x:bounds.width/2, y: bounds.height/2)
        let radius: CGFloat = max(bounds.width, bounds.height) - 10
        let startAngle: CGFloat = 3 * CGFloat(M_PI) / 2
        let endAngle: CGFloat = 3 * CGFloat(M_PI) / 2 + 2 * CGFloat(M_PI)
        let path = UIBezierPath(arcCenter: center, radius: radius/2 - arcWidth/2, startAngle: startAngle, endAngle: endAngle, clockwise: true)
        path.lineWidth = arcWidth
        backFillColor.setStroke()
        path.stroke()
        let fill = UIColor.blueColor().colorWithAlphaComponent(0.15)
        fill.setFill()
        path.fill()

        //Drawing the fill path. Same process
        let fillAngleLength =  (CGFloat(M_PI)) * progress
        let fillStartAngle = 3 * CGFloat(M_PI) / 2 - fillAngleLength
        let fillEndAngle = 3 * CGFloat(M_PI) / 2 + fillAngleLength

        let fillPath_fill = UIBezierPath(arcCenter: center, radius: radius/2 - arcWidth/2, startAngle: fillStartAngle, endAngle: fillEndAngle, clockwise: true)
        fillPath_fill.lineWidth = arcWidth
        fillColor.setStroke()
        fillPath_fill.stroke()

        //Drawing container outline on top
        let outlinePath_outer = UIBezierPath(arcCenter: center, radius: radius / 2 - outlineWidth / 2, startAngle: startAngle, endAngle: endAngle, clockwise: true)
        let outlinePath_inner = UIBezierPath(arcCenter: center, radius: radius / 2 - arcWidth + outlineWidth / 2, startAngle: startAngle, endAngle: endAngle, clockwise: true)
        outlinePath_outer.lineWidth = outlineWidth
        outlinePath_inner.lineWidth = outlineWidth
        strokeColor.setStroke()
        outlinePath_outer.stroke()
        outlinePath_inner.stroke()

        UIGraphicsPopContext()
    }
}

谢谢!我知道提供示例代码可能会被看作是不好的做法,但这确实非常有效。看起来我把正确的元素放错了位置。感谢您向我展示如何在CA层中绘制核心图形元素,并将动画嵌入到didSet中 :) - Ted Lasso
1
干得好!我真的尝试了很多次才让它正常工作,最重要的是使用 @NSManaged 标记您的自定义属性。 - krosshj
@krosshj 我花了两个不眠之夜想知道为什么我的程序没有工作。原来我漏掉了 @NSManaged - lobianco
@krosshj 今天是个好日子! - AntonTheDev

2
虽然AntonTheDev提供了一个很好的答案,但他的解决方案不允许您在动画块中对CircularProgressView进行动画处理,因此您无法做出像这样的整洁的事情:
UIView.animate(withDuration: 2, delay: 0, options: .curveEaseInOut, 
animations: {
    circularProgress.progress = 0.76
}, completion: nil)

这里有一个相似的问题,其中包含了一个基于所接受答案和 this 帖子思路的最新的 Swift 3 答案。最终的解决方案如下所示。

the final product

Swift 3 解决方案


网页内容由stack overflow 提供, 点击上面的
可以查看英文原文,
原文链接