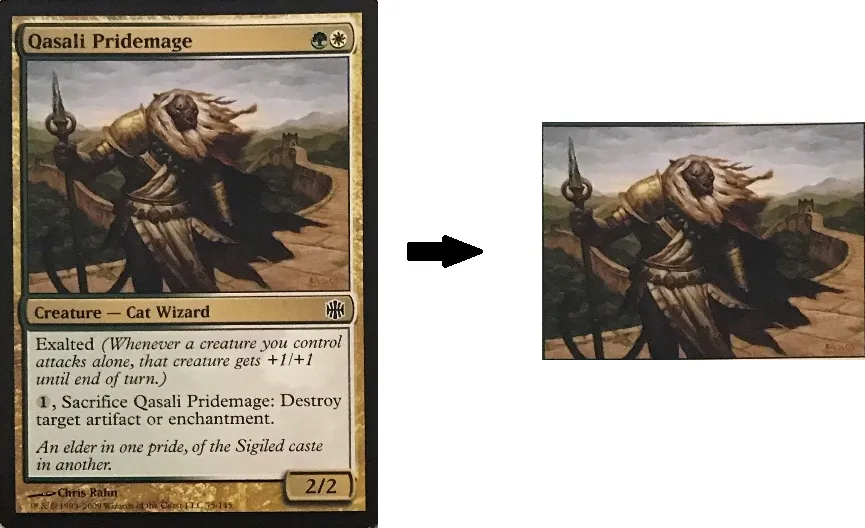
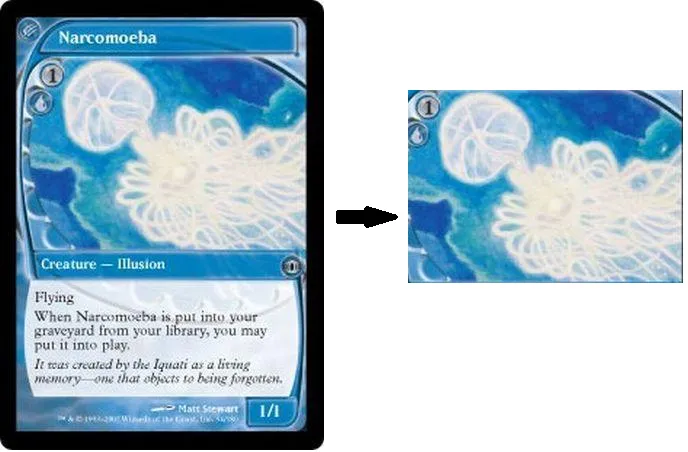
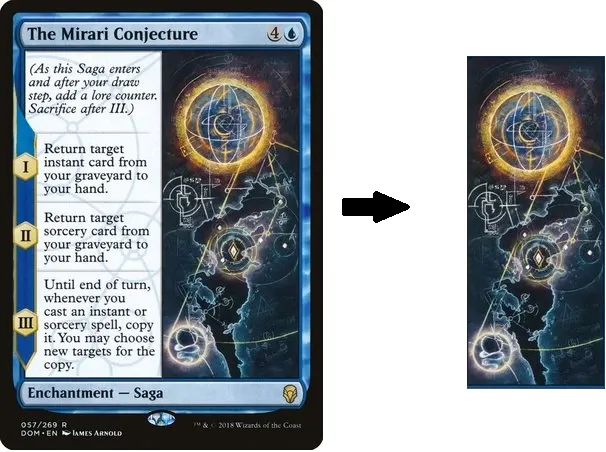
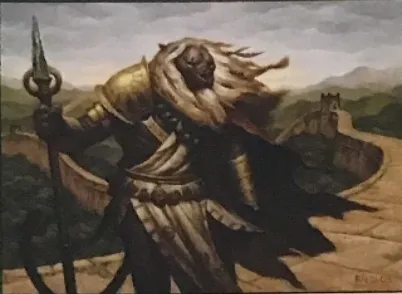
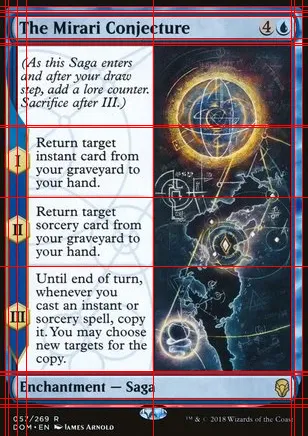
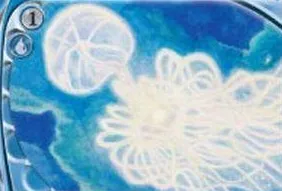
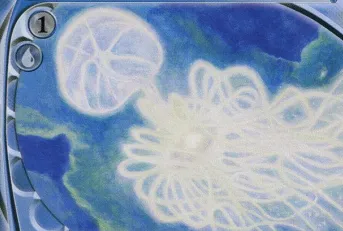
我使用了霍夫直线变换来检测图像中的直线部分。
所有直线的交点被用来构造所有可能的矩形,这些矩形不包含其他交点。
由于你要查找的卡片部分总是这些矩形中最大的一个(至少在你提供的样本中),我只需选择最大的矩形作为获胜者。
该脚本无需用户交互即可运行。
import cv2
import numpy as np
from collections import defaultdict
def segment_by_angle_kmeans(lines, k=2, **kwargs):
default_criteria_type = cv2.TERM_CRITERIA_EPS + cv2.TERM_CRITERIA_MAX_ITER
criteria = kwargs.get('criteria', (default_criteria_type, 10, 1.0))
flags = kwargs.get('flags', cv2.KMEANS_RANDOM_CENTERS)
attempts = kwargs.get('attempts', 10)
angles = np.array([line[0][1] for line in lines])
pts = np.array([[np.cos(2*angle), np.sin(2*angle)]
for angle in angles], dtype=np.float32)
labels, centers = cv2.kmeans(pts, k, None, criteria, attempts, flags)[1:]
labels = labels.reshape(-1)
segmented = defaultdict(list)
for i, line in zip(range(len(lines)), lines):
segmented[labels[i]].append(line)
segmented = list(segmented.values())
return segmented
def intersection(line1, line2):
rho1, theta1 = line1[0]
rho2, theta2 = line2[0]
A = np.array([
[np.cos(theta1), np.sin(theta1)],
[np.cos(theta2), np.sin(theta2)]
])
b = np.array([[rho1], [rho2]])
x0, y0 = np.linalg.solve(A, b)
x0, y0 = int(np.round(x0)), int(np.round(y0))
return [[x0, y0]]
def segmented_intersections(lines):
intersections = []
for i, group in enumerate(lines[:-1]):
for next_group in lines[i+1:]:
for line1 in group:
for line2 in next_group:
intersections.append(intersection(line1, line2))
return intersections
def rect_from_crossings(crossings):
rectangles = []
for i in range(len(crossings)):
x1= int(crossings[i][0][0])
y1= int(crossings[i][0][1])
for j in range(len(crossings)):
x2= int(crossings[j][0][0])
y2= int(crossings[j][0][1])
flag = 1
for k in range(len(crossings)):
x3= int(crossings[k][0][0])
y3= int(crossings[k][0][1])
if (x1 > x2 or y1 > y2):
flag = 0
elif ((((x3 >= x1) and (x2 >= x3))and (y3 > y1) and (y2 > y3) or ((x3 > x1) and (x2 > x3))and (y3 >= y1) and (y2 >= y3))):
if(i!=k and j!=k):
flag = 0
if flag:
rectangles.append([[x1,y1],[x2,y2]])
return rectangles
if __name__ == '__main__':
img = cv2.imread('yi8db.png')
width = int(img.shape[1])
height = int(img.shape[0])
scale = 380/width
dim = (int(width*scale), int(height*scale))
img = cv2.resize(img, dim, interpolation = cv2.INTER_AREA)
img2 = img.copy()
gray = cv2.cvtColor(img,cv2.COLOR_BGR2GRAY)
gray = cv2.GaussianBlur(gray,(5,5),cv2.BORDER_DEFAULT)
edges = cv2.Canny(gray,10,45,apertureSize = 7)
lines = cv2.HoughLines(edges,1,np.pi/90,160)
segmented = segment_by_angle_kmeans(lines)
crossings = segmented_intersections(segmented)
rectangles = rect_from_crossings(crossings)
size = 0
for i in range(len(rectangles)):
x1 = rectangles[i][0][0]
x2 = rectangles[i][1][0]
y1 = rectangles[i][0][1]
y2 = rectangles[i][1][1]
if(size < (abs(x1-x2)*abs(y1-y2))):
size = abs(x1-x2)*abs(y1-y2)
x1_rect = x1
x2_rect = x2
y1_rect = y1
y2_rect = y2
cv2.rectangle(img2, (x1_rect,y1_rect), (x2_rect,y2_rect), (0,0,255), 2)
roi = img[y1_rect:y2_rect, x1_rect:x2_rect]
cv2.imshow("Output",roi)
cv2.imwrite("Output.png", roi)
cv2.waitKey()
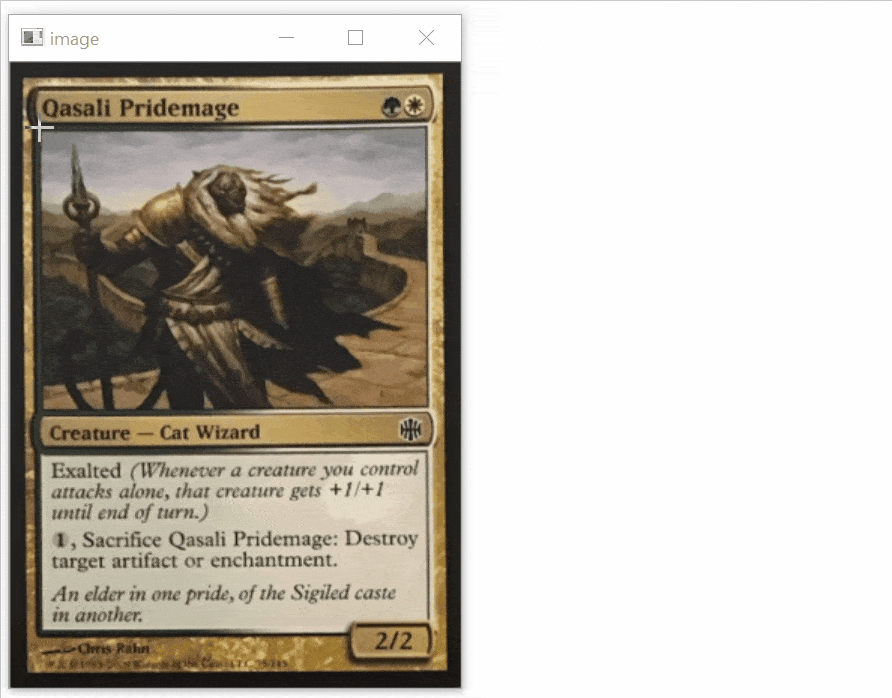
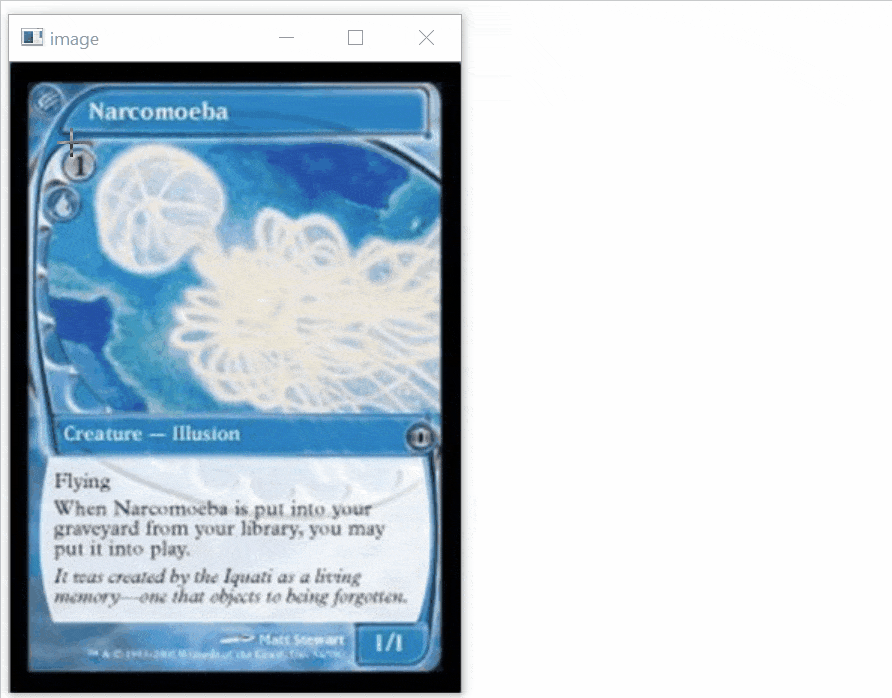
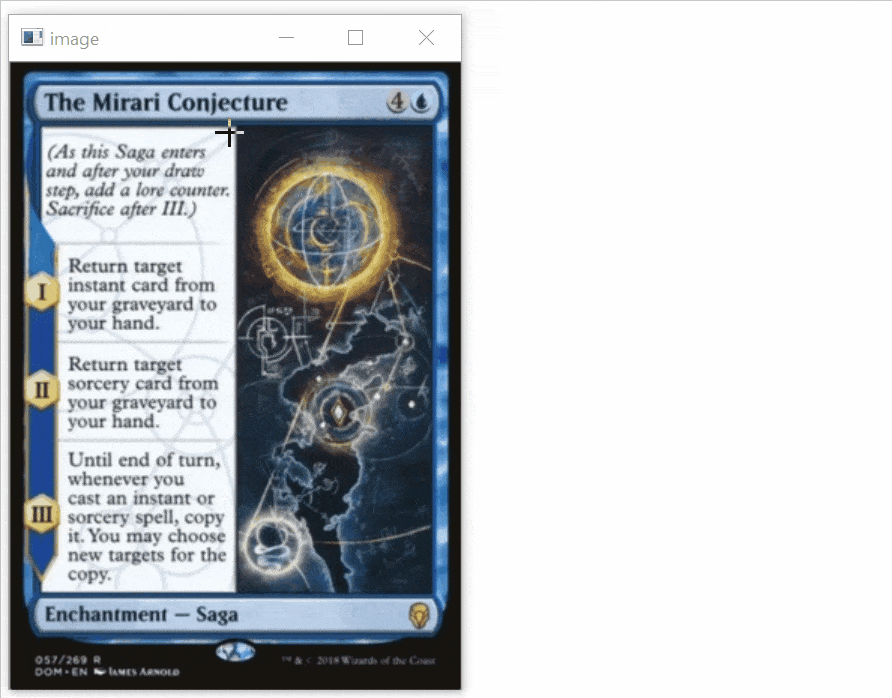
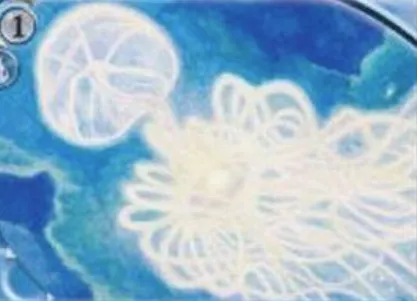
以下是提供的样本结果:
有关查找线交叉点的代码,请在此处查找:
使用HoughLines OpenCV找到绘制两条直线的交点
您可以在此处阅读关于霍夫线的更多信息
here。