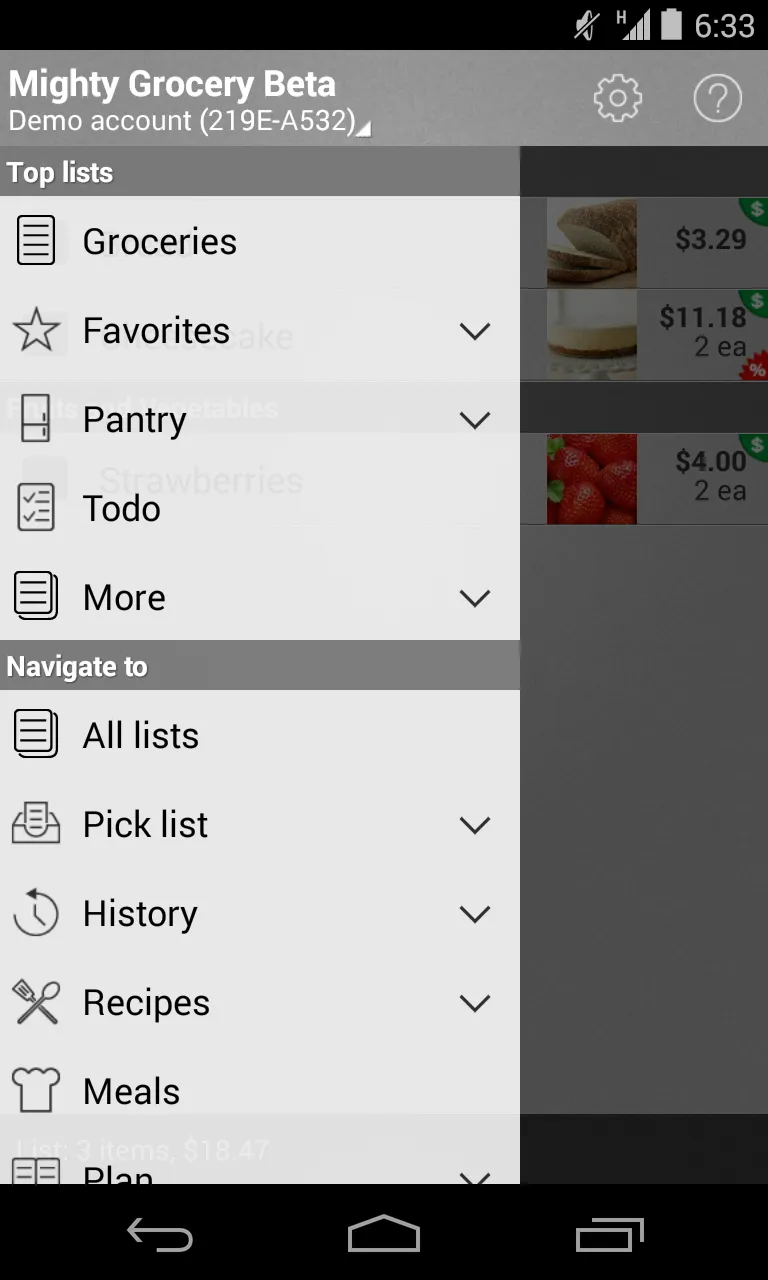
最佳解决方案是在导航视图中使用可扩展的列表视图。请参见下面的代码activity_navigation_view.xml。
     <android.support.v4.widget.DrawerLayout
        xmlns:android="http://schemas.android.com/apk/res/android"
        xmlns:app="http://schemas.android.com/apk/res-auto"
        android:id="@+id/drawer_layout"
        android:layout_height="match_parent"
        android:layout_width="match_parent"
        android:fitsSystemWindows="true">
    <include layout="@layout/navigation_view_fragment_container"/>
    <android.support.design.widget.NavigationView
        android:id="@+id/nav_view"
        android:layout_height="match_parent"
        android:layout_width="wrap_content"
        android:layout_gravity="start"
        android:fitsSystemWindows="true"
        app:headerLayout="@layout/navigation_view_header">
    <ExpandableListView
        android:layout_width="wrap_content"
        android:layout_height="match_parent"
        android:background="@android:color/white"
        android:layout_marginTop="192dp"
        android:id="@+id/navigationmenu">
   </ExpandableListView>
   </android.support.design.widget.NavigationView>
   </android.support.v4.widget.DrawerLayout>
布局导航头如下所示
navigation_view_header.xml
    <LinearLayout xmlns:android="http://schemas.android.com/apk/res/android"
       android:layout_width="match_parent"
       android:layout_height="192dp"
       android:background="#ff5722"
       android:padding="16dp"
       android:theme="@style/ThemeOverlay.AppCompat.Dark"
       android:orientation="vertical"
       android:gravity="bottom">
  <TextView
       android:layout_width="match_parent"
       android:layout_height="wrap_content"
       android:text="Username"
      android:textAppearance="@style/TextAppearance.AppCompat.Body1"/>
  </LinearLayout>
在你的导航视图活动中,为可扩展列表视图设置适配器。
NavigationViewActivity.java
public class NavigationViewActivity extends AppCompatActivity {
private DrawerLayout mDrawerLayout;
ExpandableListAdapter mMenuAdapter;
ExpandableListView expandableList;
List<ExpandedMenuModel> listDataHeader;
HashMap<ExpandedMenuModel, List<String>> listDataChild;
@Override
protected void onCreate(Bundle savedInstanceState) {
super.onCreate(savedInstanceState);
setContentView(R.layout.activity_navigation_view);
final ActionBar ab = getSupportActionBar();
ab.setHomeAsUpIndicator(R.drawable.ic_menu);
ab.setDisplayHomeAsUpEnabled(true);
mDrawerLayout = (DrawerLayout) findViewById(R.id.drawer_layout);
expandableList= (ExpandableListView) findViewById(R.id.navigationmenu);
NavigationView navigationView = (NavigationView) findViewById(R.id.nav_view);
if (navigationView != null) {
setupDrawerContent(navigationView);
}
prepareListData();
mMenuAdapter = new ExpandableListAdapter(this, listDataHeader, listDataChild, expandableList);
expandableList.setAdapter(mMenuAdapter);
}
private void prepareListData() {
listDataHeader = new ArrayList<String>();
listDataChild = new HashMap<String, List<String>>();
listDataHeader.add("heading1");
listDataHeader.add("heading2");
listDataHeader.add("heading3");
List<String> heading1= new ArrayList<String>();
heading1.add("Submenu of item 1");
List<String> heading2= new ArrayList<String>();
heading2.add("Submenu of item 2");
heading2.add("Submenu of item 2");
heading2.add("Submenu of item 2");
listDataChild.put(listDataHeader.get(0), heading1);
listDataChild.put(listDataHeader.get(1), heading2);
}
@Override
public boolean onCreateOptionsMenu(Menu menu) {
getMenuInflater().inflate(R.menu.menu, menu);
return true;
}
@Override
public boolean onOptionsItemSelected(MenuItem item) {
switch (item.getItemId()) {
case android.R.id.home:
mDrawerLayout.openDrawer(GravityCompat.START);
return true;
}
return super.onOptionsItemSelected(item);
}
private void setupDrawerContent(NavigationView navigationView) {
navigationView.setNavigationItemSelectedListener(
new NavigationView.OnNavigationItemSelectedListener() {
@Override
public boolean onNavigationItemSelected(MenuItem menuItem) {
menuItem.setChecked(true);
mDrawerLayout.closeDrawers();
return true;
}
});
}
@Override
public void onFragmentInteraction(Boolean isDataSaved) {
}
}
适用于可扩展列表视图的适配器如下:
可扩展列表视图的适配器如下所示。
public class ExpandableListAdapter extends BaseExpandableListAdapter {
private Context mContext;
private List<String> mListDataHeader;
private HashMap<String, List<String>> mListDataChild;
ExpandableListView expandList;
public ExpandableListAdapter(Context context, List<String> listDataHeader,HashMap<String, List<String>> listChildData,ExpandableListView mView)
{
this.mContext = context;
this.mListDataHeader = listDataHeader;
this.mListDataChild = listChildData;
this.expandList=mView;
}
@Override
public int getGroupCount() {
int i= mListDataHeader.size();
Log.d("GROUPCOUNT",String.valueOf(i));
return this.mListDataHeader.size();
}
@Override
public int getChildrenCount(int groupPosition) {
int childCount=0;
if(groupPosition!=2)
{
childCount=this.mListDataChild.get(this.mListDataHeader.get(groupPosition))
.size();
}
return childCount;
}
@Override
public Object getGroup(int groupPosition) {
return this.mListDataHeader.get(groupPosition);
}
@Override
public Object getChild(int groupPosition, int childPosition) {
Log.d("CHILD",mListDataChild.get(this.mListDataHeader.get(groupPosition))
.get(childPosition).toString());
return this.mListDataChild.get(this.mListDataHeader.get(groupPosition))
.get(childPosition);
}
@Override
public long getGroupId(int groupPosition) {
return groupPosition;
}
@Override
public long getChildId(int groupPosition, int childPosition) {
return childPosition;
}
@Override
public boolean hasStableIds() {
return false;
}
@Override
public View getGroupView(int groupPosition, boolean isExpanded, View convertView, ViewGroup parent) {
ExpandedMenuModel headerTitle = (ExpandedMenuModel) getGroup(groupPosition);
if (convertView == null) {
LayoutInflater infalInflater = (LayoutInflater) this.mContext
.getSystemService(Context.LAYOUT_INFLATER_SERVICE);
convertView = infalInflater.inflate(R.layout.listheader, null);
}
TextView lblListHeader = (TextView) convertView
.findViewById(R.id.submenu);
ImageView headerIcon= (ImageView)convertView.findViewById(R.id.iconimage);
lblListHeader.setTypeface(null, Typeface.BOLD);
lblListHeader.setText(headerTitle.getIconName());
headerIcon.setImageDrawable(headerTitle.getIconImg());
return convertView;
}
@Override
public View getChildView(int groupPosition, int childPosition, boolean isLastChild, View convertView, ViewGroup parent) {
final String childText = (String) getChild(groupPosition, childPosition);
if (convertView == null) {
LayoutInflater infalInflater = (LayoutInflater) this.mContext
.getSystemService(Context.LAYOUT_INFLATER_SERVICE);
convertView = infalInflater.inflate(R.layout.list_submenu, null);
}
TextView txtListChild = (TextView) convertView
.findViewById(R.id.submenu);
txtListChild.setText(childText);
return convertView;
}
@Override
public boolean isChildSelectable(int groupPosition, int childPosition) {
return true;
}
}
list_submenu.xml如下所示:
    <?xml version="1.0" encoding="utf-8"?>
     <LinearLayout   xmlns:android="http://schemas.android.com/apk/res/android"
      android:orientation="vertical" android:layout_width="match_parent"
      android:layout_height="match_parent">
   <TextView
      android:layout_width="wrap_content"
      android:layout_height="wrap_content"
      android:padding="10dp"
      android:textColor="#000000"
      android:layout_marginLeft="20dp"
      android:textSize="18sp"
      android:id="@+id/submenu"/>
  </LinearLayout>
listheader.xml 的内容如下:
    <?xml version="1.0" encoding="utf-8"?>
 <LinearLayout
     android:layout_width="match_parent"
     android:layout_height="2dp"
     android:orientation="vertical"
     xmlns:android="http://schemas.android.com/apk/res/android" >

 <LinearLayout
     android:layout_width="match_parent"
     android:layout_height="match_parent">
<ImageView
    android:layout_width="50dp"
    android:layout_height="50dp"
    android:paddingBottom="10dp"
    android:paddingLeft="10dp"
    android:paddingTop="10dp"
    android:id="@+id/iconimage"/>
<TextView
    android:layout_width="wrap_content"
    android:layout_height="wrap_content"
    android:padding="10dp"
    android:textColor="#000000"
    android:textSize="20sp"
    android:id="@+id/submenu"/>
</LinearLayout>

</LinearLayout>
我已经发布了整个代码以便更加清晰。希望这可以帮助到您......