如何使BottomNavigationBar在Flutter中固定在键盘上方

31

我正在尝试制作一个简单的聊天应用程序,因此我创建了一个脚手架,我的正文将成为消息,我的bottomNavigationBar将是我的输入字段和发送图标。

我添加了一个文本字段,但在输入时,导航栏被键盘遮挡。

这是我的BottomNavigationBar代码:

bottomNavigationBar: new Container(
          height: ScreenSize.height/12,
          /*color: Colors.red,*/

          child: new Row(
            mainAxisAlignment: MainAxisAlignment.spaceEvenly,

            children: <Widget>[
              new Column(
          mainAxisAlignment: MainAxisAlignment.spaceAround,
                children: <Widget>[
                  new Container(
                    child: new Icon(Icons.send),

                    width:ScreenSize.width/6,
                  ),
                ],
              ),
              new Column(
                mainAxisAlignment: MainAxisAlignment.spaceAround,
                children: <Widget>[
                  Material(
                    child: new Container(
                      child: new TextField(
                        autofocus: false,
                        decoration: InputDecoration(
                          contentPadding: EdgeInsets.all(9.0),
                          border: InputBorder.none,
                          hintText: 'Please enter a search term',
                        ),
                      ),
                      width:ScreenSize.width*4/6,
                    ),
                      elevation: 4.0,
                    /*borderRadius: new BorderRadius.all(new Radius.circular(45.0)),*/
                    clipBehavior: Clip.antiAlias,
                    type: MaterialType.card,
                  )
                ],
              ),
              new Column(
                mainAxisAlignment: MainAxisAlignment.spaceAround,
                children: <Widget>[
                  new Container(
                    child: Text('HELLO C1'),
                    color: Colors.green,
                    width:ScreenSize.width/6,
                  ),
                ],
              )


            ],
          ),
        ),

以下是聚焦后的外观:
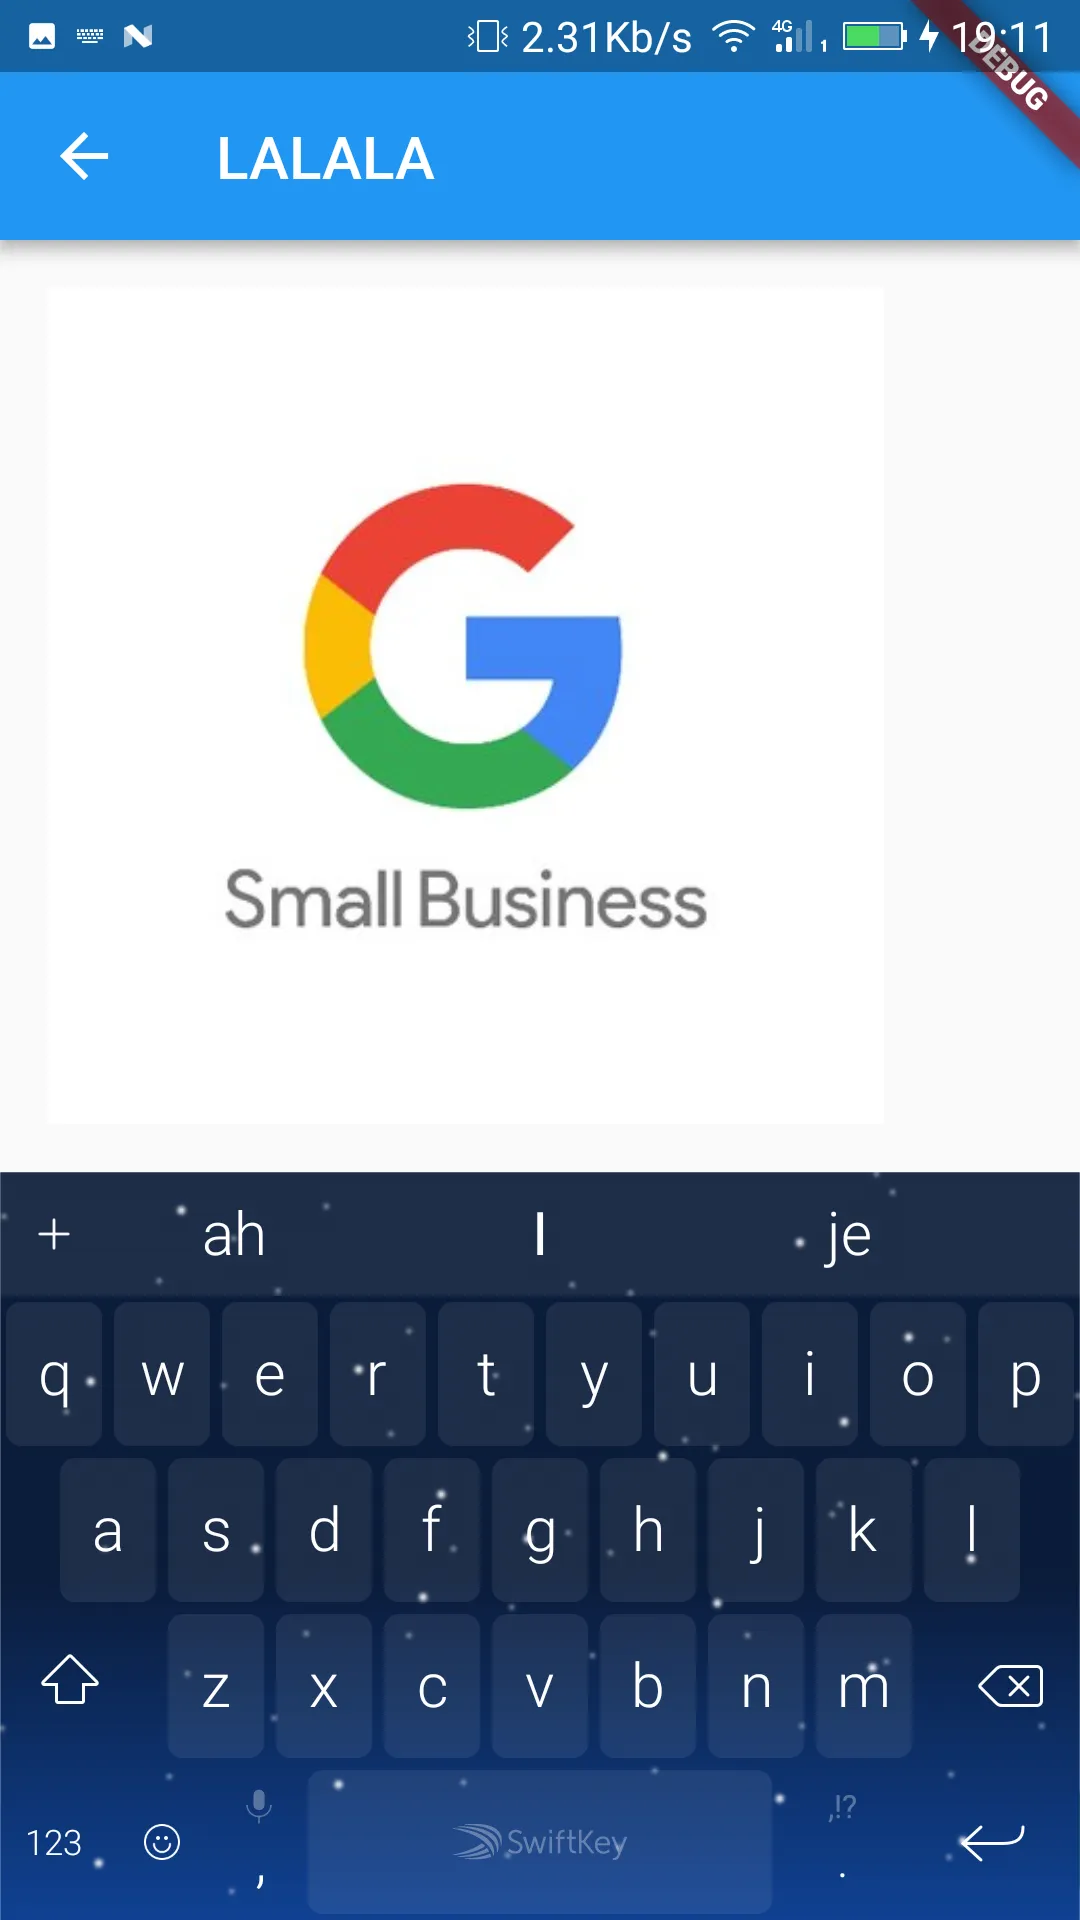
在此输入图片描述

6个回答

28
只需用Padding包装您的底部导航栏,并将其设置为MediaQuery.of(context).viewInsets。
  bottomNavigationBar: Padding(
       padding: MediaQuery.of(context).viewInsets,
        child: ChatInputField(),
     ),


22

如果在您的脚手架(Scaffold)主体上使用堆栈(Stack)而不是bottomNavigationBar,则您的导航栏将向上推出键盘之上,即使您使用Positioned固定在底部:

Positioned(
   bottom: 0.0,
   left: 0.0,
   right: 0.0,
   child: MyNav(),
),

很棒的实现方式!谢谢。 - Aashar Wahla

4
只是刚好解决了同样的问题。根据我正在重构的代码,这个方法非常有效。查看 GitHub 链接,审查他的更改并应用。无需更多解释:https://github.com/GitJournal/GitJournal/commit/f946fe487a18b2cb8cb1d488026af5c64a8f2f78。 上面链接中的内容(如果链接失效):
(-)BottomAppBar buildEditorBottonBar(
(+)Widget buildEditorBottonBar(
  BuildContext context,
  Editor editor,
  EditorState editorState,
BottomAppBar buildEditorBottonBar(
    folderName = "Root Folder";
  }

  *REPLACE* return BottomAppBar(
    elevation: 0.0,
    color: Theme.of(context).scaffoldBackgroundColor,
    child: Row(
      children: <Widget>[
        FlatButton.icon(
          icon: Icon(Icons.folder),
          label: Text(folderName),
          onPressed: () {
            var note = editorState.getNote();
            editor.moveNoteToFolderSelected(note);
          },
        )
      ],
      mainAxisAlignment: MainAxisAlignment.center,

  *WITH THE WRAPPER* return StickyBottomAppBar(
    child: BottomAppBar(
      elevation: 0.0,
      color: Theme.of(context).scaffoldBackgroundColor,
      child: Row(
        children: <Widget>[
          FlatButton.icon(
            icon: Icon(Icons.folder),
            label: Text(folderName),
            onPressed: () {
              var note = editorState.getNote();
              editor.moveNoteToFolderSelected(note);
            },
          )
        ],
        mainAxisAlignment: MainAxisAlignment.center,
      ),
    ),
  );
}

class StickyBottomAppBar extends StatelessWidget {
  final BottomAppBar child;
  StickyBottomAppBar({@required this.child});

  @override
  Widget build(BuildContext context) {
    return Transform.translate(
      offset: Offset(0.0, -1 * MediaQuery.of(context).viewInsets.bottom),
      child: child,
    );
  }
}

那个Transform小部件是个好的解决方案! - Maurice Raguse

-1

我通过在网上找到的两个方法的结合来实现这一点:

1- 在Scaffold中,我放置了一个只有bottomNavigationBar和空容器的其他内容。由于某种原因,这个技巧将我的真正的bottomNavigationBar推到了键盘的顶部。

Scaffold(
 bottomNavigationBar: Container(
   height: 0,
 ),
   body: Scaffold(
body: MyWidget(

但是,我不想把所有的内容都放上去,所以我用了这个包:

2 - 我添加了flutter_keyboard_visibility:^5.1.0来自于

https://pub.dev/packages/flutter_keyboard_visibility

使用此包,您可以根据键盘的可见性做任何想做的事情 - 由您决定。在我的情况下,我使底部导航栏的所有内容都消失了,除了文本字段,它们停留在键盘的顶部:
[TextFormField] // 不要离开, //其他:
KeyboardVisibilityBuilder(builder: (context, visible) {
        return Column(
          children: [
            visible
                ? SizedBox(
                    height: 0,
                  )
                : OtherWidgets(

-2
如果你需要某种类型的按钮,你可以这样做:
Scaffold(
            bottomNavigationBar: bottomNavigationBar,
            floatingActionButton: ExampleButton(
              text: 'Hello',
            ),
            body: body,
          ),

您可以使用 Scaffold 中的参数对浮动操作按钮进行进一步的自定义。


-3

如果你真的需要使用底部导航栏来放置你的小部件而不是将它们放在堆栈中,那么有一种简单的方法可以做到这一点。只需用另一个脚手架包装你的脚手架,就可以解决问题。

 return Scaffold(
      body: Scaffold(
        bottomNavigationBar: yourBottomNavigationBarWidget(),
        body: yourBody(),

这在你的小部件高度动态变化时最有效(因为用户输入的文本可能会引入多行),并且您希望主体相应地重新调整大小时特别适用。许多人建议堆栈中的主体需要底部填充才能在文本字段上方可见,并且在用户键入时需要动态更改,这在您有多个小部件坐在和周围的文本字段时很难处理。


网页内容由stack overflow 提供, 点击上面的
可以查看英文原文,
原文链接