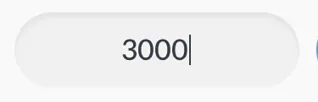
我想实现这种
UITextField 的设计:
override func layoutSubviews() {
super.layoutSubviews()
self.layer.cornerRadius = self.frame.size.height/2
self.addInnerShadow()
}
private func addInnerShadow() {
let innerShadow = CALayer()
innerShadow.frame = bounds
// Shadow path (1pt ring around bounds)
let path = UIBezierPath(rect: innerShadow.bounds.insetBy(dx: -1, dy: -1))
let cutout = UIBezierPath(rect: innerShadow.bounds).reversing()
path.append(cutout)
innerShadow.shadowPath = path.cgPath
innerShadow.masksToBounds = true
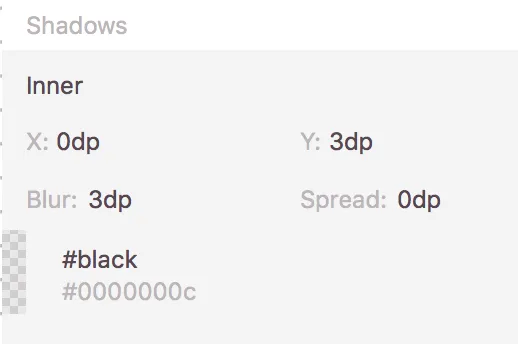
// Shadow properties
innerShadow.shadowColor = UIColor.black.cgColor
innerShadow.shadowOffset = CGSize(width: 0, height: 3)
innerShadow.shadowOpacity = 0.05
innerShadow.shadowRadius = 3
innerShadow.cornerRadius = self.frame.size.height/2
layer.addSublayer(innerShadow)
}
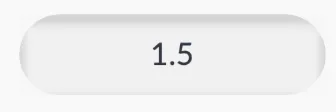
结果:
更新:
override func layoutSubviews() {
     super.layoutSubviews()
     self.layer.cornerRadius = self.frame.size.height/2
     self.addInnerShadow()
 }


private func addInnerShadow() {
    let innerShadow = CALayer()
    innerShadow.frame = bounds
    // Shadow path (1pt ring around bounds)
    let path = UIBezierPath(roundedRect: innerShadow.bounds.insetBy(dx: -1, dy: -1), cornerRadius: self.frame.size.height/2)
    let cutout = UIBezierPath(rect: innerShadow.bounds).reversing()
    path.append(cutout)
    innerShadow.shadowPath = path.cgPath
    innerShadow.masksToBounds = true
    // Shadow properties
    innerShadow.shadowColor = UIColor.black.cgColor
    innerShadow.shadowOffset = CGSize(width: 0, height: 3)
    innerShadow.shadowOpacity = 0.05
    innerShadow.shadowRadius = 3
    //innerShadow.cornerRadius = self.frame.size.height/2
    layer.addSublayer(innerShadow)
}
结果:

由于路径仍然是矩形的,角半径导致了问题,阴影看起来不同。

cornerRadius是无法生效的。相反,您需要相应地创建路径:https://developer.apple.com/documentation/uikit/uibezierpath/1624356-init - David Ganster