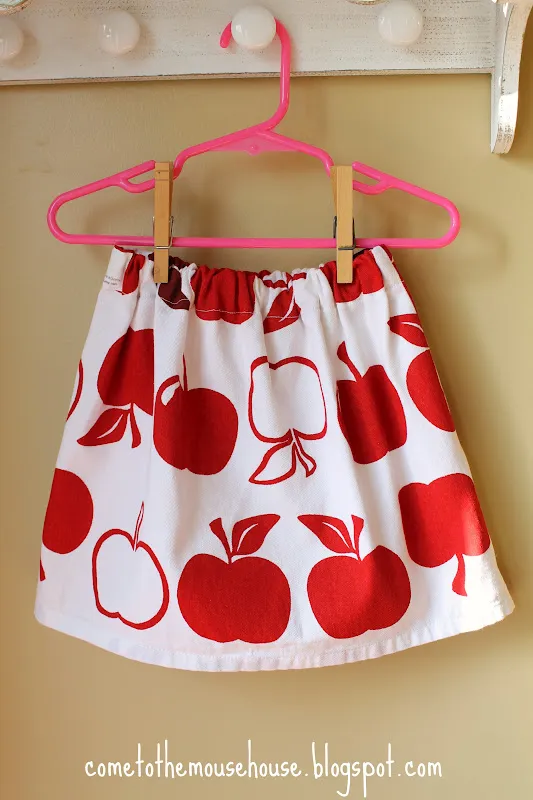
我正在开发一个应用程序,希望使用OpenCV删除图像背景。起初,我尝试使用grabcut,但速度太慢,而且结果不总是准确的。然后我尝试使用threshold,虽然结果还没有接近grabcut,但非常快速并且看起来更好。所以我的代码首先查看图像色调,并分析哪一部分出现得更多,该部分被作为背景取出。问题在于有时它会将前景作为背景。以下是我的代码:
private Bitmap backGrndErase()
{

    Bitmap bitmap = BitmapFactory.decodeResource(getResources(), R.drawable.skirt);
    Log.d(TAG, "bitmap: " + bitmap.getWidth() + "x" + bitmap.getHeight());


    bitmap = ResizeImage.getResizedBitmap(bitmap, calculatePercentage(40, bitmap.getWidth()), calculatePercentage(40, bitmap.getHeight()));

    Mat frame = new Mat();
    Utils.bitmapToMat(bitmap, frame);

    Mat hsvImg = new Mat();
    List<Mat> hsvPlanes = new ArrayList<>();
    Mat thresholdImg = new Mat();

    // int thresh_type = Imgproc.THRESH_BINARY_INV;
    //if (this.inverse.isSelected())
    int thresh_type = Imgproc.THRESH_BINARY;

    // threshold the image with the average hue value
    hsvImg.create(frame.size(), CvType.CV_8U);
    Imgproc.cvtColor(frame, hsvImg, Imgproc.COLOR_BGR2HSV);
    Core.split(hsvImg, hsvPlanes);

    // get the average hue value of the image
    double threshValue = this.getHistAverage(hsvImg, hsvPlanes.get(0));

    Imgproc.threshold(hsvPlanes.get(0), thresholdImg, threshValue, mThresholdValue, thresh_type);
   // Imgproc.adaptiveThreshold(hsvPlanes.get(0), thresholdImg, 255, Imgproc.ADAPTIVE_THRESH_MEAN_C, Imgproc.THRESH_BINARY, 11, 2);

    Imgproc.blur(thresholdImg, thresholdImg, new Size(5, 5));

    // dilate to fill gaps, erode to smooth edges
    Imgproc.dilate(thresholdImg, thresholdImg, new Mat(), new Point(-1, -1), 1);
    Imgproc.erode(thresholdImg, thresholdImg, new Mat(), new Point(-1, -1), 3);

    Imgproc.threshold(thresholdImg, thresholdImg, threshValue, mThresholdValue, Imgproc.THRESH_BINARY);
    //Imgproc.adaptiveThreshold(thresholdImg, thresholdImg, 255, Imgproc.ADAPTIVE_THRESH_MEAN_C, Imgproc.THRESH_BINARY, 11, 2);

    // create the new image
    Mat foreground = new Mat(frame.size(), CvType.CV_8UC3, new Scalar(255, 255, 255));
    frame.copyTo(foreground, thresholdImg);


    Utils.matToBitmap(foreground,bitmap);
    //return foreground;

    alreadyRun = true;
    return  bitmap;

}
负责色调的方法:
    private double getHistAverage(Mat hsvImg, Mat hueValues)
{
    // init
    double average = 0.0;
    Mat hist_hue = new Mat();
    // 0-180: range of Hue values
    MatOfInt histSize = new MatOfInt(180);
    List<Mat> hue = new ArrayList<>();
    hue.add(hueValues);

    // compute the histogram
    Imgproc.calcHist(hue, new MatOfInt(0), new Mat(), hist_hue, histSize, new MatOfFloat(0, 179));

    // get the average Hue value of the image
    // (sum(bin(h)*h))/(image-height*image-width)
    // -----------------
    // equivalent to get the hue of each pixel in the image, add them, and
    // divide for the image size (height and width)
    for (int h = 0; h < 180; h++)
    {
        // for each bin, get its value and multiply it for the corresponding
        // hue
        average += (hist_hue.get(h, 0)[0] * h);
    }

    // return the average hue of the image
    average = average / hsvImg.size().height / hsvImg.size().width;
    return average;
}
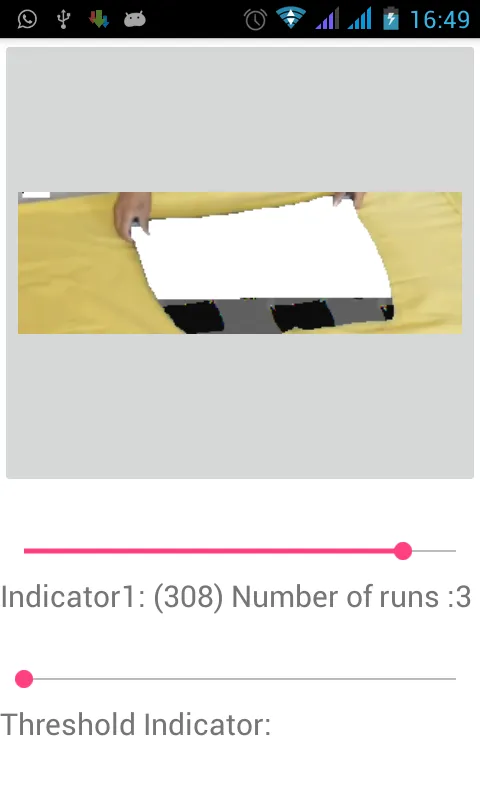
输入输出样例:
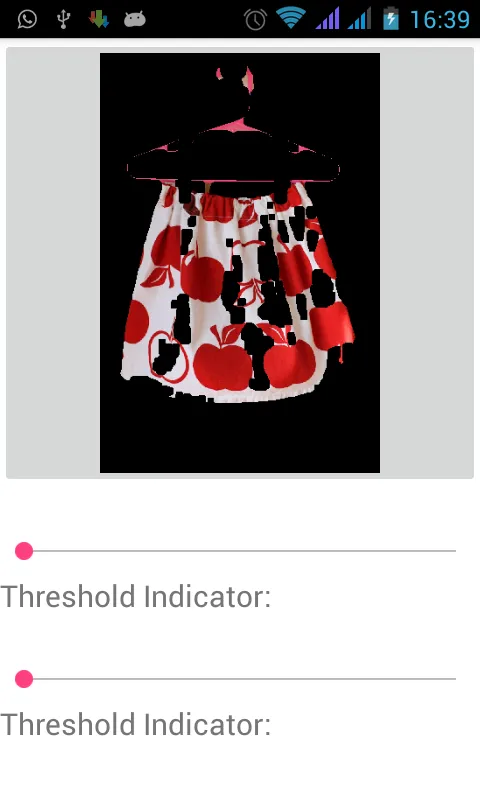
输入图片2和输出:
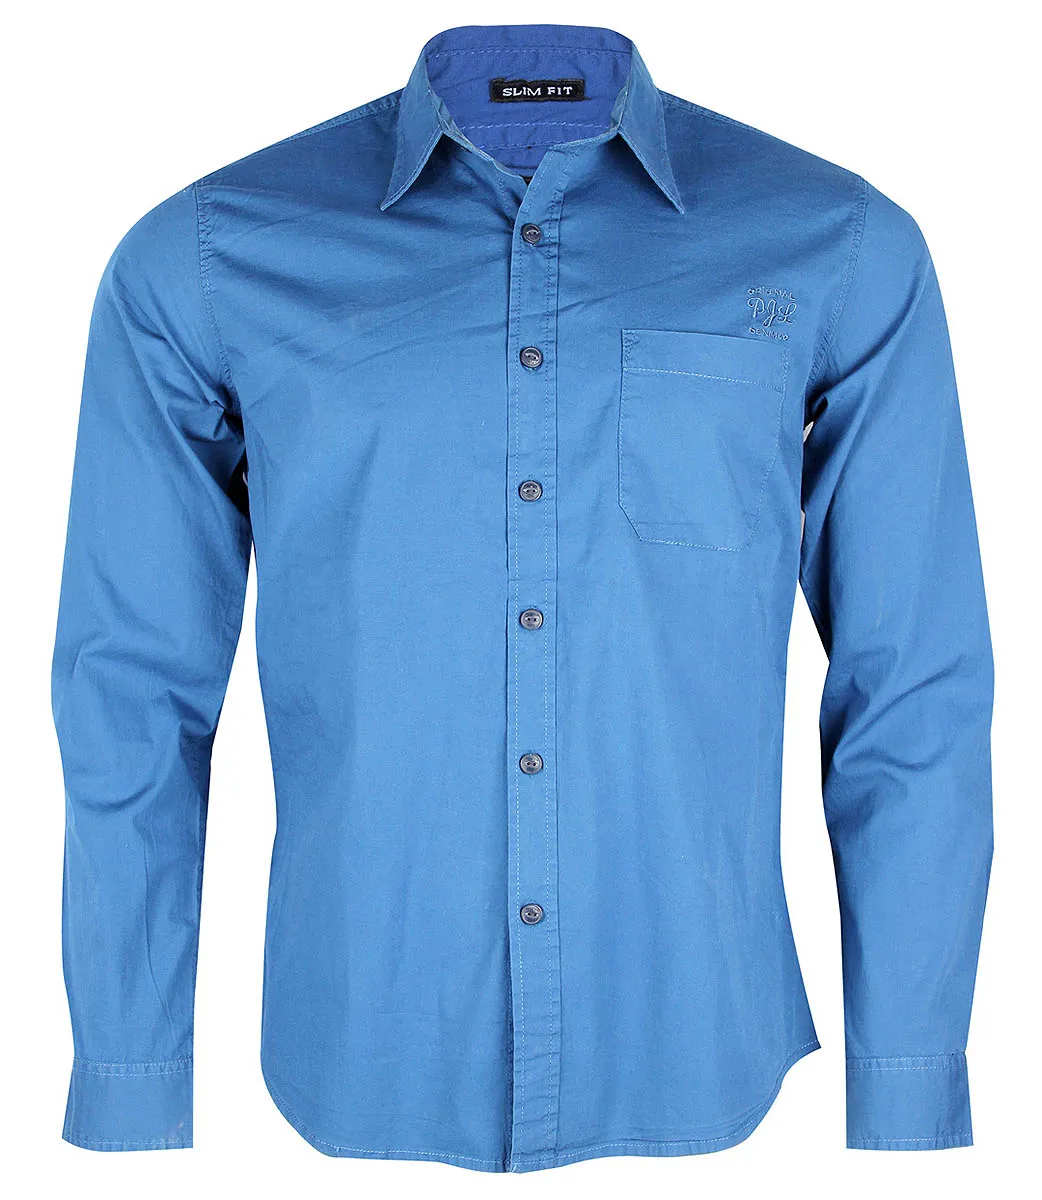
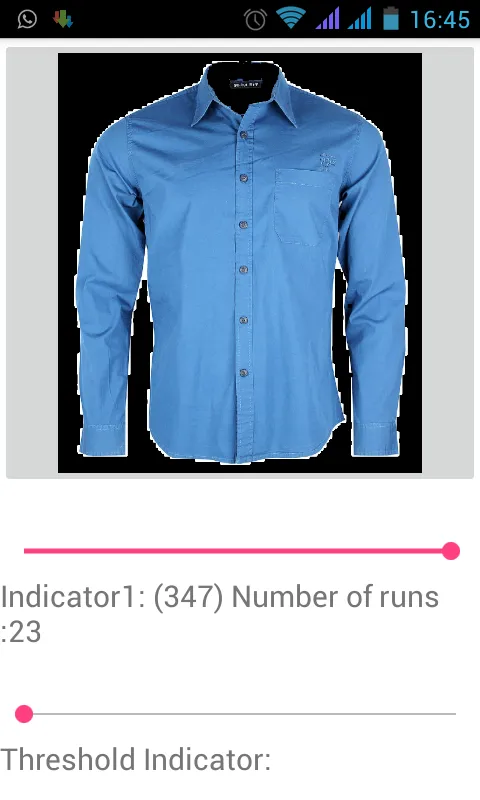
输入图片3和输出:

mThresholdValue值,而 runs 则表示我已经改变了mThresholdValue值的次数,它基本上是为了进行“调试”。 - life evader