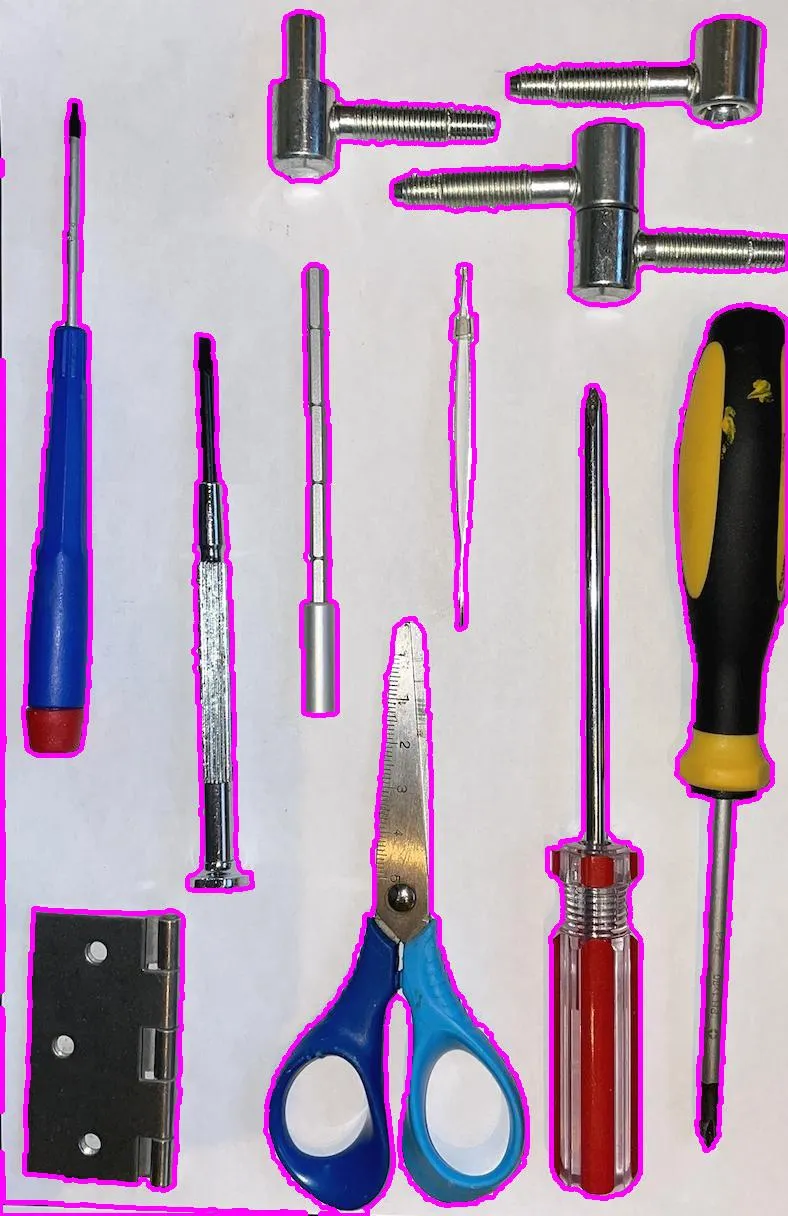
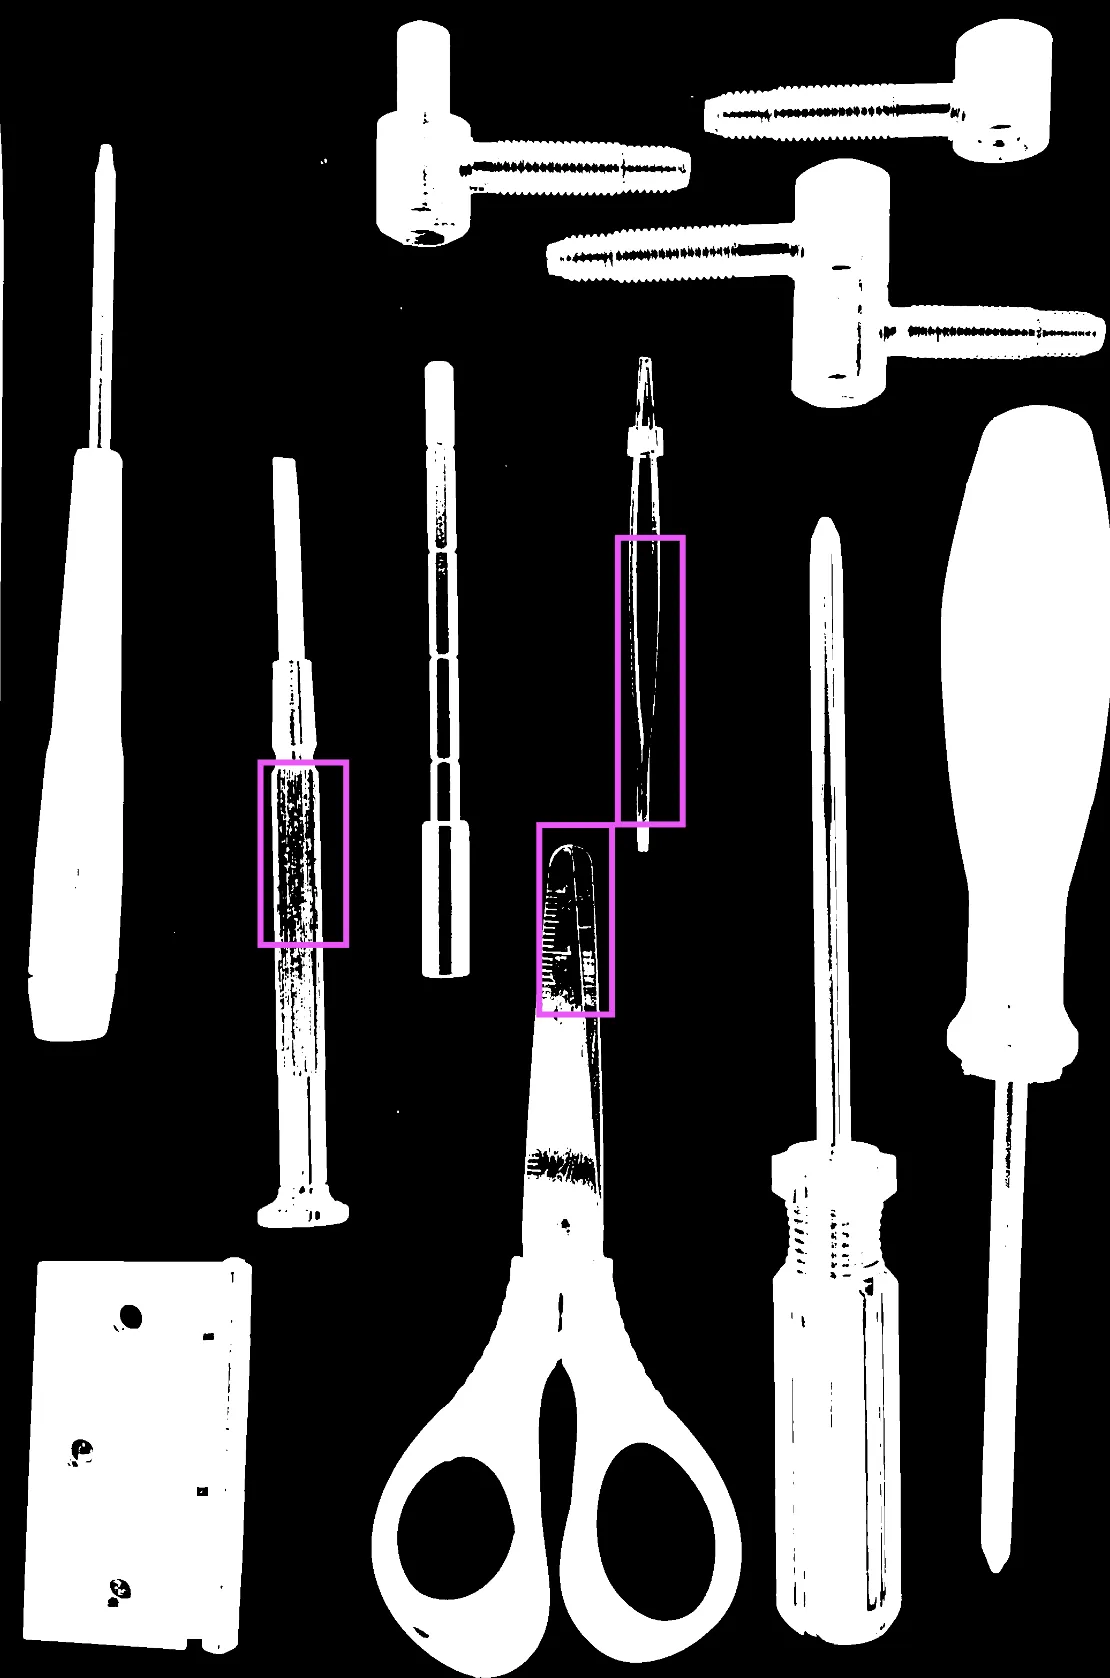
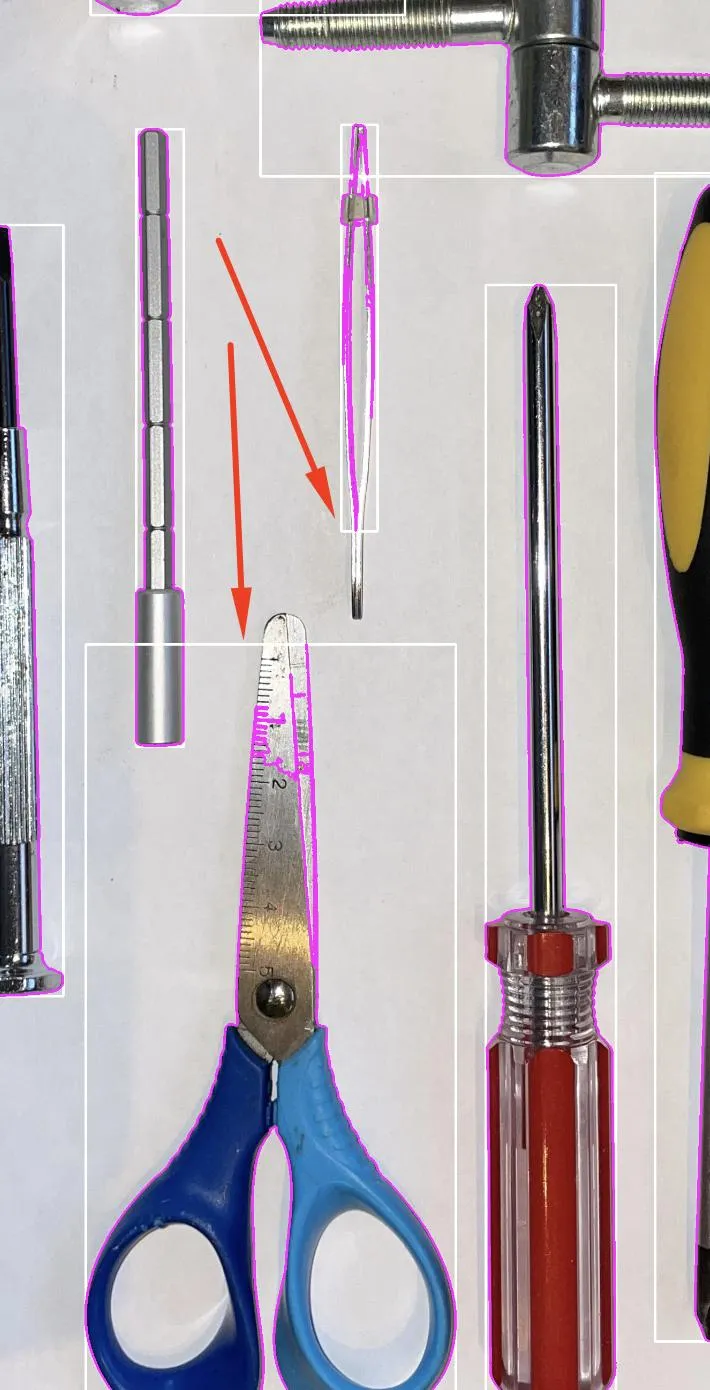
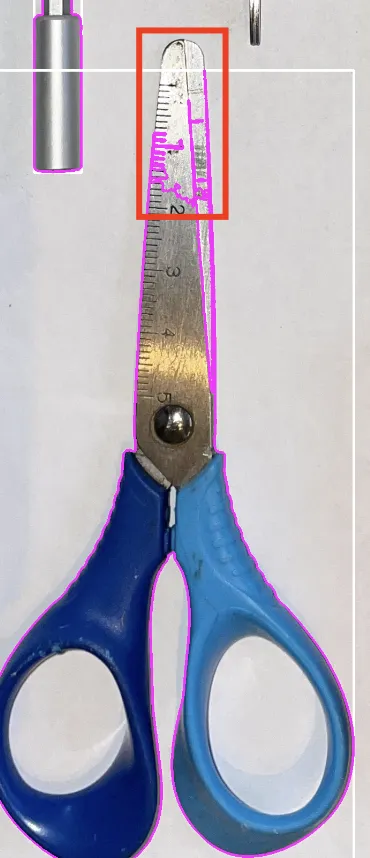
我正在处理下面这张图片的轮廓检测,但由于光线条件不好,在图像显示耀斑处检测不完整。我正在尝试去除它们,以获得更好的轮廓检测结果。
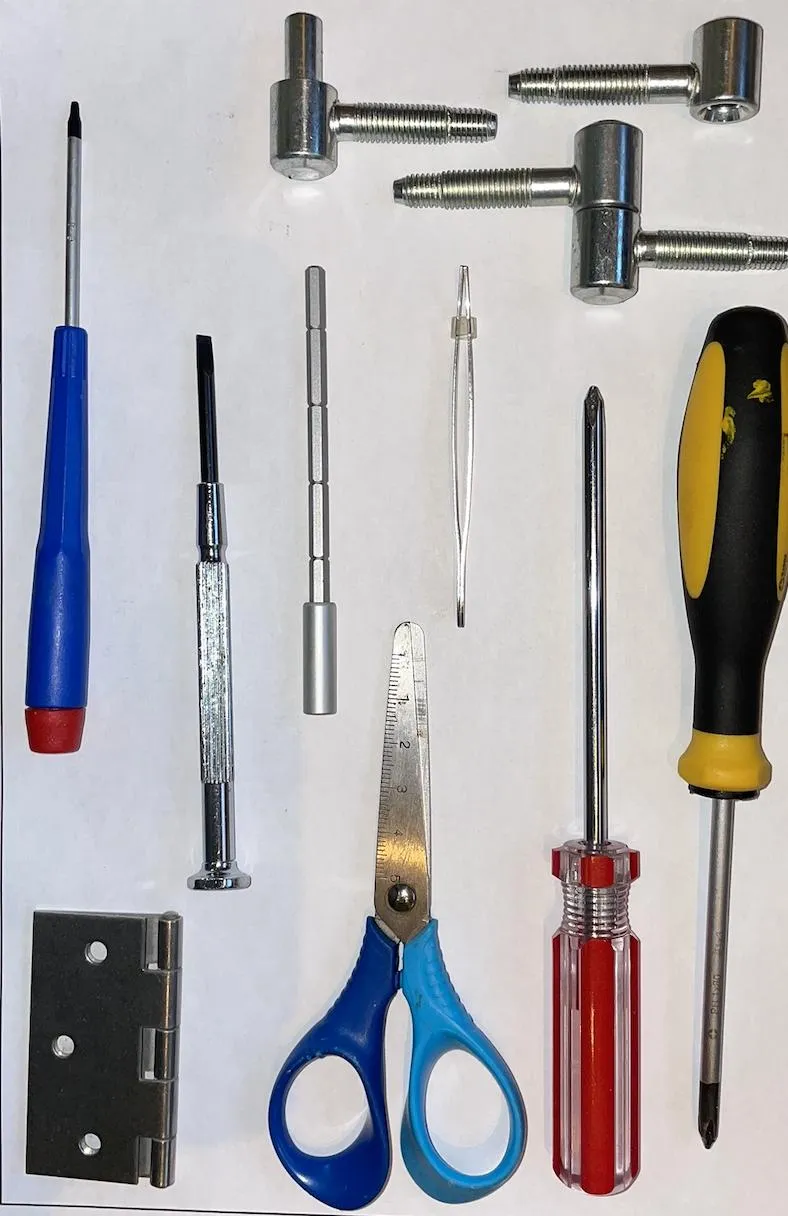
以下是原始图片:
任何建议都将受到欢迎,
谢谢,
Pat
以下是原始图片:
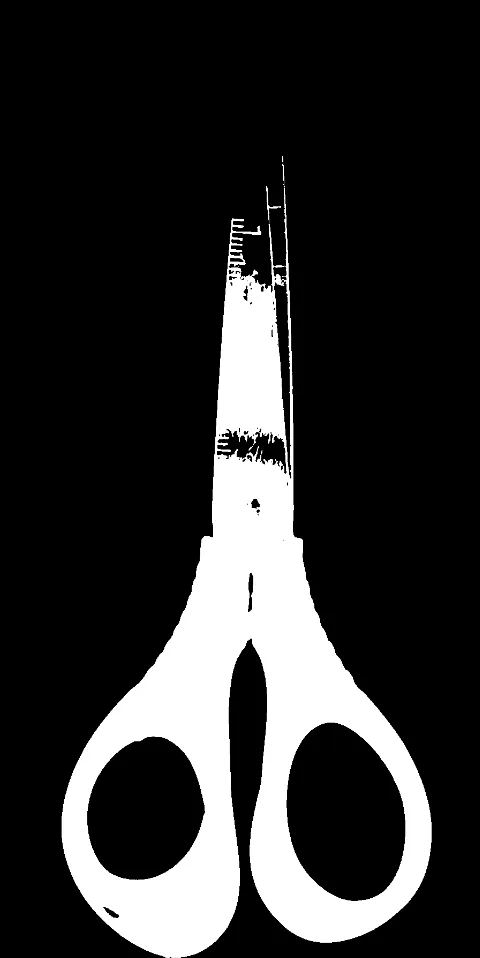
这是我到目前为止所做的:
def getFilteredContours(image, minAreaFilter=20000) -> np.array:
    ret = []
    ctrs,_ = cv2.findContours(image, cv2.RETR_TREE, cv2.CHAIN_APPROX_NONE)
    ctrs = sorted(ctrs, key=cv2.contourArea, reverse=True)
    for i, c in enumerate(ctrs):
        # Calculate the area of each contour
        area = cv2.contourArea(c)
        if area < minAreaFilter:
            break
        ret.append(c)
    return ret

birdEye = cv2.imread(impath)

gray = cv2.cvtColor(birdEye, cv2.COLOR_BGR2GRAY)
gray = cv2.GaussianBlur(gray, (5, 5), 0)
threshImg = cv2.threshold(gray, 180, 255, cv2.THRESH_BINARY_INV)[1]
(numLabels, labels, stats, centroids) = cv2.connectedComponentsWithStats(
    threshImg, 4, cv2.CV_32S)

#then for each identified component we extract the component and get the contour

filteredIdx = getFilteredLabelIndex(stats)

for labelId in filteredLabelId:
    componentMask = (labels == i).astype("uint8") * 255
    ctrs, _ = cv2.findContours(image, cv2.RETR_TREE, cv2.CHAIN_APPROX_NONE)
    ctrs = sorted(ctrs, key=cv2.contourArea, reverse=True)
    ctr = max(ctrs, key=cv2.contourArea)
    cv2.drawContours(birdEye, [cntrs], -1, (255, 0, 255), 3)

cv2.imshow("original contour", birdEye)

cv2.waitKey(0)
cv2.destroyAllWindows()
任何建议都将受到欢迎,
谢谢,
Pat