更新:2016年11月4日。
重新格式化 - 将图片转换为代码示例。
信息: 请记住,在某些代码示例中,由Visual Studio模板生成的代码已被省略。
更新:2016年7月11日。
.NET Core和EntityFrameWork Core版本1.0正式发布!
因此,本指南应进行一些更新。
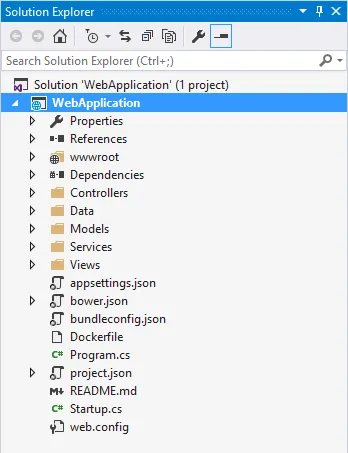
步骤1:
创建您的应用程序。
步骤2:
获取必要的软件包
Microsoft.EntityFrameworkCore 1.0.0
Microsoft.EntityFrameworkCore.SQlite 1.0.0
步骤3:
创建您的上下文:
(上下文将是您创建的类)
public class DatabaseContext : DbContext
{
    protected override void OnConfiguring(DbContextOptionsBuilder optionsBuilder)
    {
        optionsBuilder.UseSqlite("Filename=MyDatabase.db");
    }
}
步骤4:
将您的上下文添加到您的服务中:
(位于您的启动类中)
public void ConfigureServices(IServiceCollection services)
{
    services.AddEntityFrameworkSqlite().AddDbContext<DatabaseContext>();
}
步骤 5:
通过将数据库添加到启动方法(位于启动类中),在启动时创建您的数据库。
public Startup(IHostingEnvironment env)
{
    using(var client = new DatabaseContext())
    {
        client.Database.EnsureCreated();
    }
}
Et Voíla!
现在您可以在ASP.NET Core应用程序中使用SQLite。
关于如何创建模型以及使用数据库上下文,旧指南仍然适用。
更新:2016年5月28日。
.NET Core RC2和EntityFramework Core RC1已发布。
它们改进并简化了设置SQLite的步骤。
但是我遇到了一些问题,由于Newtonsoft.Json库和NuGet的错误,无法复制它。
如果您想这样做,我建议暂时坚持使用RC1库!
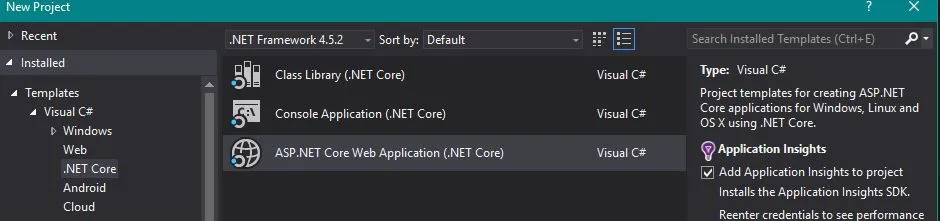
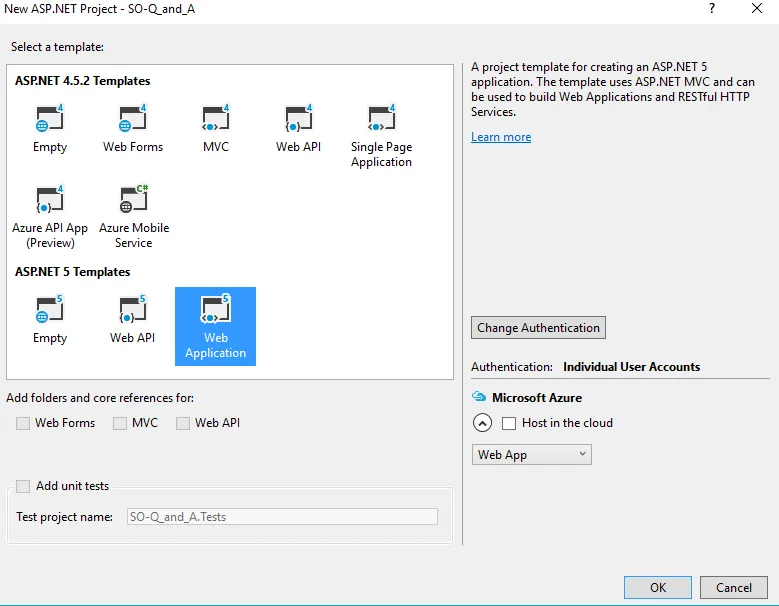
步骤1:
创建ASP.NET Web应用程序。
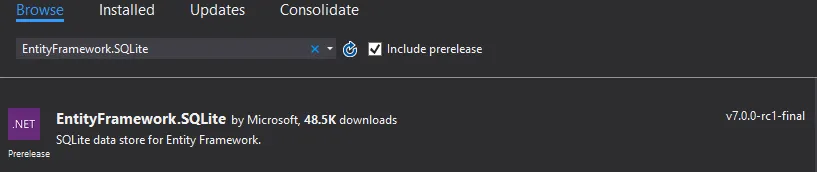
步骤2:
转到“工具”->“Nuget Packet Manager”->“管理解决方案的Nuget包”。
搜索EntityFramework.SQLite并选中Include prelease框。
安装软件包
步骤3:创建上下文
为您的数据库创建一个上下文类。
称其为任何您想要的内容,但让我们使用惯例,例如MyDbContext。
使您的新类继承DbContext类并覆盖OnConfiguring方法,定义连接如下:
public class MyDbContext : DbContext
{
    protected override void OnConfiguring(DbContextOptionsBuilder optionsBuilder)
    {
        var connectionStringBuilder = new SqliteConnectionStringBuilder { DataSource = "MyDb.db" };
        var connectionString = connectionStringBuilder.ToString();
        var connection = new SqliteConnection(connectionString);

        optionsBuilder.UseSqlite(connection);
    }
}
步骤 4:
转到 Startup.cs 并确保在 Web 应用程序启动时创建了您的数据库:
public Startup(IHostingEnvironment env)
{
var builder = new ConfigurationBuilder()
.AddJsonFile("appsettings.json")
.AddJsonFile($"appsettings.{env.EnvironmentName}.json", optional: true);
using (var db = new MyDbContext())
{
db.Database.EnsureCreated();
db.Database.Migrate();
}
}
第二步,我们需要添加该服务:
public void ConfigureServices(IServiceCollection services)
{
services.AddMvc();
services.AddEntityFramework()
.AddSqlite()
.AddDbContext<MyDbContext>();
}
步骤5:定义您的模型
创建您的模型,并进入MyDbContext.cs,为每个新模型添加一个新属性(如果您想要每个都有一个表格!)
以下是一个示例:
我的模型:
public class Category
{
    public int Id { get; set; }

    public string Title { get; set; }

    public string Description { get; set; }

    public string UrlSlug { get; set; }
}
将其添加到我的上下文中:
public class MyDbContext : DbContext
{
    public DbSet<Category> Categories { get; set; }

    protected override void OnConfiguring(DbContextOptionsBuilder optionsBuilder)
    {
        var connectionStringBuilder = new SqliteConnectionStringBuilder { DataSource = "MyDb.db" };
        var connectionString = connectionStringBuilder.ToString();
        var connection = new SqliteConnection(connectionString);

        optionsBuilder.UseSqlite(connection);
    }
}
第六步:使用上下文
打开你的HomeController,并在控制器中添加一个新的字段。
private readonly MyDbContext _myDbContext = new MyDbContext();
然后在ActionResult中使用它,通过将其传递给返回的视图:(现在假设我们在数据库中有一个类别)
public IActionResult Index()
{
    var category = _myDbContext.Categories.First();
    return View(category);
}
通过进入您的索引视图,您可以使用我们从数据库中获取的虚拟数据。在视图顶部定义模型,如下所示:
@model  MyNameSpace.Models.Category
@{
   ViewData["Title"] = "Hey Ho! SO!";
}


<div class="page-header">
    <h1>@ViewData["Title"]</h1>
</div>

<div class="container">
    @Model.Title
</div>
现在启动我们的 Web 应用程序,然后转到分配的地址,我们应该看到一个默认的 HTML 页面,其中有一个漂亮的 bootstrap header,在页面上显示如下内容:

第二行是(或将是)我们数据库中第一个类别的标题。
Entity Framework 7 文档
这是我的第一个问答 - 如果您有任何意见或需要澄清的问题,请随时发表评论。
这是如何在 ASP.NET Core MVC Web 应用程序中实现 SQLite 数据库的非常基本的示例。
请注意,有几种设置数据库连接字符串的方法,如何使用上下文以及 EntityFramework 7 仍处于预发布状态。