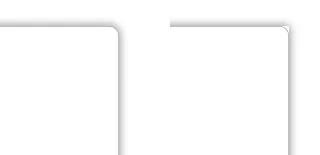
视图层内的任何内容都会被阴影覆盖。当你禁用剪切时,整个层矩形将填充默认的backgroundColor,因此阴影也变成了矩形。不要使用圆形掩模来剪切它,而是使层的内容变成圆形,并自己绘制它们。并且layer的边框是在其边界周围绘制的,所以你也需要自己绘制它。
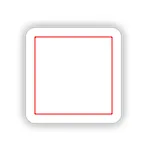
例如,在backgroundColor设置器中,将实际背景颜色设置为clearColor,并在drawRect中使用传递的颜色来绘制一个圆角矩形。
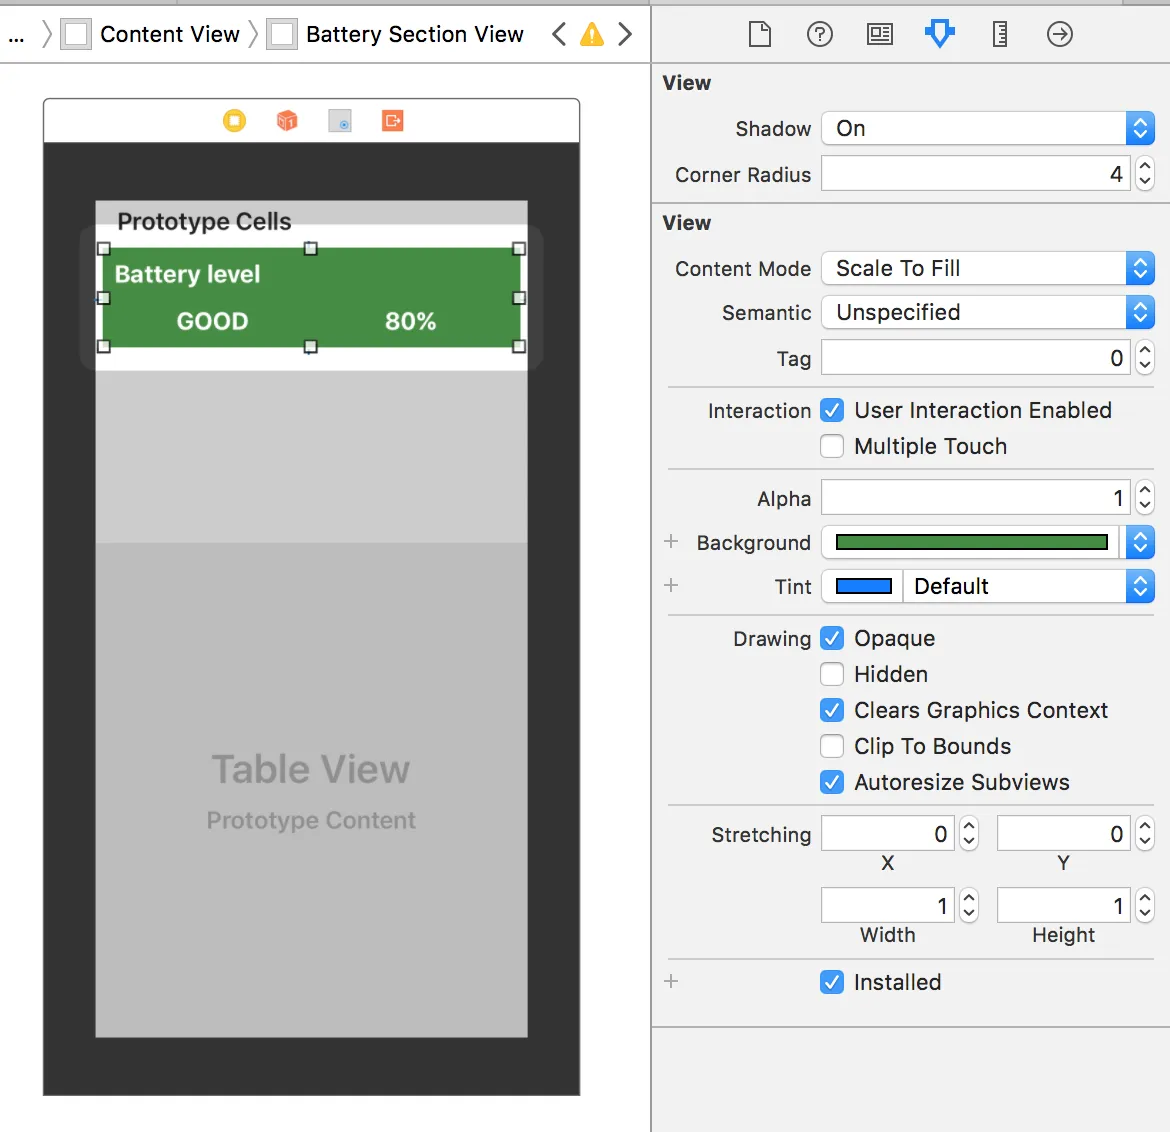
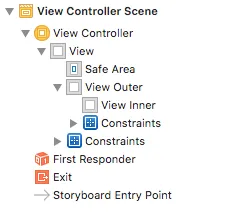
在下面的示例中,我将属性声明为IBInspectable,并将整个类声明为IBDesignable,这样一切都可以在Storyboard中设置。这样,你甚至可以使用默认的背景选择器来更改你的圆角矩形颜色。
Swift
@IBDesignable class RoundRectView: UIView {
@IBInspectable var cornerRadius: CGFloat = 0.0
@IBInspectable var borderColor: UIColor = UIColor.blackColor()
@IBInspectable var borderWidth: CGFloat = 0.5
private var customBackgroundColor = UIColor.whiteColor()
override var backgroundColor: UIColor?{
didSet {
customBackgroundColor = backgroundColor!
super.backgroundColor = UIColor.clearColor()
}
}
func setup() {
layer.shadowColor = UIColor.blackColor().CGColor;
layer.shadowOffset = CGSizeZero;
layer.shadowRadius = 5.0;
layer.shadowOpacity = 0.5;
super.backgroundColor = UIColor.clearColor()
}
override init(frame: CGRect) {
super.init(frame: frame)
self.setup()
}
required init?(coder aDecoder: NSCoder) {
super.init(coder: aDecoder)
self.setup()
}
override func drawRect(rect: CGRect) {
customBackgroundColor.setFill()
UIBezierPath(roundedRect: bounds, cornerRadius: cornerRadius ?? 0).fill()
let borderRect = CGRectInset(bounds, borderWidth/2, borderWidth/2)
let borderPath = UIBezierPath(roundedRect: borderRect, cornerRadius: cornerRadius - borderWidth/2)
borderColor.setStroke()
borderPath.lineWidth = borderWidth
borderPath.stroke()
}
}
Swift 3
@IBDesignable class RoundedView: UIView {
@IBInspectable var cornerRadius: CGFloat = 0.0
@IBInspectable var borderColor: UIColor = UIColor.black
@IBInspectable var borderWidth: CGFloat = 0.5
private var customBackgroundColor = UIColor.white
override var backgroundColor: UIColor?{
didSet {
customBackgroundColor = backgroundColor!
super.backgroundColor = UIColor.clear
}
}
func setup() {
layer.shadowColor = UIColor.black.cgColor
layer.shadowOffset = CGSize.zero
layer.shadowRadius = 5.0
layer.shadowOpacity = 0.5
super.backgroundColor = UIColor.clear
}
override init(frame: CGRect) {
super.init(frame: frame)
self.setup()
}
required init?(coder aDecoder: NSCoder) {
super.init(coder: aDecoder)
self.setup()
}
override func draw(_ rect: CGRect) {
customBackgroundColor.setFill()
UIBezierPath(roundedRect: bounds, cornerRadius: cornerRadius ?? 0).fill()
let borderRect = bounds.insetBy(dx: borderWidth/2, dy: borderWidth/2)
let borderPath = UIBezierPath(roundedRect: borderRect, cornerRadius: cornerRadius - borderWidth/2)
borderColor.setStroke()
borderPath.lineWidth = borderWidth
borderPath.stroke()
}
}
Objective-C .h
IB_DESIGNABLE
@interface RoundRectView : UIView
@property IBInspectable CGFloat cornerRadius;
@property IBInspectable UIColor *borderColor;
@property IBInspectable CGFloat borderWidth;
@end
Objective-C .m
@interface RoundRectView()
@property UIColor *customBackgroundColor;
@end
@implementation RoundRectView
-(void)setup{
self.layer.shadowColor = [UIColor blackColor].CGColor;
self.layer.shadowOffset = CGSizeZero;
self.layer.shadowRadius = 5.0;
self.layer.shadowOpacity = 0.5;
[super setBackgroundColor:[UIColor clearColor]];
}
- (instancetype)initWithFrame:(CGRect)frame
{
self = [super initWithFrame:frame];
if (self) {
[self setup];
}
return self;
}
- (instancetype)initWithCoder:(NSCoder *)coder
{
self = [super initWithCoder:coder];
if (self) {
[self setup];
}
return self;
}
-(void)setBackgroundColor:(UIColor *)backgroundColor{
self.customBackgroundColor = backgroundColor;
super.backgroundColor = [UIColor clearColor];
}
-(void)drawRect:(CGRect)rect{
[self.customBackgroundColor setFill];
[[UIBezierPath bezierPathWithRoundedRect:self.bounds cornerRadius:self.cornerRadius] fill];
CGFloat borderInset = self.borderWidth/2;
CGRect borderRect = CGRectInset(self.bounds, borderInset, borderInset);
UIBezierPath *borderPath = [UIBezierPath bezierPathWithRoundedRect:borderRect cornerRadius:self.cornerRadius - borderInset];
[self.borderColor setStroke];
borderPath.lineWidth = self.borderWidth;
[borderPath stroke];
}
@end
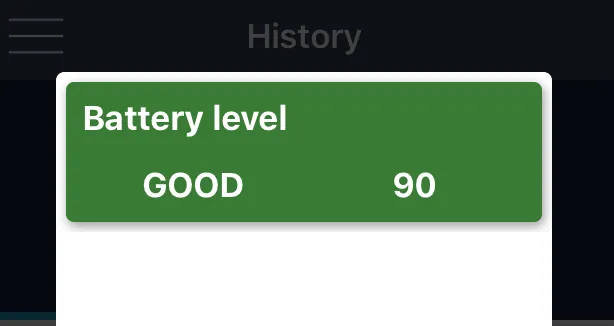
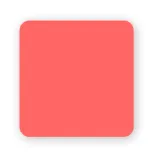
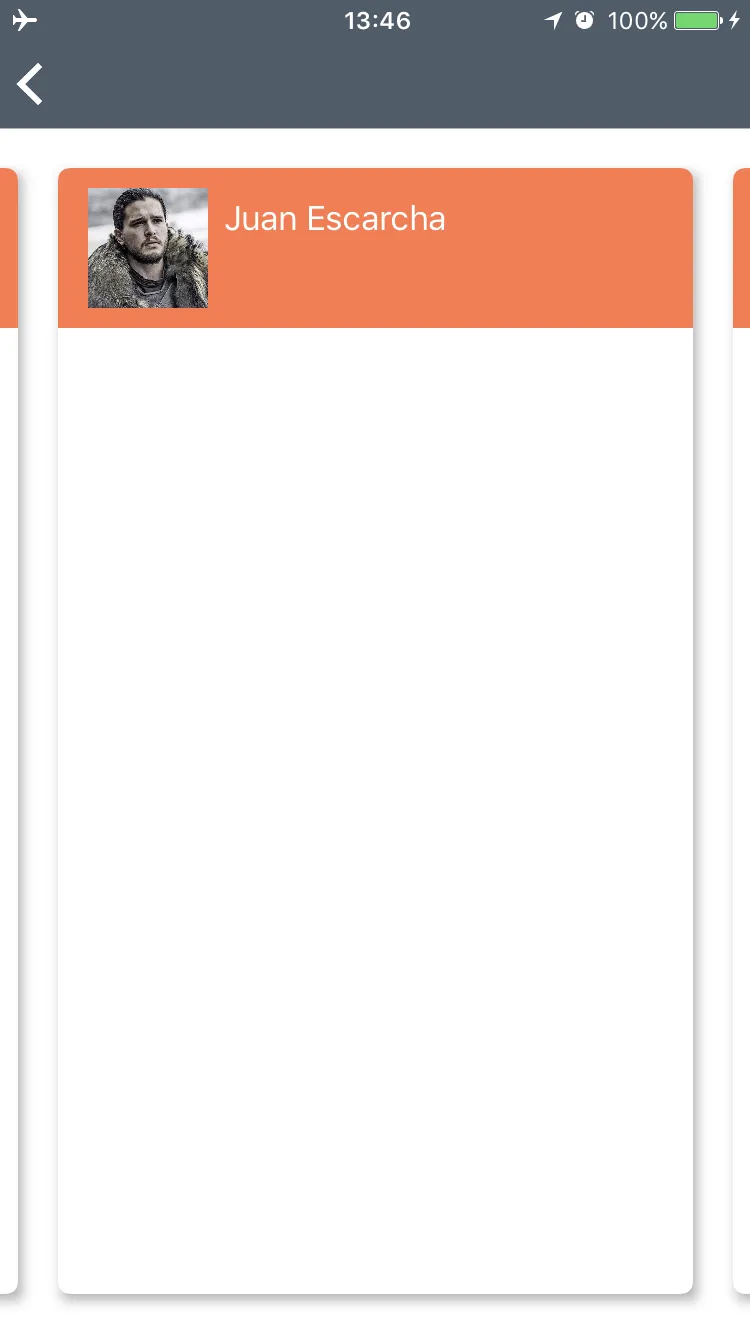
结果
