我使用比之前回答更简单的算法,但这次是用Python和OpenCV实现的。
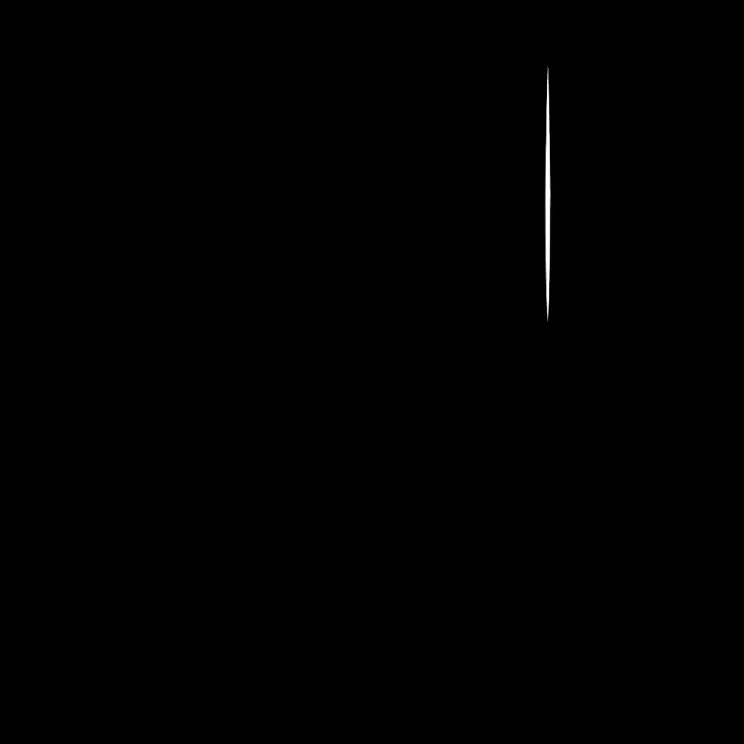
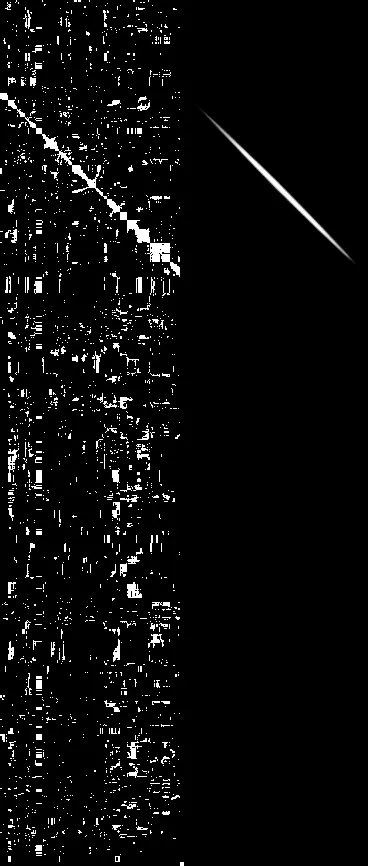
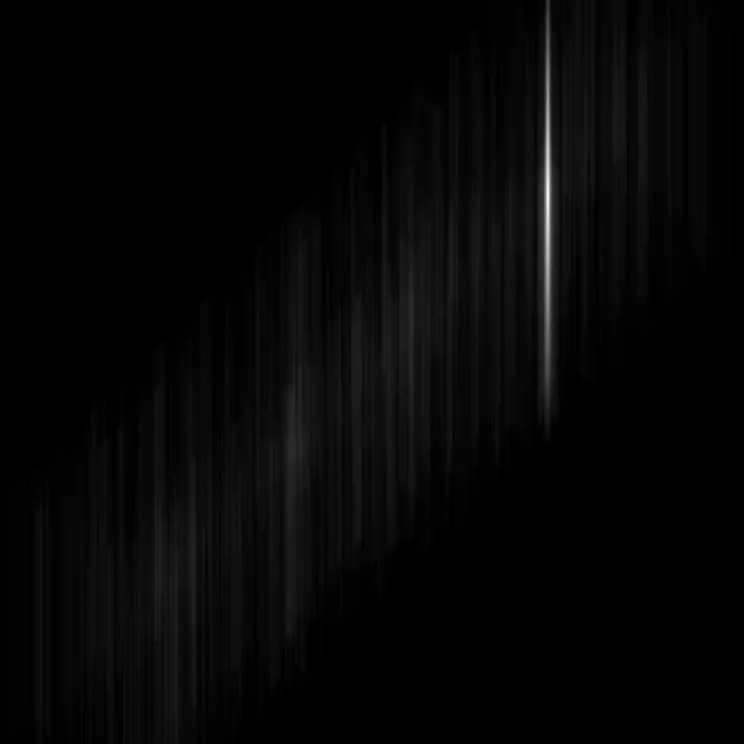
基本上,它不是取垂直像素列的平均值,而是将列中的像素相加并选择最亮的列。如果我显示填充、旋转的图像,并在下面用另一幅图像表示列之和,你应该能看到它的工作原理:
import cv2
import numpy as np
im = cv2.imread('45.jpg',cv2.IMREAD_GRAYSCALE)
bw=300
bordered = cv2.copyMakeBorder(im, top=bw, bottom=bw, left=bw, right=bw, borderType= cv2.BORDER_CONSTANT)
w, h = bordered.shape
M = cv2.getRotationMatrix2D((h/2,w/2),-45,1)
paddedrotated = cv2.warpAffine(bordered,M,(h,w))
colsum = np.sum(paddedrotated,axis=0,dtype=np.float)
col = np.argmax(colsum)
paddedrotated[:,:] = 0
paddedrotated[:,col] = 255
w, h = paddedrotated.shape
M = cv2.getRotationMatrix2D((h/2,w/2),45,1)
straight = cv2.warpAffine(paddedrotated,M,(h,w))
straight = straight[bw:-bw,bw:-bw]
cv2.imwrite('result.png',straight)
请注意,您实际上不需要将图像旋转回正常状态并将其裁剪回原始大小。您实际上可以在第一行停止,该行说:
col = np.argmax(colsum)
使用一些基本三角函数来计算在原始图像中意味着什么。
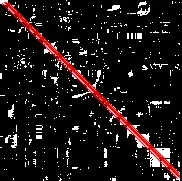
这是输出结果:
关键词: 线检测、检测线、旋转、填充、边框、投影、图像、图像处理、Python、OpenCV、仿射变换、Hough变换

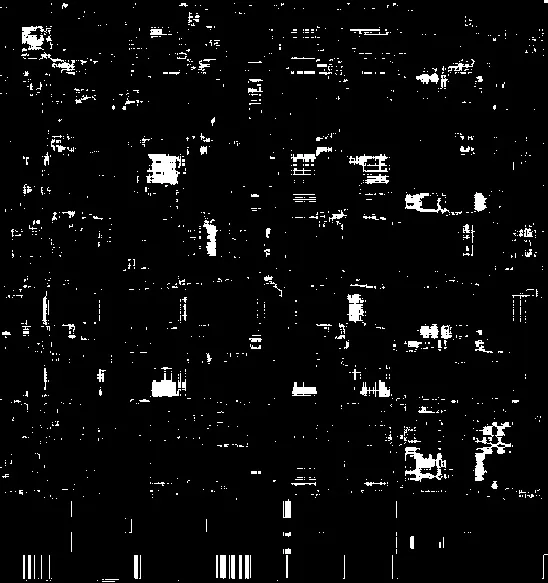
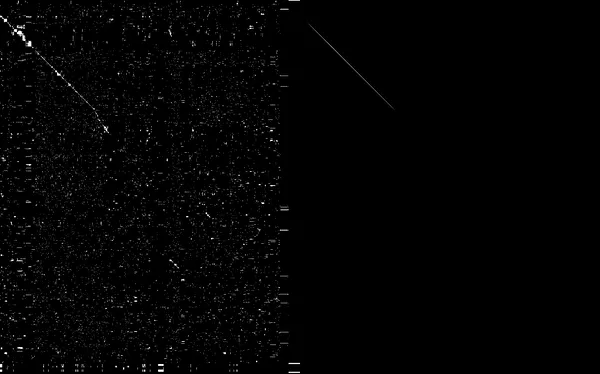
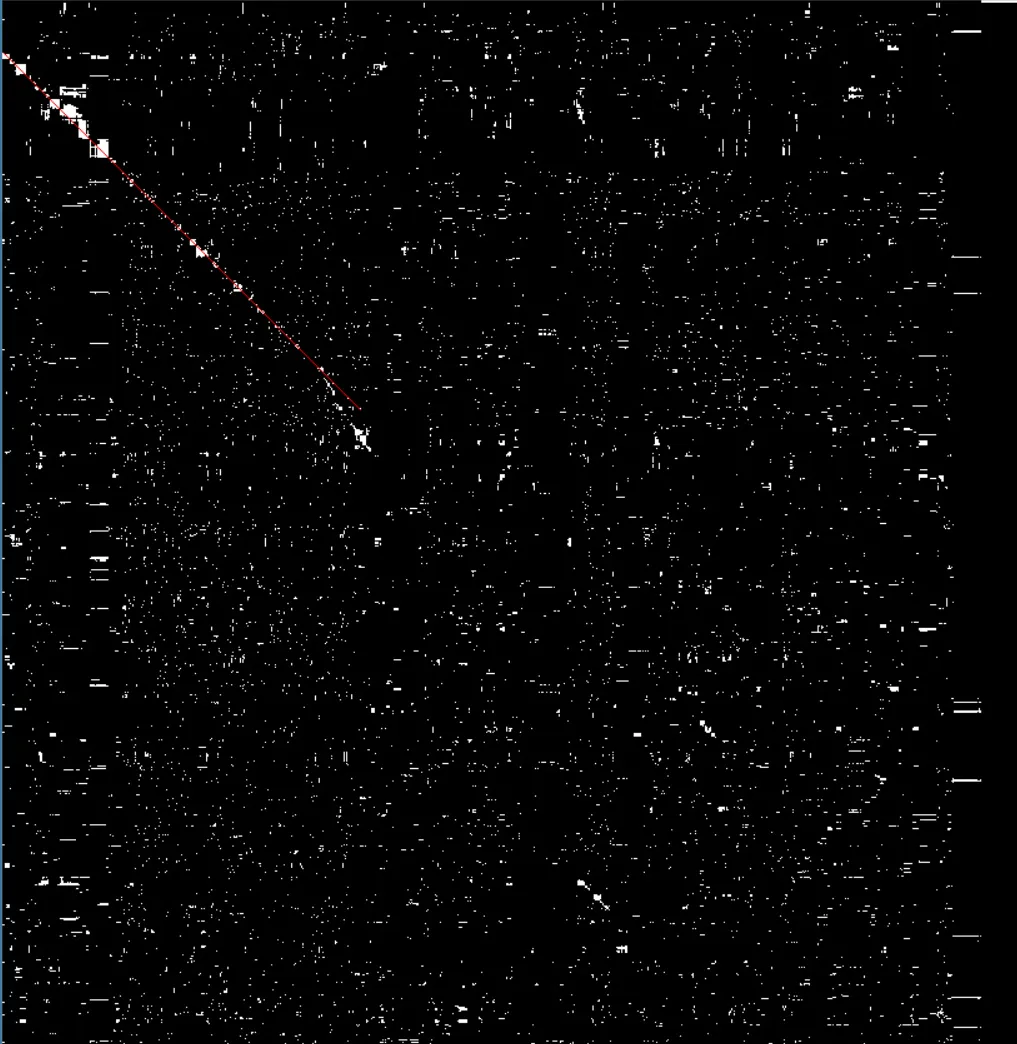
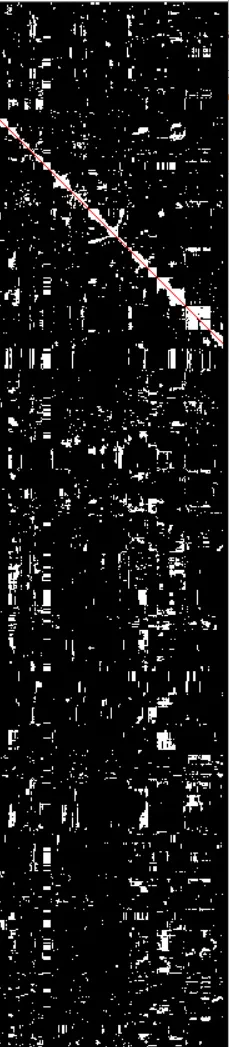
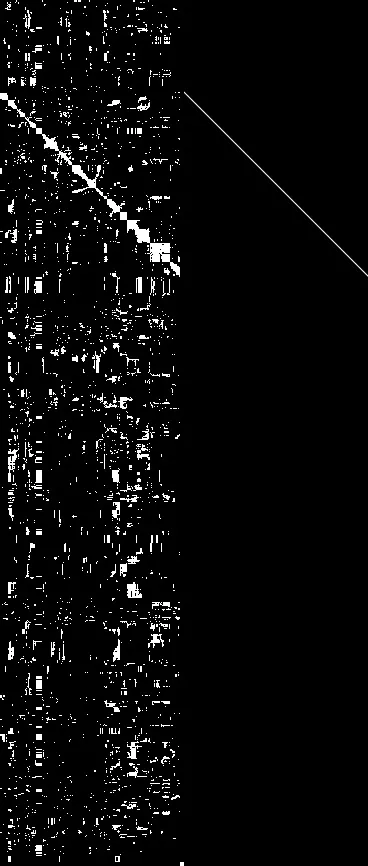
 我尝试使用不同的阈值来处理图片,但是仍然无法在这里找到线条。
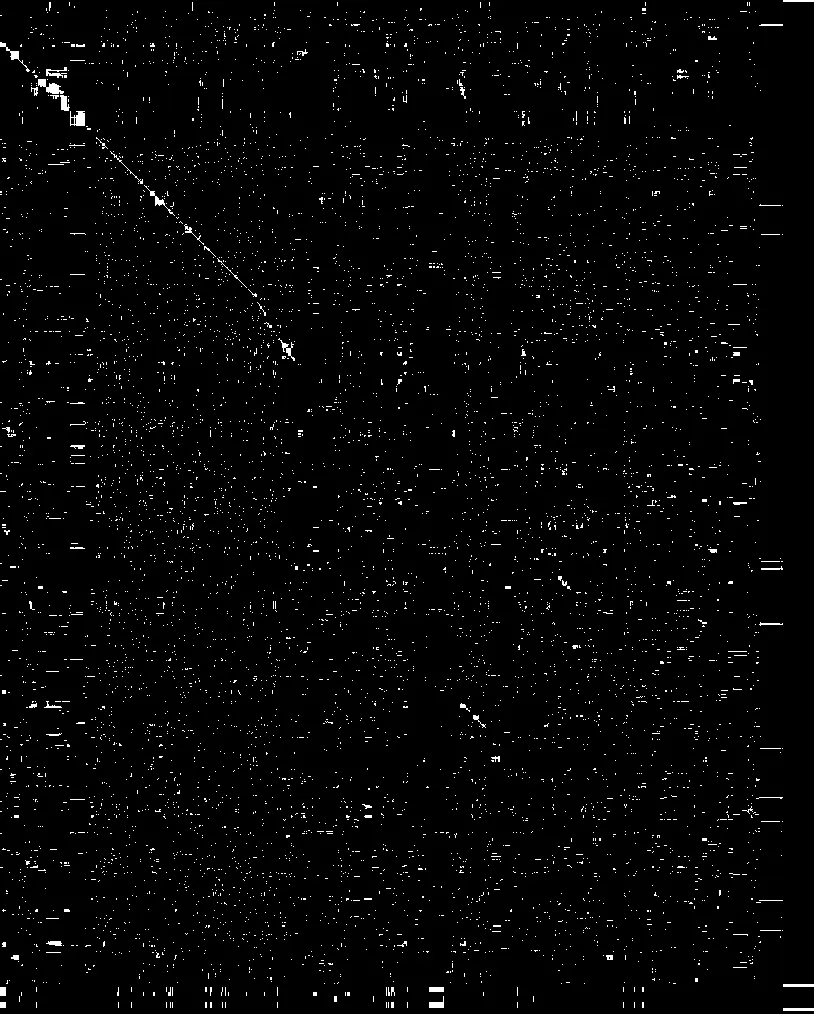
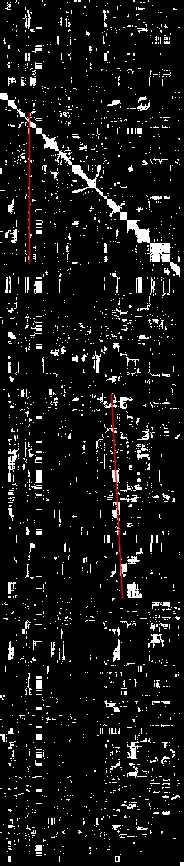
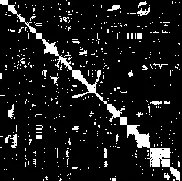 那么我就可以清楚地看到OpenCV霍夫变换找到了正确的线条:
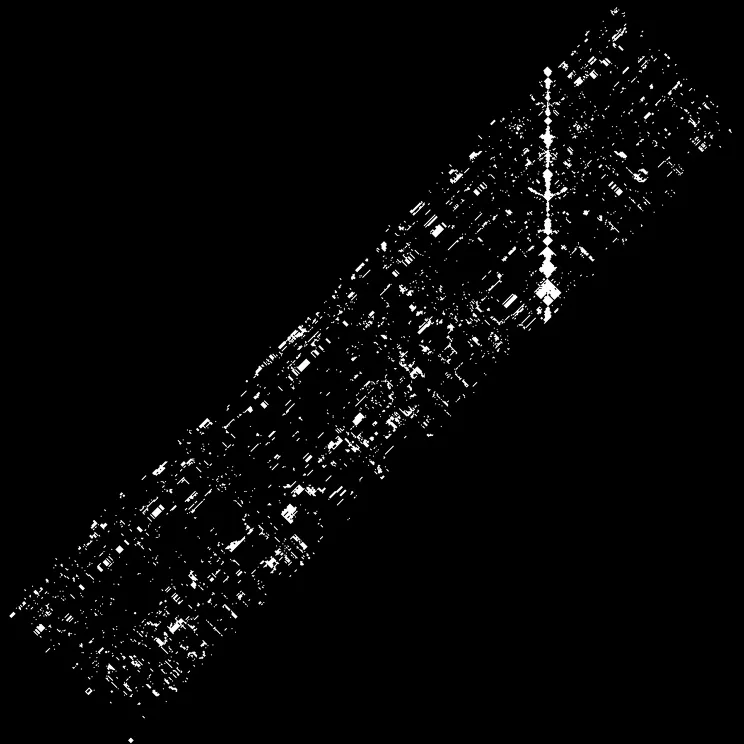
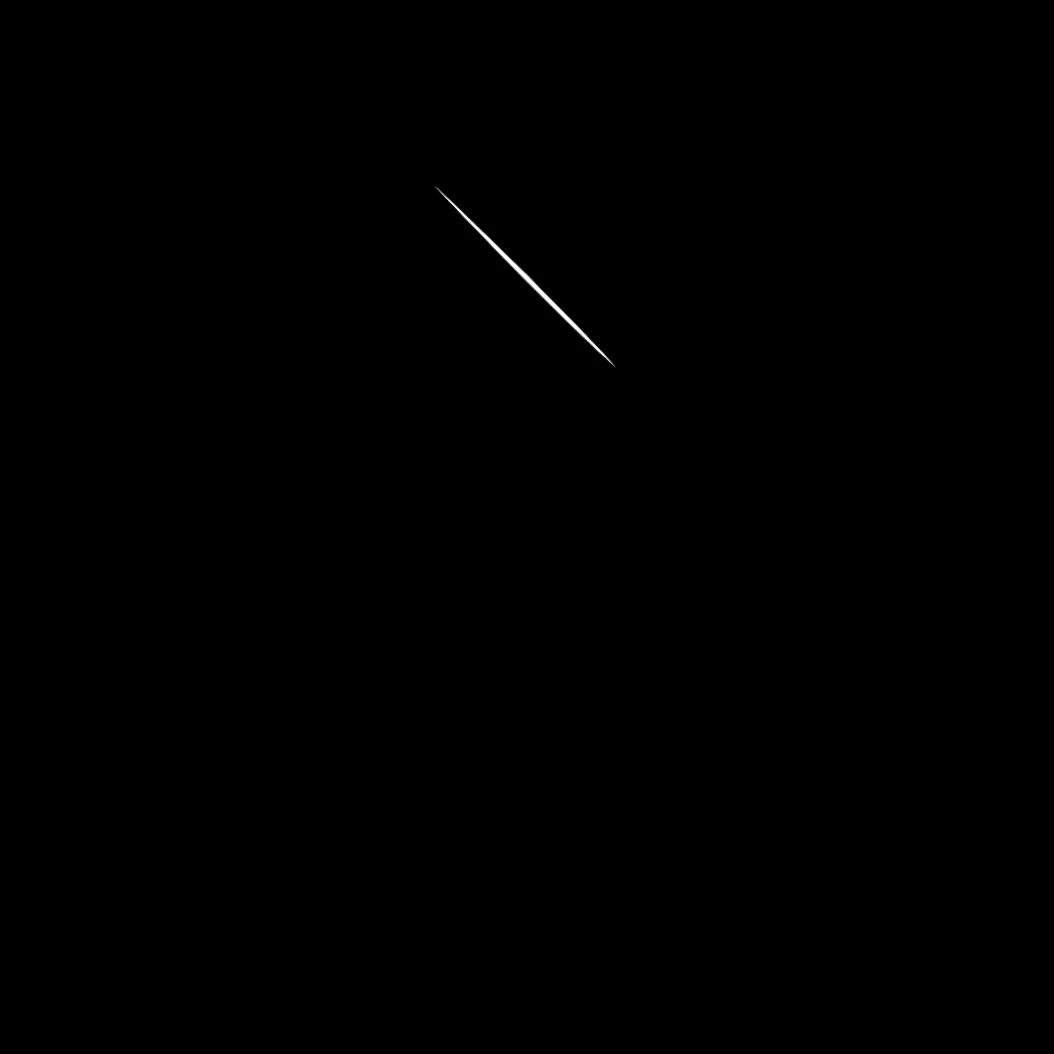
 我想在未裁剪的版本中找到相同的线条。有没有关于非裁剪版本如何找到它的建议?