Authorization: Bearer <token>
这是我根据swagger文档所得出的内容:
securityDefinitions:
APIKey:
type: apiKey
name: Authorization
in: header
security:
- APIKey: []
Authorization: Bearer <token>
securityDefinitions:
APIKey:
type: apiKey
name: Authorization
in: header
security:
- APIKey: []
也许这可以帮助:
swagger: '2.0'
info:
version: 1.0.0
title: Bearer auth example
description: >
An example for how to use Bearer Auth with OpenAPI / Swagger 2.0.
host: basic-auth-server.herokuapp.com
schemes:
- http
- https
securityDefinitions:
Bearer:
type: apiKey
name: Authorization
in: header
description: >-
Enter the token with the `Bearer: ` prefix, e.g. "Bearer abcde12345".
paths:
/:
get:
security:
- Bearer: []
responses:
'200':
description: 'Will send `Authenticated`'
'403':
description: 'You do not have necessary permissions for the resource'
你可以将其复制并粘贴到https://editor.swagger.io,以查看结果。
Swagger Editor网页中还有一些具有更复杂安全配置的示例,这可能对您有所帮助。
重要提示: 在此示例中,API使用者必须将"Bearer"前缀包含在令牌值中。例如,在使用Swagger UI的"授权"对话框时,您需要输入Bearer your_token
而不是仅输入your_token
。
OpenAPI 3.0及以上版本本地支持Bearer/JWT验证。其定义如下:
openapi: 3.0.0
...
components:
securitySchemes:
bearerAuth:
type: http
scheme: bearer
bearerFormat: JWT # optional, for documentation purposes only
security:
- bearerAuth: []
Swagger UI 3.4.0+ 和 Swagger Editor 3.1.12+(仅适用于 OpenAPI 3.x 规范!)支持此功能。
UI 将显示“授权”按钮,您可以单击并输入令牌(仅令牌本身,不包括前缀“Bearer ”)。之后,“试一试”请求将带有 Authorization: Bearer xxxxxx
标头。
Authorization
标头 (Swagger UI 3.x+)如果您使用 Swagger UI 并且出于某种原因需要以编程方式添加Authorization
标头而不是让用户单击“授权”并输入令牌,则可以使用 requestInterceptor
。这个解决方案适用于 Swagger UI 3.x+;UI 2.x 使用了不同的技术。
// index.html
const ui = SwaggerUIBundle({
url: "https://your.server.com/swagger.json",
...
requestInterceptor: (req) => {
req.headers.Authorization = "Bearer xxxxxxx"
return req
}
})
{
"openapi": "3.0.0",
...
"servers": [
{
"url": "/"
}
],
...
"paths": {
"/skills": {
"put": {
"security": [
{
"bearerAuth": []
}
],
...
},
"components": {
"securitySchemes": {
"bearerAuth": {
"type": "http",
"scheme": "bearer",
"bearerFormat": "JWT"
}
}
}
}
为什么“已接受的答案”有效,但对我来说还不够
在规范中,这是可行的。至少swagger-tools
(版本0.10.1)将其验证为有效。
但是如果您使用其他工具,例如swagger-codegen
(版本2.1.6),即使生成的客户端包含身份验证定义,您也会遇到一些困难,例如:
this.authentications = {
'Bearer': {type: 'apiKey', 'in': 'header', name: 'Authorization'}
};
在调用 method(endpoint) 之前无法将令牌传递到标头中。请查看此函数签名:
this.rootGet = function(callback) { ... }
这意味着,我只传递回调函数(在其他情况下是查询参数等),没有令牌,这导致向服务器的请求构建不正确。
我的替代方案
很遗憾,它不够“美观”,但在Swagger获得JWT令牌支持之前它可以使用。
注意:这正在讨论中
因此,它像标准标头一样处理身份验证。在path
对象上附加一个头部参数:
swagger: '2.0'
info:
version: 1.0.0
title: Based on "Basic Auth Example"
description: >
An example for how to use Auth with Swagger.
host: localhost
schemes:
- http
- https
paths:
/:
get:
parameters:
-
name: authorization
in: header
type: string
required: true
responses:
'200':
description: 'Will send `Authenticated`'
'403':
description: 'You do not have necessary permissions for the resource'
这将在方法签名中生成一个新的参数,用于生成客户端:
this.rootGet = function(authorization, callback) {
// ...
var headerParams = {
'authorization': authorization
};
// ...
}
要正确使用这种方法,只需传递“完整字符串”
// 'token' and 'cb' comes from elsewhere
var header = 'Bearer ' + token;
sdk.rootGet(header, cb);
以及作品。
const ui = SwaggerUIBundle({
...
requestInterceptor: (req) => {
req.headers.Authorization = "Bearer " + req.headers.Authorization;
return req;
},
...
});
我的Hackie方法是通过修改echo-swagger包中的swagger.go文件来解决这个问题:
在文件底部更新window.onload函数,包括一个requestInterceptor,正确格式化令牌。
window.onload = function() {
// Build a system
const ui = SwaggerUIBundle({
url: "{{.URL}}",
dom_id: '#swagger-ui',
validatorUrl: null,
presets: [
SwaggerUIBundle.presets.apis,
SwaggerUIStandalonePreset
],
plugins: [
SwaggerUIBundle.plugins.DownloadUrl
,
layout: "StandaloneLayout",
requestInterceptor: (req) => {
req.headers.Authorization = "Bearer " + req.headers.Authorization
return req
}
})
window.ui = ui
}
解决Laravel 7x ("openapi": "3.0.0")中的问题,编辑config\l5-swagger.php,并使用以下代码
'securityDefinitions' => [
'securitySchemes' => [
'bearerAuth' => [
'type' => 'http',
'scheme' => 'bearer',
'bearerFormat' => 'JWT',
],
],
然后,您可以将此作为安全注释添加到您的端点:
*security={
*{
*"bearerAuth": {}},
*},
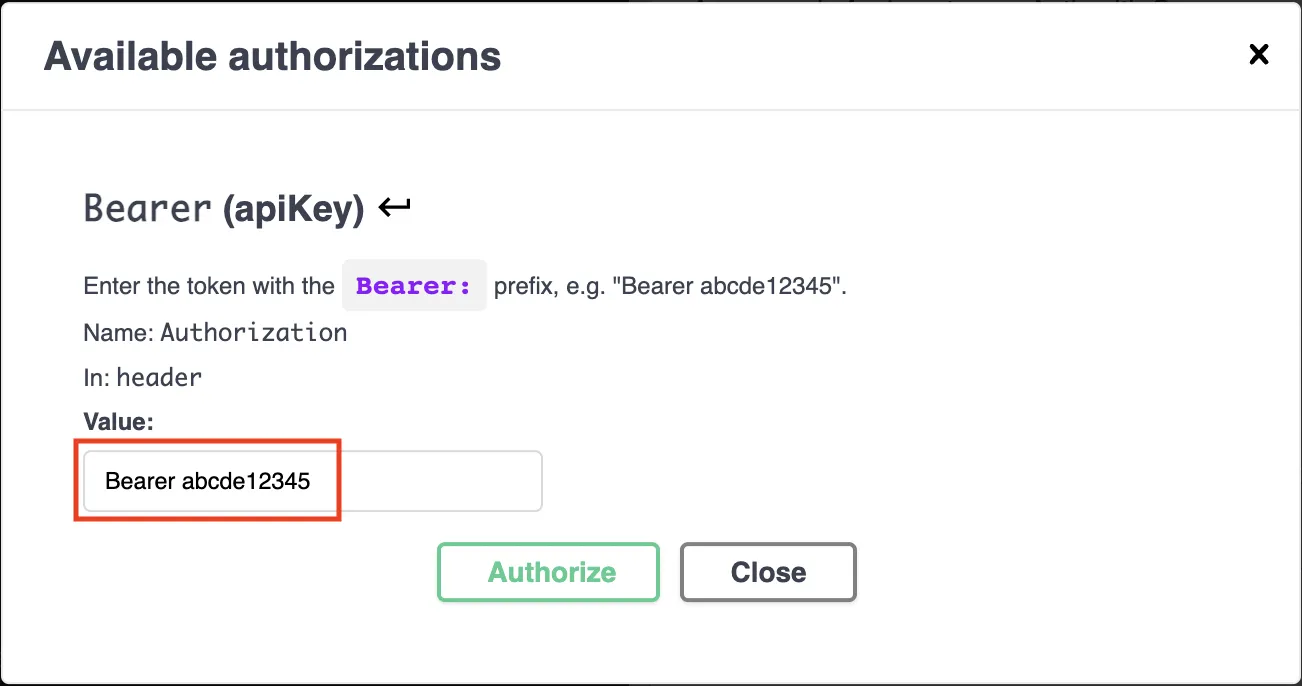
curl -X GET -H "Authorization: Bearer your_token"
,其中your_token
是您的令牌。例如:curl -X GET -H "Accept: application/json" -H "Authorization: Bearer 00000000-0000-0000-0000-000000000000" "http://localhost/secure-endpoint"
。 - Steve K-H "Authorization: foo"
而不是像OpenAPI 3答案那样的-H "Authorization: Bearer foo"
的“试一下”curl示例。 - Abe Voelker