我正在尝试构建一个带有自定义视图(没有标题或页脚)和圆角的AlertDialog。我看到了很多关于如何做到这一点的帖子,我也尝试了很多方法,但是我无法像我想要的那样构建它。
这是我的目标:
我的自定义视图的“layout”将有两个按钮。 现在,我向您展示一个空的“LinearLayout”,以使其简单易懂。 这是playdialog.xml:
为了构建对话框,我使用了一个DialogFragment。以下是它的onCreateDialog函数:
结果完全一样,所以我意识到我的
然后我决定使用dialog_background.xml修改
在我的自定义
然后在我的
有人知道我该怎么解决吗?
谢谢!
这是我的目标:
<shape xmlns:android="http://schemas.android.com/apk/res/android" >

    <solid
        android:color="#FFAAAAAA" />

    <stroke
        android:width="2dp"
        android:color="#FF000000" />

    <corners android:radius="20dp" />
</shape>
我添加了一个style来使用它:
<style name="MyDialog" parent="@android:style/Theme.Dialog">
    <item name="android:background">@drawable/dialog_background</item>
</style>
我的自定义视图的“layout”将有两个按钮。 现在,我向您展示一个空的“LinearLayout”,以使其简单易懂。 这是playdialog.xml:
<LinearLayout xmlns:android="http://schemas.android.com/apk/res/android"
    xmlns:tools="http://schemas.android.com/tools"
    android:layout_width="match_parent"
    android:layout_height="match_parent"
    android:orientation="vertical"
    style="@style/MyDialog"
     >

</LinearLayout>
为了构建对话框,我使用了一个DialogFragment。以下是它的onCreateDialog函数:
public Dialog onCreateDialog(Bundle savedInstanceState) {
    AlertDialog.Builder builder = new AlertDialog.Builder(getActivity());
    LayoutInflater inflater = getActivity().getLayoutInflater();

    builder.setView(inflater.inflate(R.layout.playdialog, null));
    return builder.create();
}
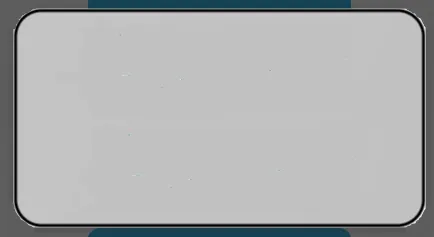
好的,如果我使用这样的代码,我会得到这个:
我尝试通过修改DialogFragment代码,将dialog背景设置为透明:
public Dialog onCreateDialog(Bundle savedInstanceState) {
    AlertDialog.Builder builder = new AlertDialog.Builder(getActivity());
    LayoutInflater inflater = getActivity().getLayoutInflater();

    builder.setView(inflater.inflate(R.layout.playdialog, null));

    **NEW**

    Dialog d = builder.create();
    d.getWindow().setBackgroundDrawable(new ColorDrawable(android.graphics.Color.TRANSPARENT));
    return d;
}
结果完全一样,所以我意识到我的
dialog下面的那个白色矩形来自我的自定义view,而不是dialog。我已经将view的背景设置为dialog_background.xml,因此不能将其设置为透明或者会失去圆角、颜色等。然后我决定使用dialog_background.xml修改
dialog的背景,并使我的view具有纯色背景。在我的自定义
view布局(playdialog.xml)中,我用以下内容替换了style="@style/MyDialog":android:background="#FFAAAAAA"
然后在我的
DialogFragment中,我使用了这段代码:public Dialog onCreateDialog(Bundle savedInstanceState) {
AlertDialog.Builder builder = new AlertDialog.Builder(getActivity());
LayoutInflater inflater = getActivity().getLayoutInflater();
builder.setView(inflater.inflate(R.layout.playdialog, null));
**NEW**
Dialog d = builder.create();
d.getWindow().setBackgroundDrawableResource(R.drawable.dialog_background);
return d;
}
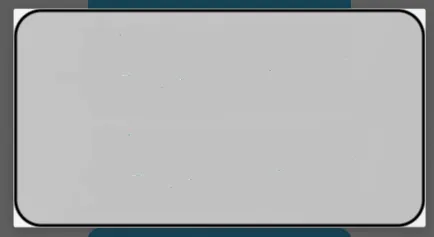
这是我得到的:

视图边框,所以还不够好。此时我不知道还能做什么。有人知道我该怎么解决吗?
谢谢!