我正在React Native项目中使用React Navigation,并希望使用图像自定义标题。
对于颜色,我可以使用简单的样式,但由于React Native不支持背景图像,我需要其他的解决方案。
我正在React Native项目中使用React Navigation,并希望使用图像自定义标题。
对于颜色,我可以使用简单的样式,但由于React Native不支持背景图像,我需要其他的解决方案。
更新:
自从库的v2版本以来,有一个特殊选项用于设置页眉背景,即headerBackground。
此选项接受React组件作为输入,因此如果将其设置为Image组件,则会使用该组件作为背景。
例如:
export default createStackNavigator({
  Home: {
    screen: HomeScreen
  },
}, {
  navigationOptions: {
    headerBackground: () => (
      <Image
        style={StyleSheet.absoluteFill}
        source={{ uri: 'https://upload.wikimedia.org/wikipedia/commons/3/36/Hopetoun_falls.jpg' }}
      />
    ),
  }
});
工作示例:https://snack.expo.io/@koen/react-navigation-header-background
旧答案,适用于使用React Navigation v1的情况:
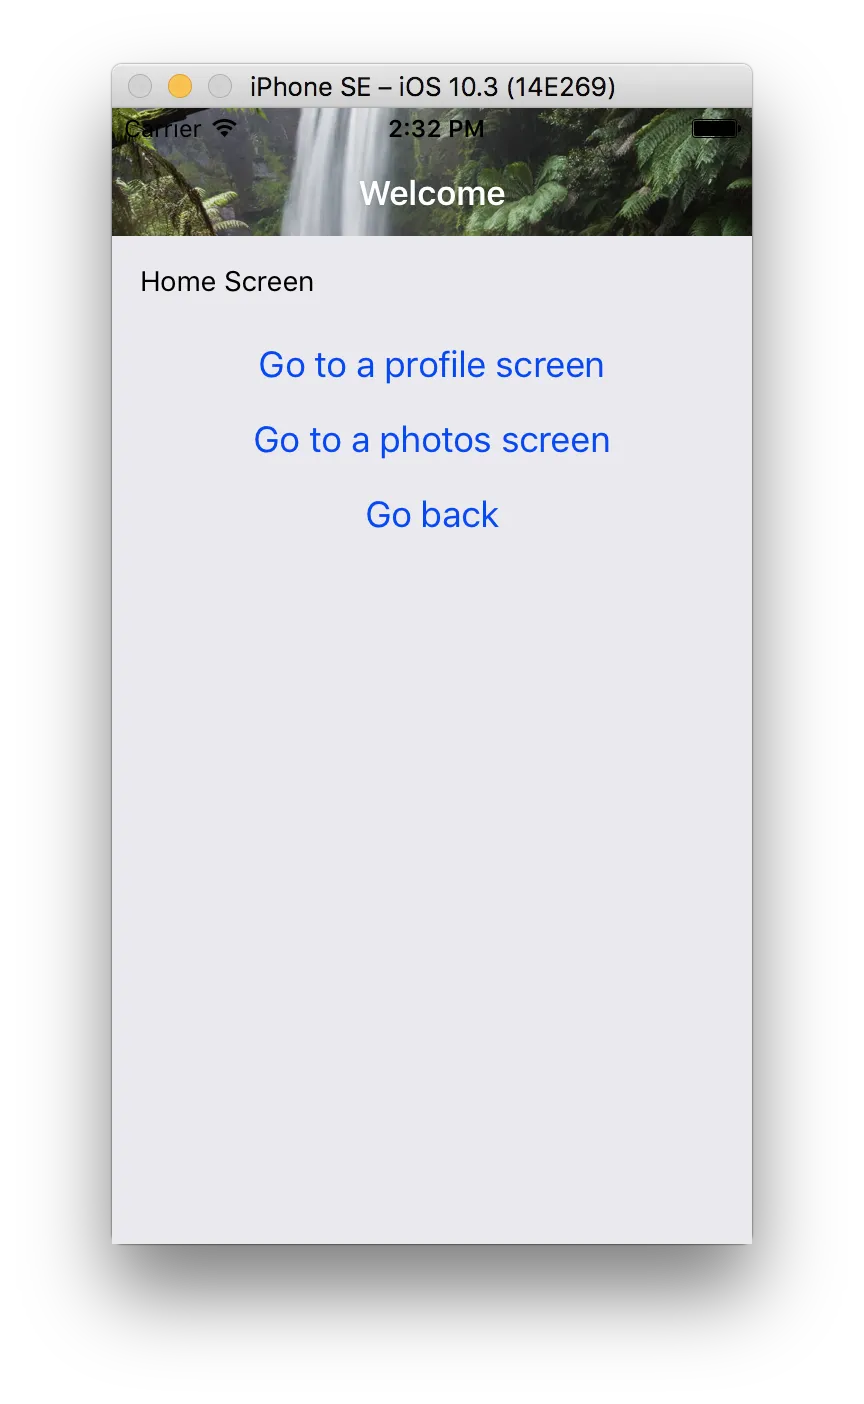
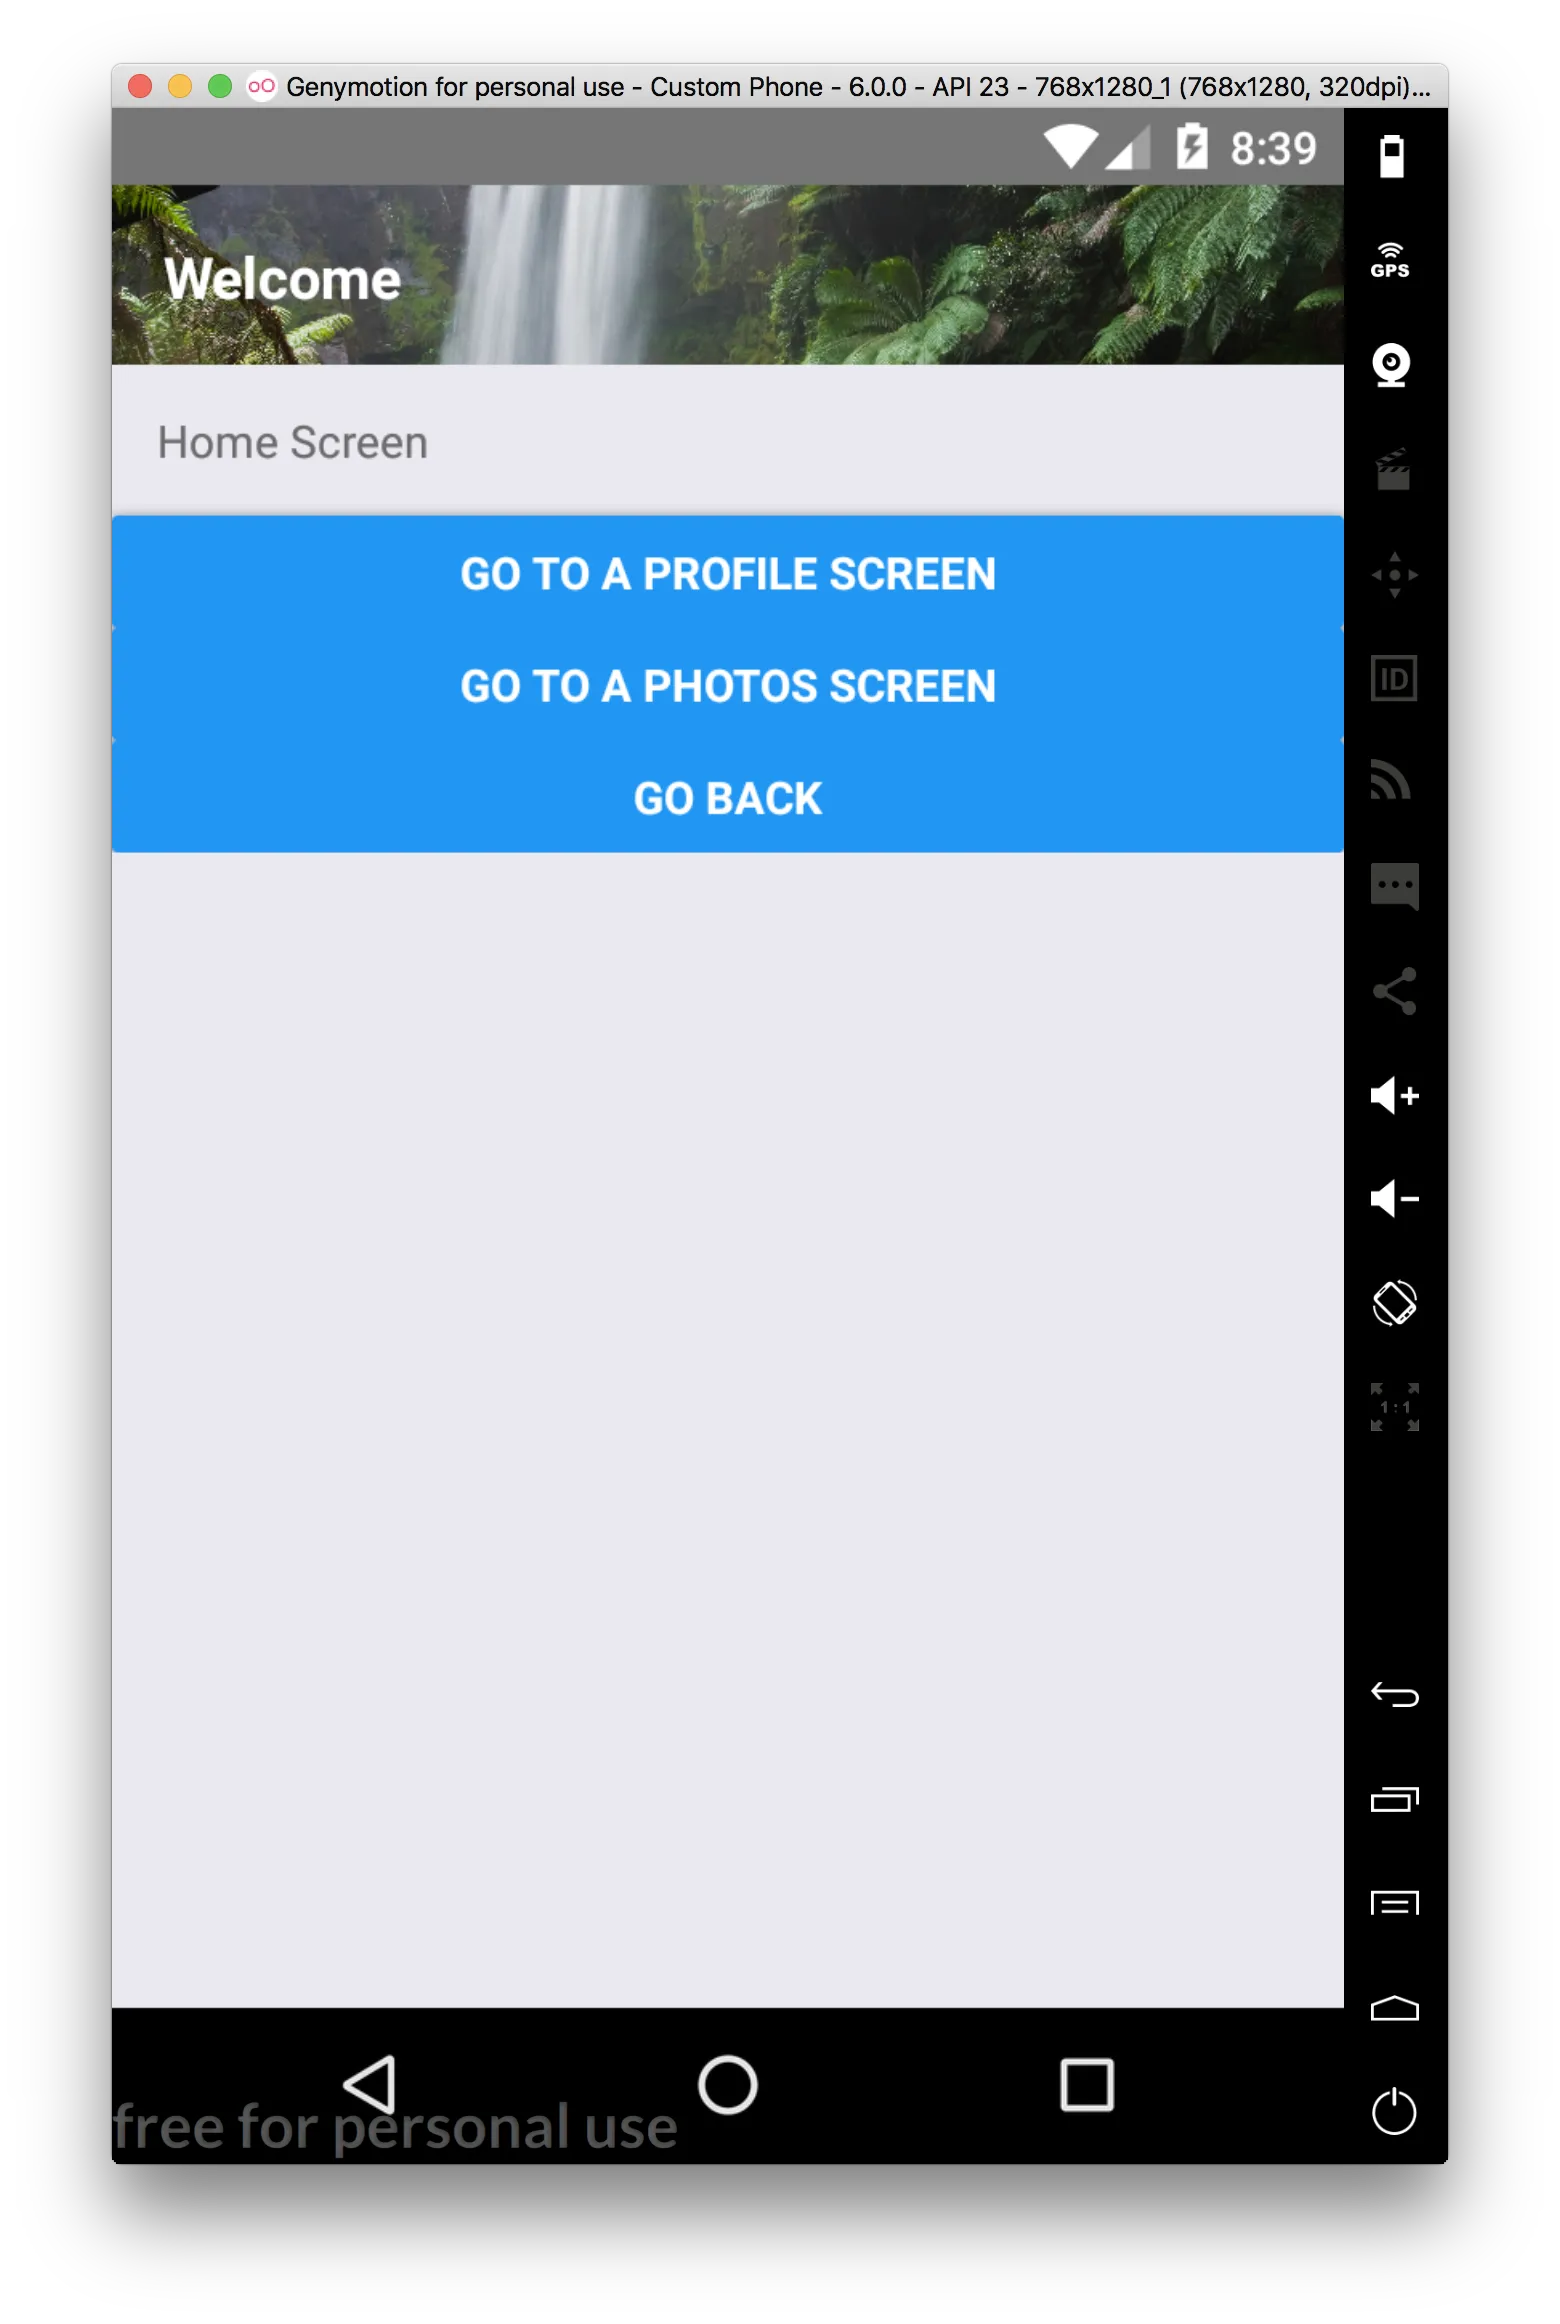
实际上,创建带有图像的自定义标题非常简单。
通过将头部与视图包装,并在该视图中放置一个绝对定位的图像,图像将按比例缩放到其父项大小。
重要的是将默认标题的backgroundColor设置为transparent。
const ImageHeader = props => (
  <View style={{ backgroundColor: '#eee' }}>
    <Image
      style={StyleSheet.absoluteFill}
      source={{ uri: 'https://upload.wikimedia.org/wikipedia/commons/3/36/Hopetoun_falls.jpg' }}
    />
    <Header {...props} style={{ backgroundColor: 'transparent' }}/>
  </View>
);
然后将该组件用作标题:
const SimpleStack = StackNavigator({
  Home: {
    screen: MyHomeScreen,
  },
}, {
  navigationOptions: {
    headerTitleStyle: { color: '#fff' },
    header: (props) => <ImageHeader {...props} />,
  }
});
这将导致:
https://reactnavigation.org/docs/headers/#replacing-the-title-with-a-custom-component
<Stack.Navigator>
  <Stack.Screen
    name="Home"
    component={HomeScreen}
    // title: 'App Name'
    options={{
     headerTitle: (props) => ( // App Logo
      <Image
        style={{ width: 200, height: 50 }}
        source={require('../assets/images/app-logo-1.png')}
        resizeMode='contain'
      />
    ),
    headerTitleStyle: { flex: 1, textAlign: 'center' },
    }}
  />
</Stack.Navigator>
React Navigation v5 更新!(为了将来的参考而撰写本文)
对于 React Navigation 5,我找到了这个解决方案。
在 StackNavigator.js 类中,您可以为每个页面(Stack.Screen)设置不同的图像:
<Stack.Screen
    name='Home'
    component={HomeScreen}
    options={{
      title: <Image style={{ width: 250, height: 50 }}
      source = require('../images/yourimage.png')}/>
    }}
 />
接下来,您必须调整图像的宽度,高度和位置,但它有效!我认为这是最简单的方法。这是输出结果(是的,这是我在调整之前的图像)。

不要忘记导入Image!
import { Image } from 'react-native'
headerBackground: () =>{ return( <Image style={StyleSheet.absoluteFill} source={{ uri: 'https://upload.wikimedia.org/wikipedia/commons/3/36/Hopetoun_falls.jpg' }} /> ) }
头部背景:() =>{ return( <Image style={StyleSheet.absoluteFill} source={{ uri: 'https://upload.wikimedia.org/wikipedia/commons/3/36/Hopetoun_falls.jpg' }} /> ) }