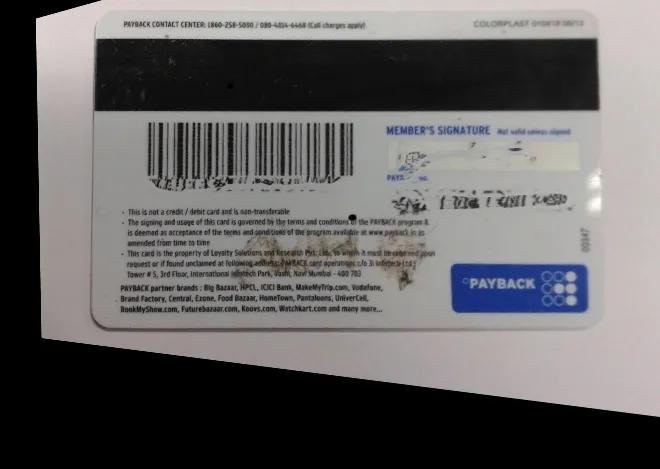
我试图对倾斜的矩形(信用卡)进行透视校正,该矩形在四个方向上都倾斜。我已经找到了其四个角落和相应的倾斜角度,但我无法找到坐标的确切位置,需要将其投影到那里。 我正在使用cv2.getPerspectiveTransform进行转换。
我有实际卡片(未倾斜)的长宽比,我想要这样的坐标,以便保持原始的长宽比。我尝试过使用边界矩形,但这会增加卡片的大小。
任何帮助将不胜感激。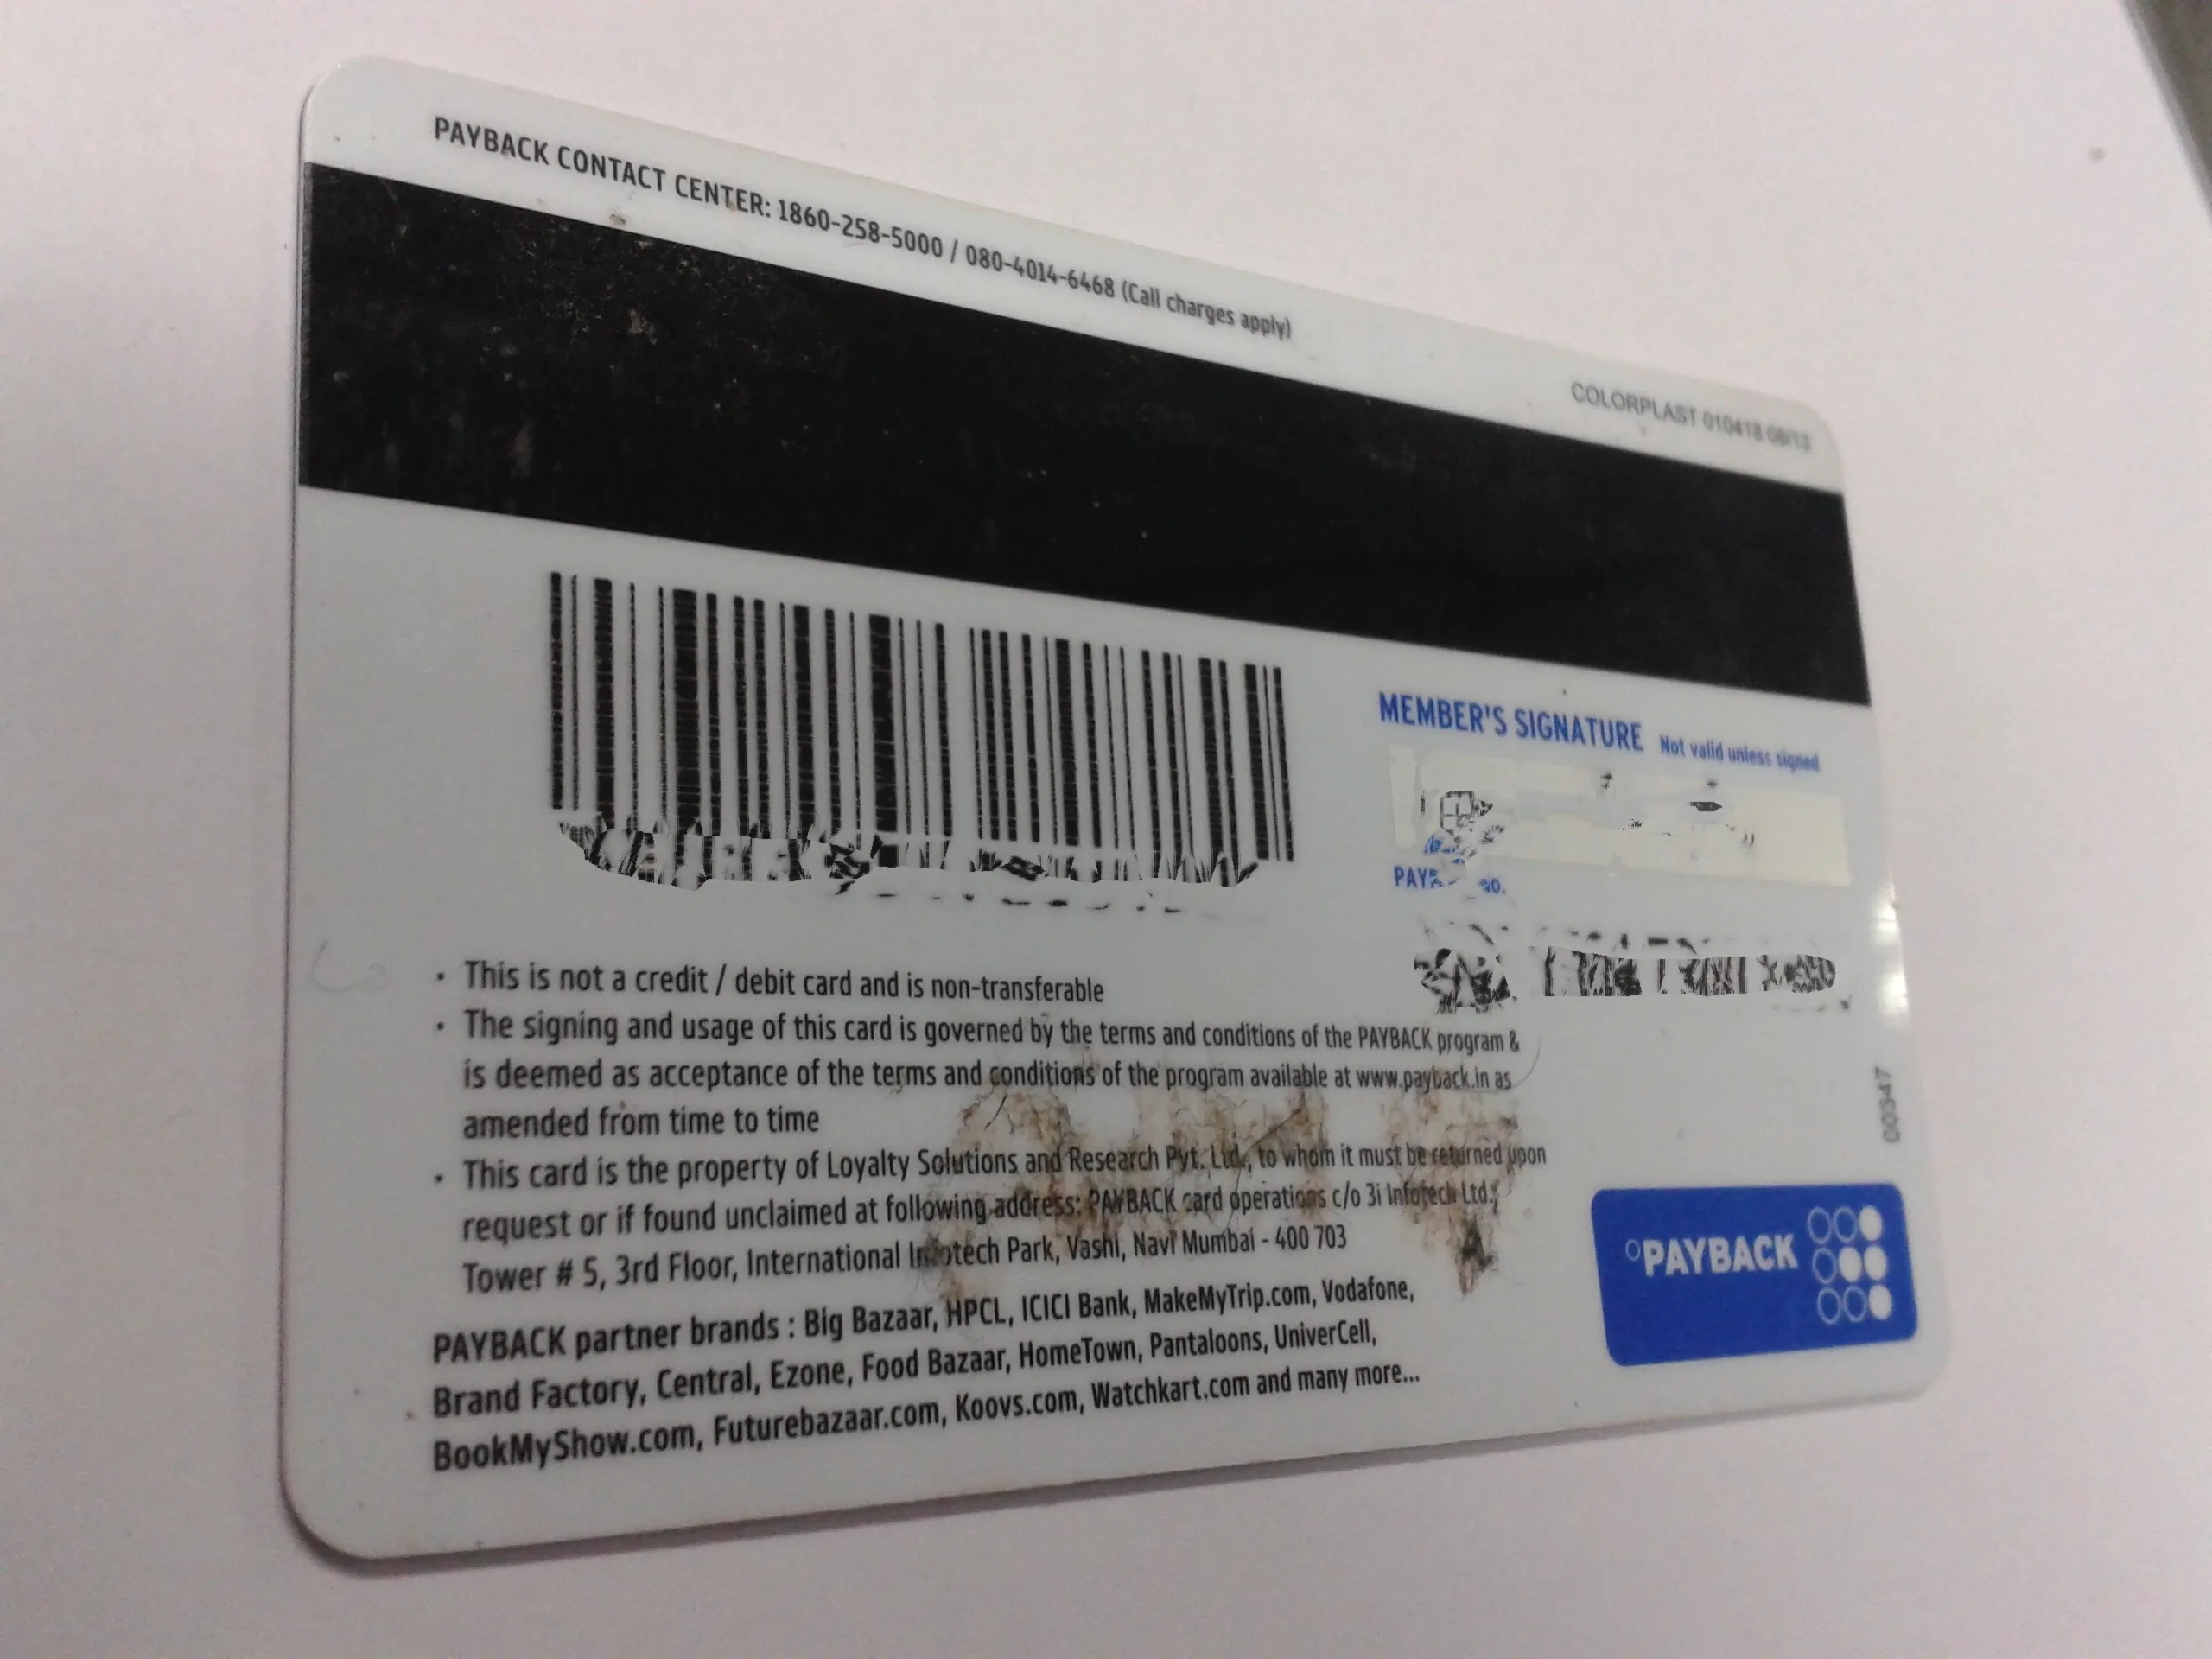

我试图对倾斜的矩形(信用卡)进行透视校正,该矩形在四个方向上都倾斜。我已经找到了其四个角落和相应的倾斜角度,但我无法找到坐标的确切位置,需要将其投影到那里。 我正在使用cv2.getPerspectiveTransform进行转换。
我有实际卡片(未倾斜)的长宽比,我想要这样的坐标,以便保持原始的长宽比。我尝试过使用边界矩形,但这会增加卡片的大小。
任何帮助将不胜感激。
这是你需要遵循的步骤...
为了方便起见,我已将您的图像调整为较小的尺寸,

  Q1=manual calculation;
  Q2=manual calculation;
  Q3=manual calculation;
  Q4=manual calculation;
   // compute the size of the card by keeping aspect ratio.
    double ratio=1.6;
    double cardH=sqrt((Q3.x-Q2.x)*(Q3.x-Q2.x)+(Q3.y-Q2.y)*(Q3.y-Q2.y)); //Or you can give your own height
    double cardW=ratio*cardH;
    Rect R(Q1.x,Q1.y,cardW,cardH);
您可以参考以下 C++ 代码:
   //Compute quad point for edge
    Point Q1=Point2f(90,11);
    Point Q2=Point2f(596,135);
    Point Q3=Point2f(632,452);
    Point Q4=Point2f(90,513);

    // compute the size of the card by keeping aspect ratio.
    double ratio=1.6;
    double cardH=sqrt((Q3.x-Q2.x)*(Q3.x-Q2.x)+(Q3.y-Q2.y)*(Q3.y-Q2.y));//Or you can give your own height
    double cardW=ratio*cardH;
    Rect R(Q1.x,Q1.y,cardW,cardH);

    Point R1=Point2f(R.x,R.y);
    Point R2=Point2f(R.x+R.width,R.y);
    Point R3=Point2f(Point2f(R.x+R.width,R.y+R.height));
    Point R4=Point2f(Point2f(R.x,R.y+R.height));

    std::vector<Point2f> quad_pts;
    std::vector<Point2f> squre_pts;

    quad_pts.push_back(Q1);
    quad_pts.push_back(Q2);
    quad_pts.push_back(Q3);
    quad_pts.push_back(Q4);

    squre_pts.push_back(R1);
    squre_pts.push_back(R2);
    squre_pts.push_back(R3);
    squre_pts.push_back(R4);


    Mat transmtx = getPerspectiveTransform(quad_pts,squre_pts);
    int offsetSize=150;
    Mat transformed = Mat::zeros(R.height+offsetSize, R.width+offsetSize, CV_8UC3);
    warpPerspective(src, transformed, transmtx, transformed.size());

    //rectangle(src, R, Scalar(0,255,0),1,8,0);

    line(src,Q1,Q2, Scalar(0,0,255),1,CV_AA,0);
    line(src,Q2,Q3, Scalar(0,0,255),1,CV_AA,0);
    line(src,Q3,Q4, Scalar(0,0,255),1,CV_AA,0);
    line(src,Q4,Q1, Scalar(0,0,255),1,CV_AA,0);

    imshow("quadrilateral", transformed);
    imshow("src",src);
    waitKey();
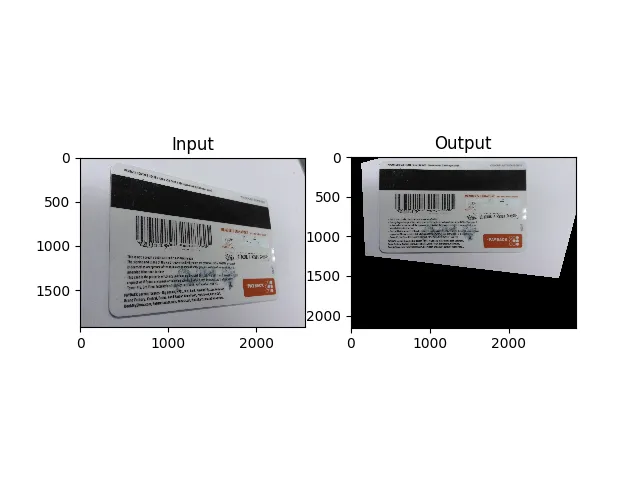
我正在使用Python编写@Haris提供的答案。
import cv2
import math
import numpy as np
import matplotlib.pyplot as plt

img = cv2.imread('test.jpg')
rows,cols,ch = img.shape

pts1 = np.float32([[360,50],[2122,470],[2264, 1616],[328,1820]])

ratio=1.6
cardH=math.sqrt((pts1[2][0]-pts1[1][0])*(pts1[2][0]-pts1[1][0])+(pts1[2][1]-pts1[1][1])*(pts1[2][1]-pts1[1][1]))
cardW=ratio*cardH;
pts2 = np.float32([[pts1[0][0],pts1[0][1]], [pts1[0][0]+cardW, pts1[0][1]], [pts1[0][0]+cardW, pts1[0][1]+cardH], [pts1[0][0], pts1[0][1]+cardH]])

M = cv2.getPerspectiveTransform(pts1,pts2)

offsetSize=500
transformed = np.zeros((int(cardW+offsetSize), int(cardH+offsetSize)), dtype=np.uint8);
dst = cv2.warpPerspective(img, M, transformed.shape)

plt.subplot(121),plt.imshow(img),plt.title('Input')
plt.subplot(122),plt.imshow(dst),plt.title('Output')
plt.show()
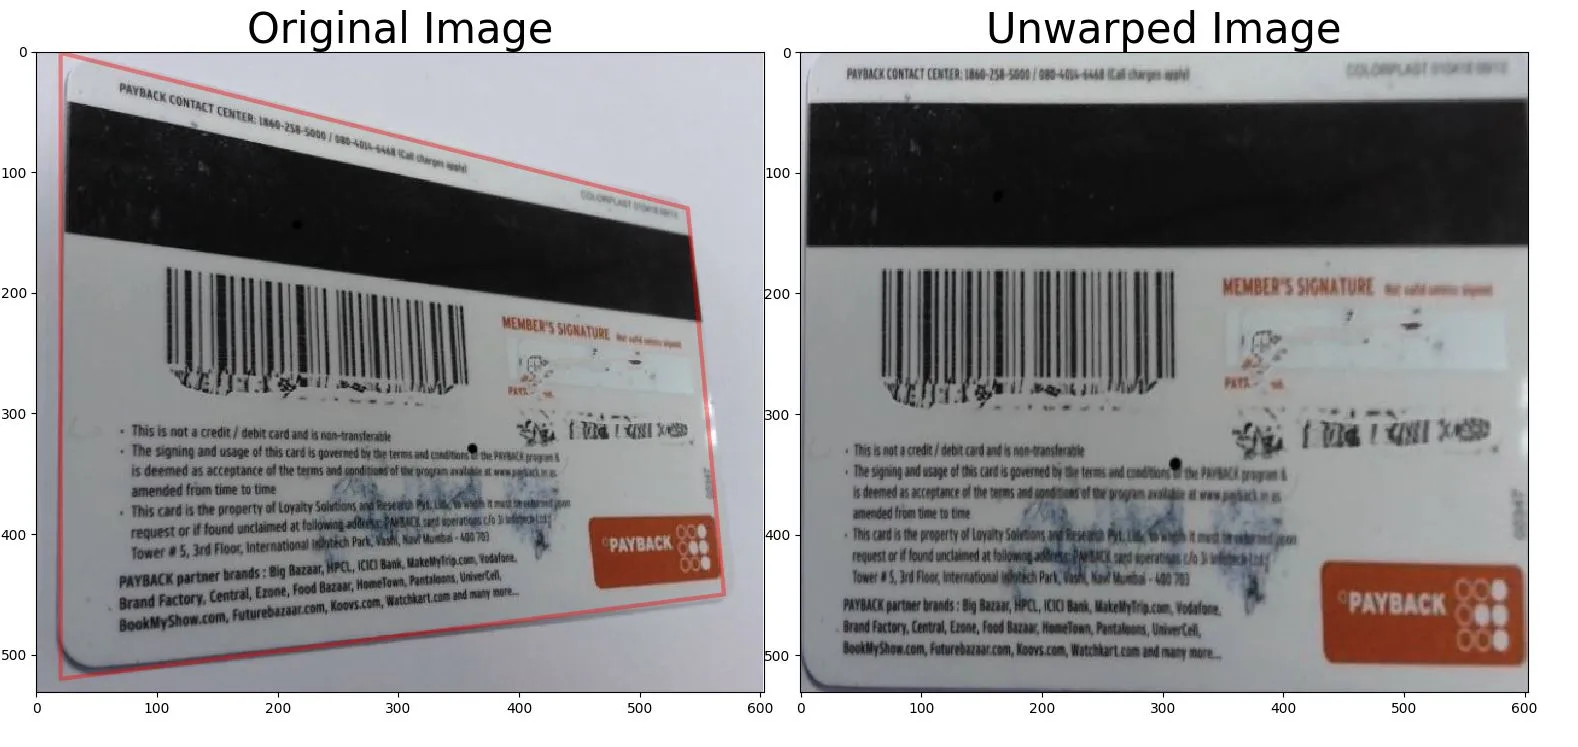 我有一个更好的解决方案,非常简单:
The red rectangle on original image and the corners points of the rectangle are source points
We use cv2.getPerspectiveTransform(src, dst) that takes source points and destination points as arguments and returns the transformation matrix which transforms any image to destination image as show in the diagram
We use this transformation matrix in cv2.warpPerspective()
- As you can see results are better. You get a very nice bird view of the image
import cv2
import matplotlib.pyplot as plt
import numpy as np


def unwarp(img, src, dst, testing):
    h, w = img.shape[:2]
    # use cv2.getPerspectiveTransform() to get M, the transform matrix, and Minv, the inverse
    M = cv2.getPerspectiveTransform(src, dst)
    # use cv2.warpPerspective() to warp your image to a top-down view
    warped = cv2.warpPerspective(img, M, (w, h), flags=cv2.INTER_LINEAR)

    if testing:
        f, (ax1, ax2) = plt.subplots(1, 2, figsize=(20, 10))
        f.subplots_adjust(hspace=.2, wspace=.05)
        ax1.imshow(img)
        x = [src[0][0], src[2][0], src[3][0], src[1][0], src[0][0]]
        y = [src[0][1], src[2][1], src[3][1], src[1][1], src[0][1]]
        ax1.plot(x, y, color='red', alpha=0.4, linewidth=3, solid_capstyle='round', zorder=2)
        ax1.set_ylim([h, 0])
        ax1.set_xlim([0, w])
        ax1.set_title('Original Image', fontsize=30)
        ax2.imshow(cv2.flip(warped, 1))
        ax2.set_title('Unwarped Image', fontsize=30)
        plt.show()
    else:
        return warped, M
im = cv2.imread("so.JPG")
w, h = im.shape[0], im.shape[1]
# We will first manually select the source points
# we will select the destination point which will map the source points in
# original image to destination points in unwarped image
src = np.float32([(20,     1),
                  (540,  130),
                  (20,    520),
                  (570,  450)])

dst = np.float32([(600, 0),
                  (0, 0),
                  (600, 531),
                  (0, 531)])

unwarp(im, src, dst, True)

cv2.imshow("so", im)
cv2.waitKey(0)[![enter image description here][1]][1]
cv2.destroyAllWindows()