我已经进行了足够的研究,但无法修复它。当我从相机中拍摄图片并将其存储为UIImage时,一切都很好,但是一旦我将此图像存储为PNG表示,它就会旋转90度。
以下是我的代码和我尝试的所有事情:
- (void)imagePickerController:(UIImagePickerController *)picker didFinishPickingMediaWithInfo:(NSDictionary *)info
{
    NSString *mediaType = [info valueForKey:UIImagePickerControllerMediaType];

    if([mediaType isEqualToString:(NSString*)kUTTypeImage])
    {
        AppDelegate *delegate = (AppDelegate *)[[UIApplication sharedApplication] delegate];
        delegate.originalPhoto  = [info objectForKey:@"UIImagePickerControllerOriginalImage"];
        NSLog(@"Saving photo");
        [self saveImage];
        NSLog(@"Fixing orientation");
        delegate.fixOrientationPhoto  = [self fixOrientation:[UIImage imageWithContentsOfFile:[delegate filePath:imageName]]];
        NSLog(@"Scaling photo");
        delegate.scaledAndRotatedPhoto  =  [self scaleAndRotateImage:[UIImage imageWithContentsOfFile:[delegate filePath:imageName]]];
    }
    [picker dismissModalViewControllerAnimated:YES];
    [picker release];
}


- (void)saveImage
{
    AppDelegate *delegate = (AppDelegate *)[[UIApplication sharedApplication] delegate];
    NSData *imageData = UIImagePNGRepresentation(delegate.originalPhoto);
    [imageData writeToFile:[delegate filePath:imageName] atomically:YES];
}
这里的 fixOrientation 和 scaleAndRotateImage 函数分别取自 这里 和 这里。它们可以很好地旋转 UIImage 中的图像,但如果我将其保存为 PNG 格式再应用这些函数,则无法工作。
请参考执行上述函数后的以下图片:
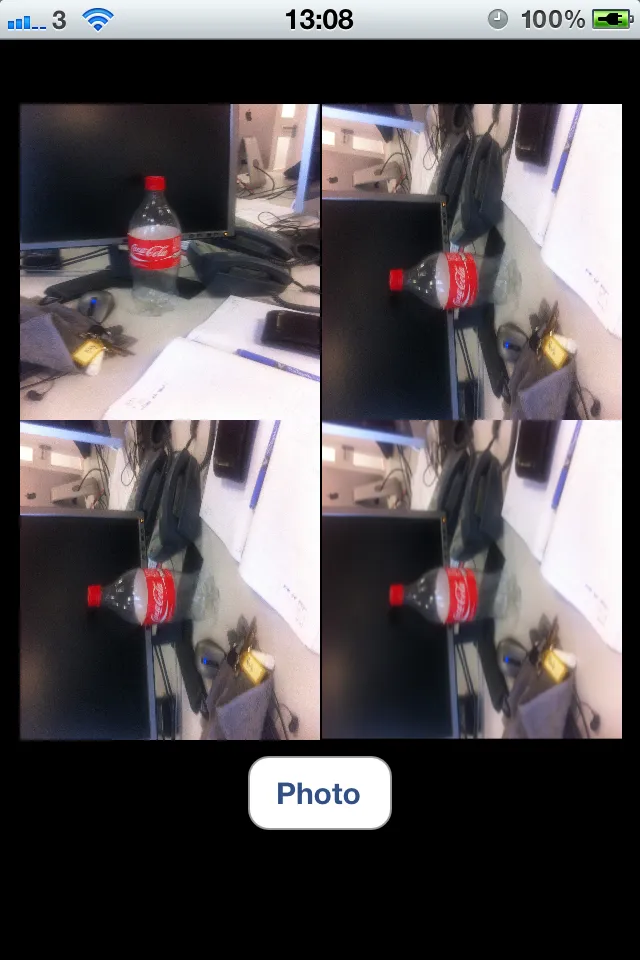
- 从 iPhone 竖屏模式拍摄的图片会旋转 90 度
- 相机拍摄的图片方向发生变化
- rohan-patel- 自然输出为横向
- .width / .height 受 .imageOrientation 影响
- Fattie