如何使用Core Image API模糊图像,使其看起来像“UIVisualView”效果?

3
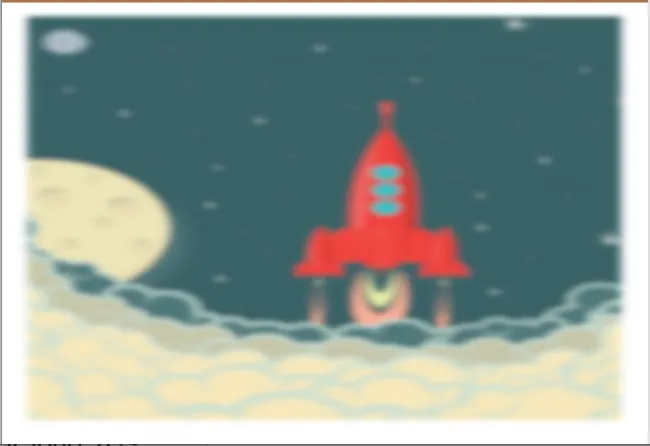
第一张图片是原始图片。
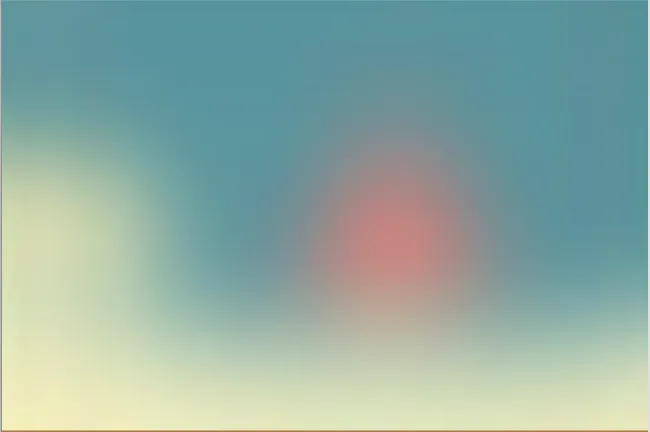
第二张图片是使用Core Image API实现的模糊图片。
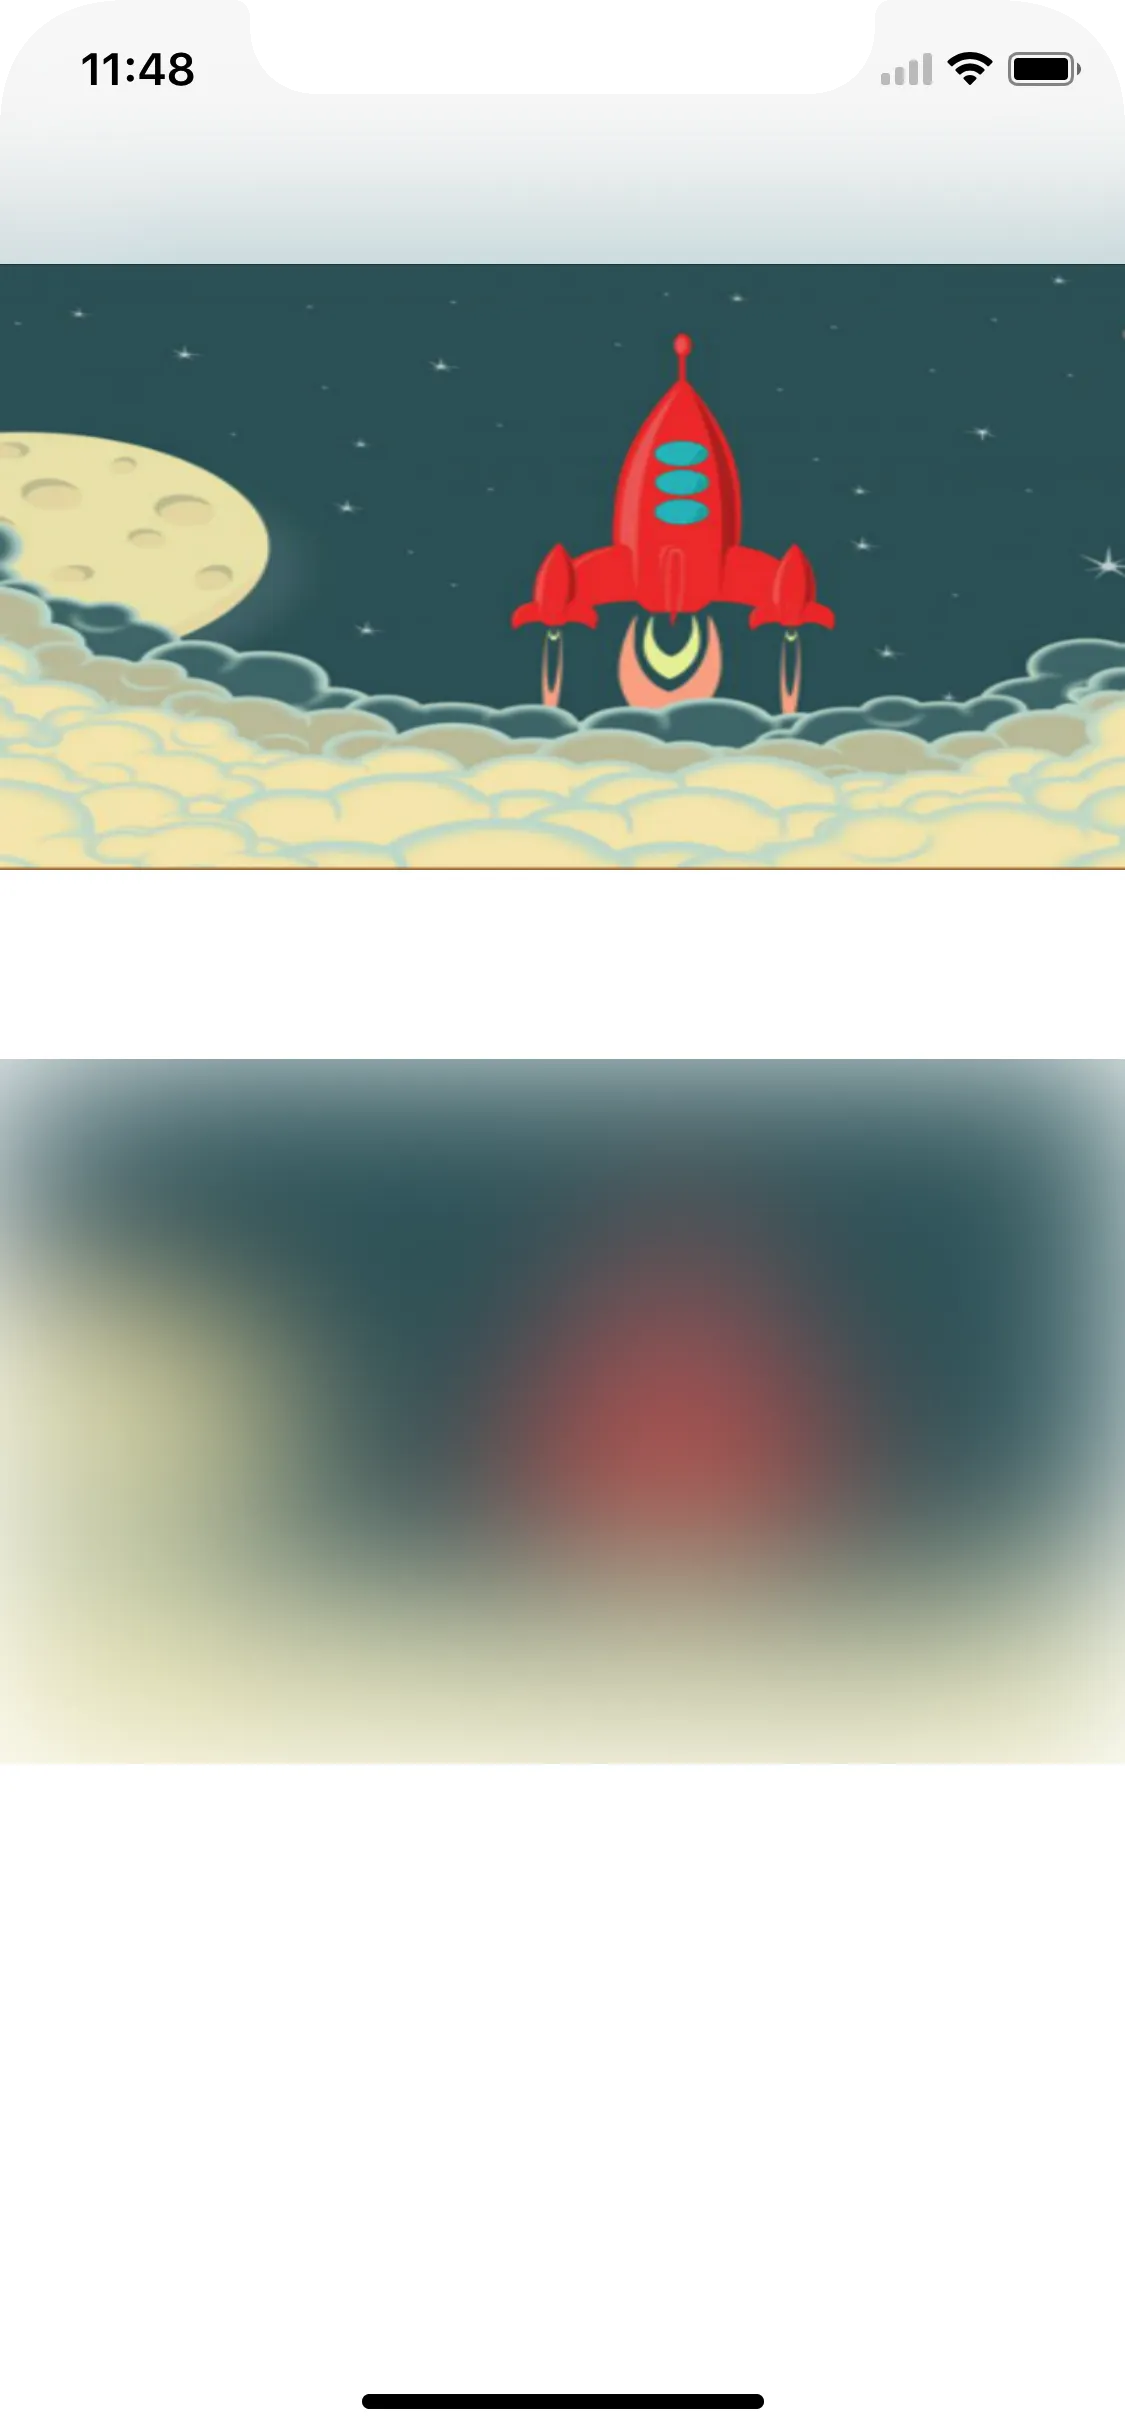
第三张图片是使用UIVisualView实现的模糊图片。
显然,Core Image模糊了图像并缩小了它。更大的半径导致了更宽的白边。
问题:如何使用Core Image制作与UIVisualView效果类似的视觉效果。
至少,如何使用Core Image对图像进行模糊处理而没有白色边框。
func blur(image: UIImage, withRadius radius: Float) -> UIImage {
    let context = CIContext(options: nil)
    let image = CIImage(image: image)

    let filter = CIFilter(name: "CIGaussianBlur")
    filter?.setValue(image, forKey: kCIInputImageKey)
    filter?.setValue(radius, forKey: "inputRadius")
    let result = filter?.outputImage
    return UIImage(cgImage: context.createCGImage(result!, from: (result?.extent)!)!)
}

第三张图片是:
func addVisualEffectView() {
    let effectView = UIVisualEffectView(effect: UIBlurEffect(style:.light))
    effectView.frame = originalImageView.bounds // originalImageView is the ImageView represents the original image
    originalImageView.addSubview(effectView)
}

enter image description here enter image description here

enter image description here


你已经得到了答案。现在,如果你想更好地了解事情的底层发生了什么,我推荐阅读《Swift核心图像》- 特别是第3.1章节。它解释了为什么会有白色边框以及如何进行纠正 - 基本上,这是一个卷积滤波器,而边缘就是...嗯,边缘。 - user7014451
@dfd 谢谢,我会检查的。 - JsW
3个回答

5
使用这个,我得到了像视觉效果视图一样的模糊效果。
func blurredImage(with sourceImage: UIImage) -> UIImage {
    //  Create our blurred image
    let context = CIContext(options: nil)
    let inputImage = CIImage(cgImage: sourceImage.cgImage as! CGImage)
    //  Setting up Gaussian Blur
    var filter = CIFilter(name: "CIGaussianBlur")
    filter?.setValue(inputImage, forKey: kCIInputImageKey)
    filter?.setValue(50.0, forKey: "inputRadius")
    let result = filter?.value(forKey: kCIOutputImageKey) as? CIImage

   /*  CIGaussianBlur has a tendency to shrink the image a little, this ensures it matches 
    *  up exactly to the bounds of our original image */

    let cgImage = context.createCGImage(result ?? CIImage(), from: inputImage.extent)
    let retVal = UIImage(cgImage: cgImage!)
    return retVal
}

CIContext。所有核心图像的处理都在CIContext中完成。这与Core Graphics或OpenGL上下文有些相似。

调用上下文中的createCGImage(from:)并提供CIImage将返回一个新的CGImage实例。

本教程将帮助您了解:

Core Image教程:入门指南

以下是输出:

enter image description here


如果您解释一下为什么CIContext.createCGImage(from:)对此至关重要,那将有助于每个人。事实上,提供代码之外的更多信息会更好!我们在这里是来帮助的,而不仅仅是提供代码。除此之外,回答非常棒! - user7014451
@Faysal 谢谢你!还有 dfd。感谢你们两个。这个问题困扰了我很长一段时间。 - JsW
@dfd这是否可以更接近UIVisualEffect?无论radius是多少,模糊的图像看起来仍然与UIVisualEffect有点不同。 - JsW
很可能是这样。请记住,您正在使用由Apple创建的视图,而不是使用较低级别的API来紧密复制某些内容。我看到了八个CICategoryBlur过滤器,其中不包括您自己可以编写的简单过滤器。顺便说一句,您的问题从未涉及“重新创建”该模糊效果 - 只是关于为什么会出现白色边框的问题。 :-) - user7014451

1
您可以创建一个UIImageView并在图像视图上方创建一个UIViewVisualEffectView,然后将其渲染为图像,参见我的方法:
extension UIImage
{
    var glass: UIImage?
    {
        let area = CGRect(x: 0, y: 0, width: size.width, height: size.height)
    
        let mainView = UIView(frame: area)
    
        let imageView = UIImageView(image: self)
        imageView.frame = area
    
        let blurEffect = UIBlurEffect(style: .light)
        let blurredEffectView = UIVisualEffectView(effect: blurEffect)
        blurredEffectView.frame = area
    
        mainView.addSubview(imageView)
        mainView.addSubview(blurredEffectView)
    
        let renderer = UIGraphicsImageRenderer(size: size)
        let blurImage = renderer.image { _ in
            mainView.drawHierarchy(in: area, afterScreenUpdates: true)
        }
        return blurImage
    }
}

1
那些不使用clampedToExtent()或类似效果的答案,即使他们裁剪模糊图像以让大部分白色边框消失,也无法正确计算高斯滤波器的边缘。请注意,基于UIKit中UIVisualEffectView的答案将透明地应用这种类似的效果。
这是因为计算边框的唯一方法是通过在应用滤镜之前,从原始图像的边缘重复像素颜色来创建无限范围的图像。 您需要在调用clampedToExtent()之前保存CIImage范围,以便能够仅在输入CIImage的初始范围上应用模糊滤镜。
简而言之,在使用Core Graphics和Core Image模糊图像时,您需要利用clampedToExtent()。但是在使用UIKit或SwiftUI时,这会自动为您完成。
// cgImage is the input image you want to apply the gaussian filter to
var ci_image = CIImage(cgImage: cg_image)
// Save the width and height
let ci_image_ext = ci_image.extent
// Create an infinite extent by repeating pixel colors from the edges
ci_image = ci_image.clampedToExtent()
// Create you drawing context
let ci_context = CIContext()
// Create and configure you gaussian filter
let blur = CIFilter(name: "CIGaussianBlur")
blur?.setValue(ci_image, forKey: kCIInputImageKey)
blur?.setValue(blur_radius, forKey: kCIInputRadiusKey)
let blurred_image = blur?.outputImage
// Apply the gaussian filter to the part of the input image
let new_cg_image = ci_context.createCGImage(blurred_image!, from: ci_image_ext)
// new_cg_image is the blurred output image

网页内容由stack overflow 提供, 点击上面的
可以查看英文原文,
原文链接