我希望制作一个像Cam Scanner一样用于裁剪文档的应用程序。
但是我需要像我的两张图片一样的功能..
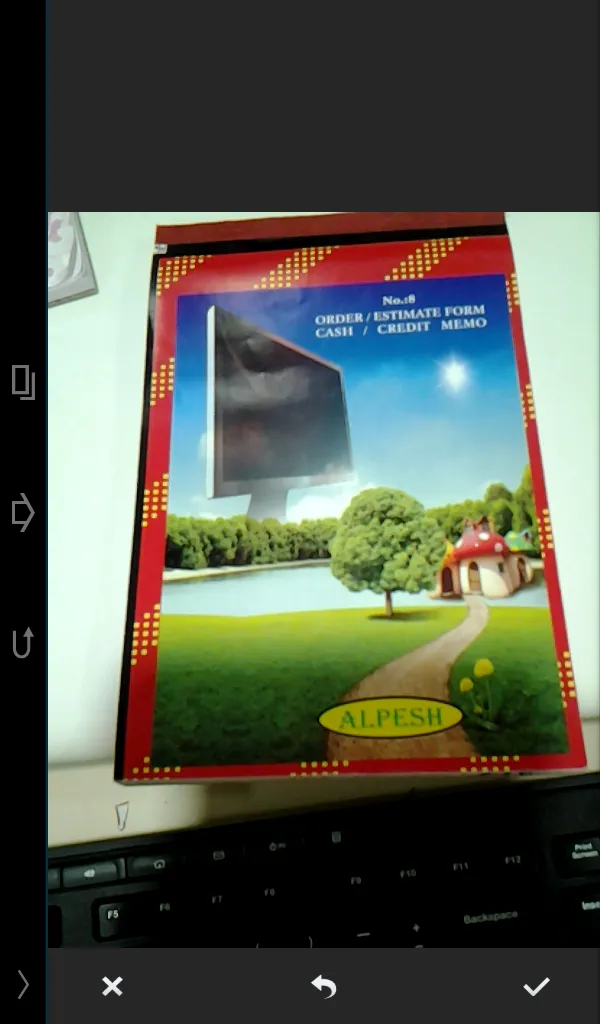
第一张图片显示了由相机拍摄的图像..
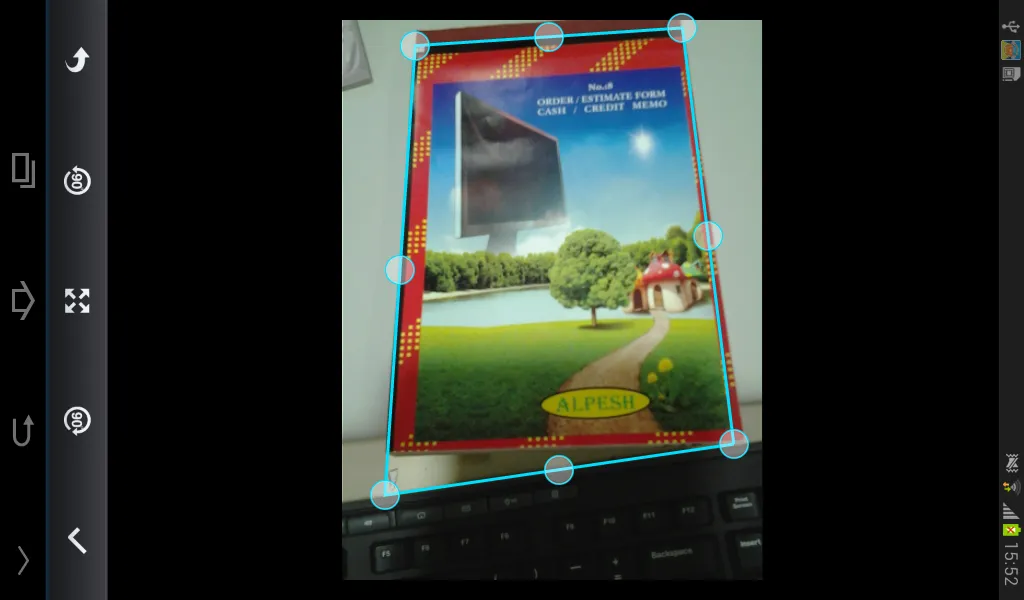
第二张图片识别出了捕获图像的某个部分,如下所示..
我进行了更多的研究,但没有得到任何输出,所以在这里问一下,如果有人做过,请告诉我..
谢谢
我希望制作一个像Cam Scanner一样用于裁剪文档的应用程序。
但是我需要像我的两张图片一样的功能..
第一张图片显示了由相机拍摄的图像..
第二张图片识别出了捕获图像的某个部分,如下所示..
我进行了更多的研究,但没有得到任何输出,所以在这里问一下,如果有人做过,请告诉我..
谢谢
我理解你的问题是要检测需要扫描的对象。
像模式匹配和特征检测等目标检测机制不会给出你所寻找的结果,因为你并不知道具体需要扫描的物体。
基本上,你在图片中搜索一个矩形物体。
以下是一种基本方法:
对图像运行Canny边缘检测器。在执行此操作之前,可能有必要稍微模糊图像。物体的边缘应该清晰可见。
现在你想要做一个霍夫变换,以查找图片中的线条。
搜索互相成约90度角的线条。问题在于找到正确的线条。也许只需使用最靠近图片框架且与其相当平行的线条即可。
查找相交点以定义你的物体的边缘。
至少这可以提示你从哪里进一步研究。
在此类应用程序中,进一步的步骤将需要计算点的投影并对物体进行仿射变换。
希望这可以帮到你。
写完这些之后,我找到了这篇文章。它应该会给你帮助。
由于我的答案针对OpenCV,所以你需要使用OpenCV库。 为了做到这一点,您需要安装Android Native Development Kit (NDK)。
在OpenCV for Android页面上有一些关于如何在Android上使用OpenCV的好教程。需要记住的一点是,Java封装器的几乎每个函数都会调用本地方法。这会花费很多时间。因此,在将结果返回给Java部分之前,您应该尽可能多地在本机代码中处理。
@Override
protected void onDraw(Canvas canvas) {

  super.onDraw(canvas);
  path = new Path();

  path.moveTo(x1, y1);        // this should set the start point right

  //path.lineTo(x1, y1);    <-- this line should be drawn at the end of     course,sorry
  path.lineTo(x2, y2);
  path.lineTo(x3, y3);
  path.lineTo(x4, y4);
  path.lineTo(x1, y1);
  canvas.drawPath(path, currentPaint);

}
将您的图像矩阵传递到该方法中:
       void findSquares(Mat image, List<MatOfPoint> squares) {
    int N = 10;

    squares.clear();

    Mat smallerImg = new Mat(new Size(image.width() / 2, image.height() / 2), image.type());

    Mat gray = new Mat(image.size(), image.type());

    Mat gray0 = new Mat(image.size(), CvType.CV_8U);

    // down-scale and upscale the image to filter out the noise
    Imgproc.pyrDown(image, smallerImg, smallerImg.size());
    Imgproc.pyrUp(smallerImg, image, image.size());
    // find squares in every color plane of the image
    Outer:
    for (int c = 0; c < 3; c++) {

        extractChannel(image, gray, c);

        // try several threshold levels
        Inner:
        for (int l = 1; l < N; l++) {

            Imgproc.threshold(gray, gray0, (l + 1) * 255 / N, 255, Imgproc.THRESH_BINARY);


            List<MatOfPoint> contours = new ArrayList<MatOfPoint>();

            // find contours and store them all as a list
            Imgproc.findContours(gray0, contours, new Mat(), Imgproc.RETR_LIST, Imgproc.CHAIN_APPROX_SIMPLE);

            MatOfPoint approx = new MatOfPoint();

            // test each contour
            for (int i = 0; i < contours.size(); i++) {

                approx = approxPolyDP(contours.get(i), Imgproc.arcLength(new MatOfPoint2f(contours.get(i).toArray()), true) * 0.02, true);

                // square contours should have 4 vertices after approximation
                // relatively large area (to filter out noisy contours)
                // and be convex.
                // Note: absolute value of an area is used because
                // area may be positive or negative - in accordance with the
                // contour orientation
                double area = Imgproc.contourArea(approx);

                if (area > 5000) {

                    if (approx.toArray().length == 4 &&
                            Math.abs(Imgproc.contourArea(approx)) > 1000 &&
                            Imgproc.isContourConvex(approx)) {

                        double maxCosine = 0;
                        Rect bitmap_rect = null;
                        for (int j = 2; j < 5; j++) {
                            // find the maximum cosine of the angle between joint edges
                            double cosine = Math.abs(angle(approx.toArray()[j % 4], approx.toArray()[j - 2], approx.toArray()[j - 1]));
                            maxCosine = Math.max(maxCosine, cosine);
                            bitmap_rect = new Rect(approx.toArray()[j % 4], approx.toArray()[j - 2]);

                        }

                        // if cosines of all angles are small
                        // (all angles are ~90 degree) then write quandrange
                        // vertices to resultant sequence
                        if (maxCosine < 0.3)
                            squares.add(approx);

                    }
                }
            }
        }
    }
}
      public Bitmap warpDisplayImage(Mat inputMat) {
    List<Point> newClockVisePoints = new ArrayList<>();

    int resultWidth = inputMat.width();
    int resultHeight = inputMat.height();

    Mat startM = Converters.vector_Point2f_to_Mat(orderRectCorners(Previes method four poit list(like : List<Point> points)));

    Point ocvPOut4 = new Point(0, 0);
    Point ocvPOut1 = new Point(0, resultHeight);
    Point ocvPOut2 = new Point(resultWidth, resultHeight);
    Point ocvPOut3 = new Point(resultWidth, 0);


        ocvPOut3 = new Point(0, 0);
        ocvPOut4 = new Point(0, resultHeight);
        ocvPOut1 = new Point(resultWidth, resultHeight);
        ocvPOut2 = new Point(resultWidth, 0);
    }

    Mat outputMat = new Mat(resultWidth, resultHeight, CvType.CV_8UC4);

    List<Point> dest = new ArrayList<Point>();
    dest.add(ocvPOut3);
    dest.add(ocvPOut2);
    dest.add(ocvPOut1);
    dest.add(ocvPOut4);


    Mat endM = Converters.vector_Point2f_to_Mat(dest);

    Mat perspectiveTransform = Imgproc.getPerspectiveTransform(startM, endM);

    Imgproc.warpPerspective(inputMat, outputMat, perspectiveTransform, new Size(resultWidth, resultHeight), Imgproc.INTER_CUBIC);


    Bitmap descBitmap = Bitmap.createBitmap(outputMat.cols(), outputMat.rows(), Bitmap.Config.ARGB_8888);
    Utils.matToBitmap(outputMat, descBitmap);


    return descBitmap;
}