我已经一段时间在研究GitHub中使用的Markdown语法,但除了将图像调整为README.md页面的宽度外,我无法弄清楚如何在其中将图像居中。
这个可行吗?如果可以,我该怎么做呢?
以下是来自GitHub支持的回复:
Markdown不允许您直接调整对齐方式(可以在此处查看文档:http://daringfireball.net/projects/markdown/syntax#img),但您可以使用原始HTML“img”标签,并使用内联CSS来进行对齐。
因此有可能对齐图像! 您只需要使用内联CSS解决问题。您可以参考我的GitHub存储库中的示例。在README.md底部,有一个居中对齐的图像。为了简单起见,您可以按照以下步骤操作:
<p align="center">
  <img src="http://some_place.com/image.png" />
</p>
虽然,如nulltoken所说,这会接近Markdown哲学的边缘!
来自我的README文件的这段代码:
<p align="center">
  <img src="https://github.com/waldyr/Sublime-Installer/blob/master/sublime_text.png?raw=true" alt="Sublime's custom image"/>
</p>
在GitHub上查看时,它会生成以下图像输出,并使其居中显示:
<p align="center">
  <img src="https://github.com/waldyr/Sublime-Installer/blob/master/sublime_text.png?raw=true" alt="Sublime's custom image"/>
</p>
<p align="center"><img src="image" /></p>和 <p style="align:center"><img src="image" /></p>以及使用a标签等方法都不行。 - logoffalign属性?(参考链接为:https://www.w3schools.com/tags/att_p_align.asp) - ostrokachclass和style属性来使用CSS,但根本不起作用!而且是的,在HTML 4和XHTML标准中,align已被弃用... - Gucu112我一直在研究GitHub中使用的Markdown语法[...],但我不知道如何使图片居中。
TL;DR
不能仅仅依靠Markdown语法来实现。Markdown无法控制位置。
注:某些Markdown处理器支持HTML插入(正如@waldyr.ar所指出的),在GitHub的情况下,您可以回退到类似<div style="text-align:center"><img src="..." /></div>的内容。
请注意,如果您的存储库在不同的托管环境(例如CodePlex,Bitbucket等)中被派生,或者文档不是通过浏览器(例如Sublime Text Markdown预览,MarkdownPad,Visual Studio Web Essentials Markdown预览等)读取,则无法保证图像将居中。
注2:请记住,即使在GitHub网站内部,Markdown呈现方式也是不统一的。例如,维基页面不允许这种CSS定位技巧。
完整版
Markdown语法不能控制图像的位置。
实际上,允许这样的格式化几乎违反了Markdown的理念,正如"Philosophy"部分所述。
"Markdown格式的文档应该是可发布的纯文本,不会看起来像已经用标签或格式说明标记过一样。"
Markdown文件是通过使用Ruby Redcarpet库在github.com网站上呈现的。
Redcarpet提供一些扩展功能(例如删除线等),它们不属于标准Markdown语法,提供了额外的“功能”。然而,没有受支持的扩展可以使图像居中显示。
<img align="..." src="..." alt="...">。 - Nux<span style="display:block;text-align:center"></span> - Dakshinamurthy Karraimg标签上的align属性已被弃用,在HTML5中更是废除了。 - taylorthurlowalign不能取center值。 - x-yuriTLDR:
请直接跳转到下面的部分查看4个示例(1.1、1.2、1.3和1.4),该部分名为"1.使用已弃用的HTML align属性在GitHub readme中居中和对齐图像"!
此外,您可以在我的存储库中的一些自述文件中查看实际示例:
事实证明,GitHub明确地阻止/过滤了所有尝试编辑任何形式的CSS(包括外部、内部和内联)在GitHub的*.md markdown文件中(例如readmes)。请参见这里(重点加粗):
在Github仓库的readme.md中使用自定义CSS文件
由于安全原因,GitHub不允许通过CSS影响README.md文件的CSS...
不幸的是,您不能在GitHub markdown中使用CSS,因为它是清理过程的一部分。
HTML被清理,积极地删除可能会伤害你和你的家人的东西,例如
script标签,内联样式以及class或id属性。
因此,在GitHub readme中居中或对齐图像的唯一解决方案是使用已弃用的HTML align属性(仍然有效),如此答案所示。
我还应该指出,尽管该解决方案确实有效,但该答案声称使用内联CSS来解决问题,这导致很多混淆,因为正如@Poikilos在评论中指出的那样,该答案根本没有CSS。相反,align="center"部分是<已弃用的HTML属性(仍然有效),而不是CSS。所有CSS,无论是外部,内部还是内联,都被禁止在GitHub readme中,并明确删除,这在试错和上述两个参考资料中指出。
这使我将我的答案分成两个答案:
align属性在GitHub自述文件中居中和对齐图像"选项2仅适用于您完全控制CSS样式的地方,例如您创建的自定义GitHub Pages网站。
align属性:这适用于任何GitHub*.md markdown文件,例如GitHub readme.md文件。它依赖于不推荐使用的HTML align属性,但仍然有效。您可以在我的eRCaGuy_hello_world存储库的实际GitHub readme中查看此功能的完整演示:https://github.com/ElectricRCAircraftGuy/eRCaGuy_hello_world/blob/master/markdown/github_readme_center_and_align_images.md。
注意事项:
<p>段落元素内设置width =" 100% ",否则整个段落会尝试允许其周围的单词换行,导致奇怪且不可预测的效果。width =" 30% "或介于0%和100%之间的所需百分比即可获得所需的效果!这比尝试设置像width =" 200 "height =" 150 "这样的像素大小要容易得多,因为使用width百分比会自动调整到您的查看器屏幕和页面显示宽度,并且随着调整浏览器窗口的大小而自动调整图像大小。它还避免将图像扭曲成不自然的比例。这是一个很棒的功能!align属性的选项包括left、center、right和justify。这个:
**Align left:**
<p align="left" width="100%">
    <img width="33%" src="https://istack.dev59.com/RJj4x.webp">
</p>

**Align center:**
<p align="center" width="100%">
    <img width="33%" src="https://istack.dev59.com/RJj4x.webp">
</p>

**Align right:**
<p align="right" width="100%">
    <img width="33%" src="https://istack.dev59.com/RJj4x.webp">
</p>
生成如下:
如果您想将文本设置为左、中或右对齐,也可以像常规HTML一样,在<p>元素内包含文本,如下所示:
<p align="right" width="100%">
    This text is also aligned to the right.<br>
    <img width="33%" src="https://istack.dev59.com/RJj4x.webp">
</p>
要生成这样的效果:
这样做:
**Align left (works fine):**

<img align="left" width="33%" src="https://istack.dev59.com/RJj4x.webp">

[Arduino](https://en.wikipedia.org/wiki/Arduino) (/ɑːrˈdwiːnoʊ/) is an open-source hardware and software company, project and user community that designs and manufactures single-board microcontrollers and microcontroller kits for building digital devices. Its hardware products are licensed under a [CC-BY-SA][4] license, while software is licensed under the GNU Lesser General Public License (LGPL) or the GNU General Public License (GPL),[1] permitting the manufacture of Arduino boards and software distribution by anyone. Arduino boards are available commercially from the official website or through authorized distributors. Arduino board designs use a variety of microprocessors and controllers. The boards are equipped with sets of digital and analog input/output (I/O) pins that may be interfaced to various expansion boards ('shields') or breadboards (for prototyping) and other circuits.


**Align center (doesn't really work):**

<img align="center" width="33%" src="https://istack.dev59.com/RJj4x.webp">

[Arduino](https://en.wikipedia.org/wiki/Arduino) (/ɑːrˈdwiːnoʊ/) is an open-source hardware and software company, project and user community that designs and manufactures single-board microcontrollers and microcontroller kits for building digital devices. Its hardware products are licensed under a CC-BY-SA license, while software is licensed under the GNU Lesser General Public License (LGPL) or the GNU General Public License (GPL),[1] permitting the manufacture of Arduino boards and software distribution by anyone. Arduino boards are available commercially from the official website or through authorized distributors. Arduino board designs use a variety of microprocessors and controllers. The boards are equipped with sets of digital and analog input/output (I/O) pins that may be interfaced to various expansion boards ('shields') or breadboards (for prototyping) and other circuits.


**Align right (works fine):**

<img align="right" width="33%" src="https://istack.dev59.com/RJj4x.webp">

[Arduino](https://en.wikipedia.org/wiki/Arduino) (/ɑːrˈdwiːnoʊ/) is an open-source hardware and software company, project and user community that designs and manufactures single-board microcontrollers and microcontroller kits for building digital devices. Its hardware products are licensed under a CC-BY-SA license, while software is licensed under the GNU Lesser General Public License (LGPL) or the GNU General Public License (GPL),[1] permitting the manufacture of Arduino boards and software distribution by anyone. Arduino boards are available commercially from the official website or through authorized distributors. Arduino board designs use a variety of microprocessors and controllers. The boards are equipped with sets of digital and analog input/output (I/O) pins that may be interfaced to various expansion boards ('shields') or breadboards (for prototyping) and other circuits.
生成以下内容:
提醒:一定要给整个<p>段落元素设置完整的100%列宽度(如下所示的width="100%"),否则文字会绕在它周围,从而破坏您可能试图保持的垂直对齐和垂直间距/格式!
这样做:
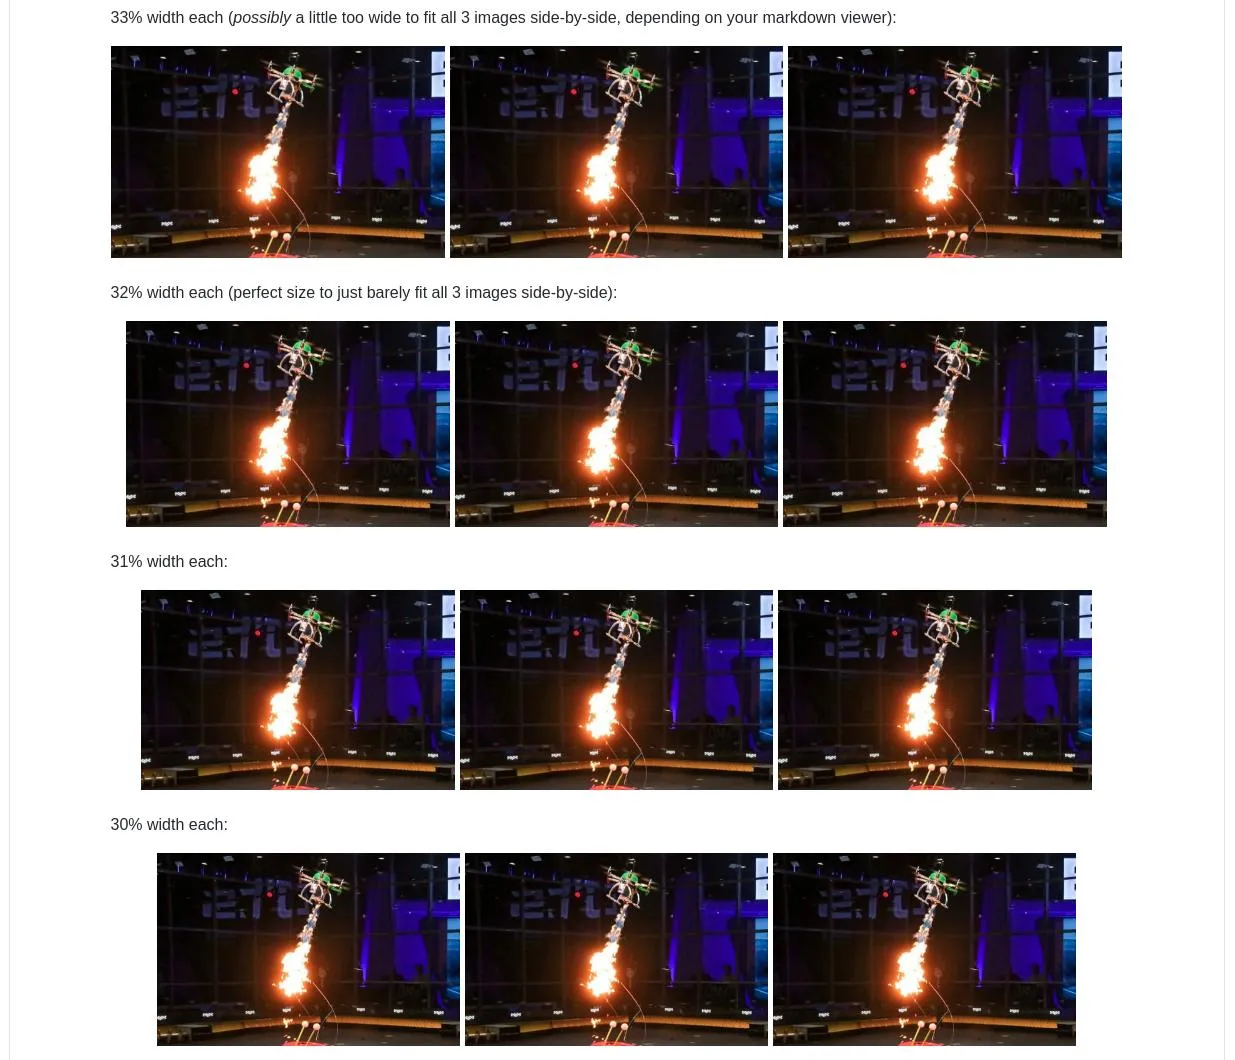
33% width each (_possibly_ a little too wide to fit all 3 images side-by-side, depending on your markdown viewer):
<p align="center" width="100%">
    <img width="33%" src="https://istack.dev59.com/RJj4x.webp">
    <img width="33%" src="https://istack.dev59.com/RJj4x.webp">
    <img width="33%" src="https://istack.dev59.com/RJj4x.webp">
</p>

32% width each (perfect size to just barely fit all 3 images side-by-side):
<p align="center" width="100%">
    <img width="32%" src="https://istack.dev59.com/RJj4x.webp">
    <img width="32%" src="https://istack.dev59.com/RJj4x.webp">
    <img width="32%" src="https://istack.dev59.com/RJj4x.webp">
</p>

31% width each:
<p align="center" width="100%">
    <img width="31%" src="https://istack.dev59.com/RJj4x.webp">
    <img width="31%" src="https://istack.dev59.com/RJj4x.webp">
    <img width="31%" src="https://istack.dev59.com/RJj4x.webp">
</p>

30% width each:
<p align="center" width="100%">
    <img width="30%" src="https://istack.dev59.com/RJj4x.webp">
    <img width="30%" src="https://istack.dev59.com/RJj4x.webp">
    <img width="30%" src="https://istack.dev59.com/RJj4x.webp">
</p>
生成以下内容:
<p>元素对齐到上方的center,但您也可以像之前的示例中所示一样对齐left或right,以强制图像行以那种方式对齐。例如:
这个:
Align the whole row of images to the right this time:
<p align="right" width="100%">
    <img width="25%" src="https://istack.dev59.com/RJj4x.webp">
    <img width="25%" src="https://istack.dev59.com/RJj4x.webp">
    <img width="25%" src="https://istack.dev59.com/RJj4x.webp">
</p>
生成这样的结果(根据上面设置的align属性对整行图像进行对齐,或在此情况下向右侧对齐)。通常情况下,我们建议使用center,就像上面的示例一样。

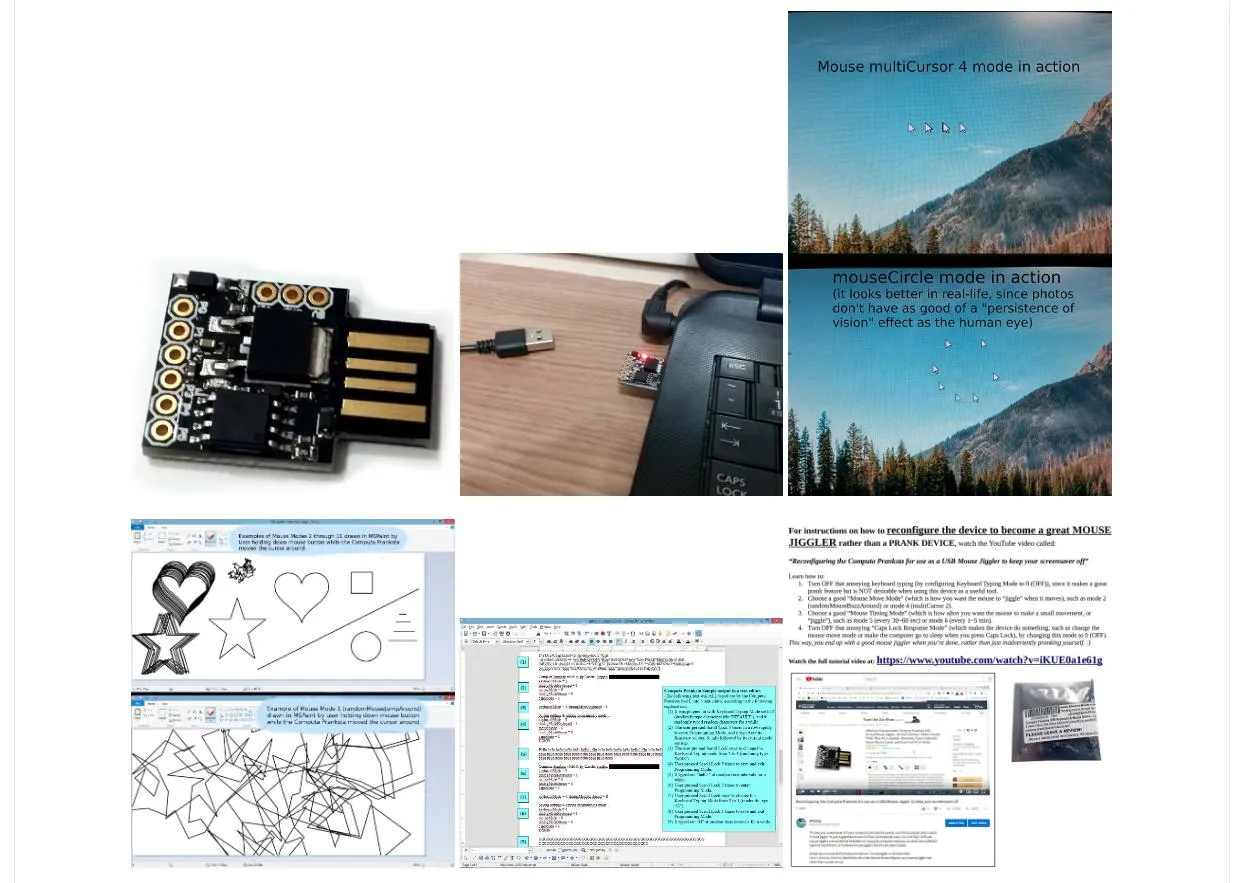
有时,使用“一排图片”的方法会产生略显尴尬的结果,特别是对于奇异大小或不同形状的图片。
以下代码生成两行具有良好水平间距但垂直间距较差的图像。这段代码:
<p align="center" width="100%">
    <img width="32%" src="photos/pranksta1.jpg">
    <img width="32%" src="photos/pranksta2.jpg">
    <img width="32%" src="photos/pranksta3.jpg">
</p>
<p align="center" width="100%">
    <img width="32%" src="photos/pranksta4.jpg">
    <img width="32%" src="photos/pranksta5.jpg">
    <img width="32%" src="photos/pranksta6.jpg">
</p>
由于第一行中的最后一张图片("pranksta3.jpg")是一张非常高的图片,其高度是其他图片的2倍,因此会产生这种效果:
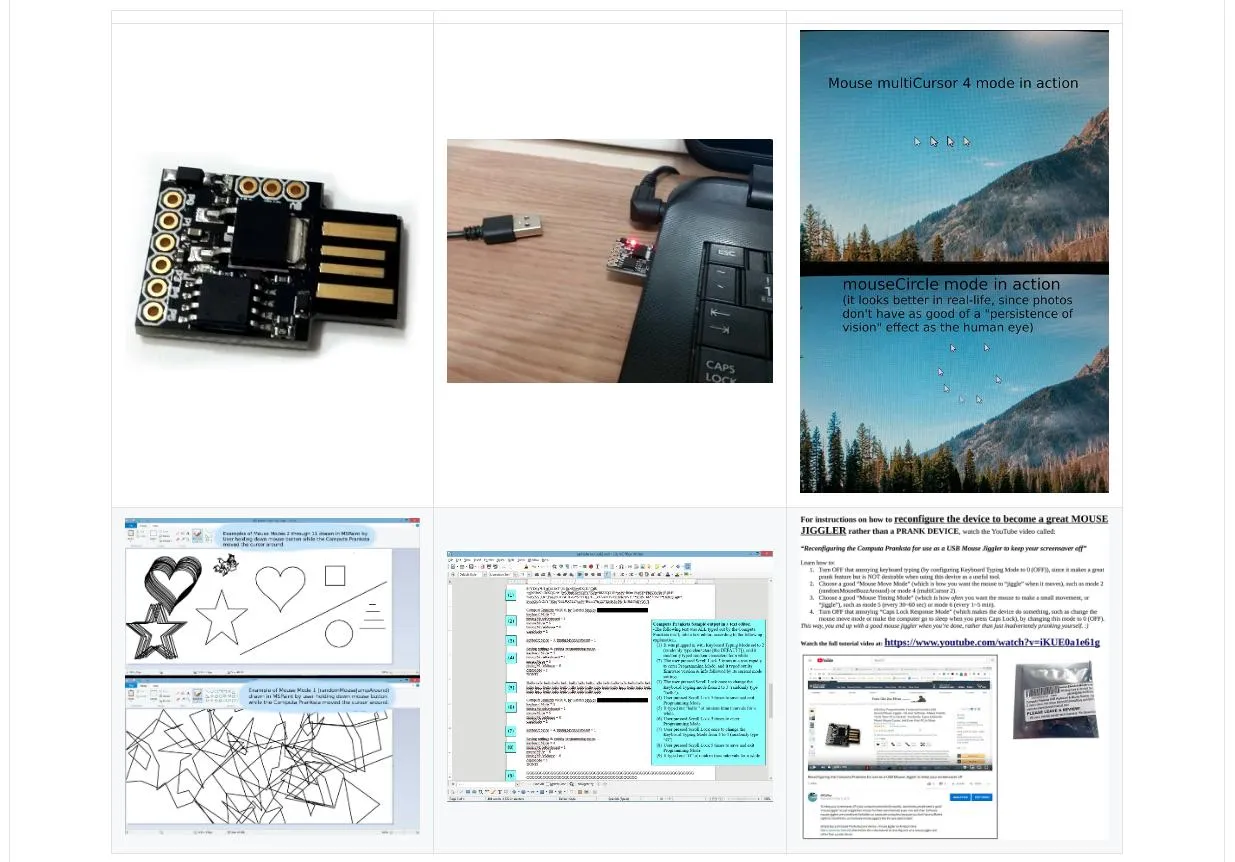
width属性为100%。这是因为它是相对于图像所在的表格单元格而不是相对于页面列宽度。由于我们希望每个图像填满每个单元格的整个宽度,因此我们将它们的宽度全部设置为width="100%"。| | | |
|-----------------------------------------------|-----------------------------------------------|-----------------------------------------------|
| <img width="100%" src="photos/pranksta1.jpg"> | <img width="100%" src="photos/pranksta2.jpg"> | <img width="100%" src="photos/pranksta3.jpg"> |
| <img width="100%" src="photos/pranksta4.jpg"> | <img width="100%" src="photos/pranksta5.jpg"> | <img width="100%" src="photos/pranksta6.jpg"> |
生成以下内容,我认为看起来更美观、更有间距,因为每一行图片的垂直间距也是居中的:
这适用于任何markdown文件,比如GitHub Pages网站,只要你有完全控制CSS样式。然而,这不适用于任何GitHub *.md markdown文件,如readme.md,因为GitHub明确扫描并禁用你尝试使用的所有自定义CSS样式。见上。
使用以下HTML/CSS在你的markdown文件中添加并居中一个图像,并将其大小设置为屏幕空间宽度的60%,这通常是一个很好的起始值:
<img src="https://istack.dev59.com/RJj4x.webp"
     style="display:block;float:none;margin-left:auto;margin-right:auto;width:60%">
width 值更改为所需的百分比,或者完全删除它以使用 Markdown 默认大小,我认为如果图像大于屏幕,则为屏幕宽度的 100%,否则为实际图像宽度。
完成!
或者,继续阅读以获取更多信息。
只需将此复制并粘贴到您的 Markdown 文件顶部,即可居中和调整文件中的所有图像的大小(然后只需使用普通的 Markdown 语法插入任何想要的图像):
<style>
img
{
    display:block;
    float:none;
    margin-left:auto;
    margin-right:auto;
    width:60%;
}
</style>
或者,这里是与上面相同的代码,但有详细的HTML和CSS注释,以解释正在发生的事情:
<!-- (This is an HTML comment). Copy and paste this entire HTML `<style>...</style>` element (block)
to the top of your markdown file -->
<style>
/* (This is a CSS comment). The below `img` style sets the default CSS styling for all images
hereafter in this markdown file. */
img
{
    /* Default display value is `inline-block`. Set it to `block` to prevent surrounding text from
    wrapping around the image. Instead, `block` format will force the text to be above or below the
    image, but never to the sides. */
    display:block;
    /* Common float options are `left`, `right`, and `none`. Set to `none` to override any previous
    settings which might have been `left` or `right`. `left` causes the image to be to the left,
    with text wrapped to the right of the image, and `right` causes the image to be to the right,
    with text wrapped to its left, so long as `display:inline-block` is also used. */
    float:none;
    /* Set both the left and right margins to `auto` to cause the image to be centered. */
    margin-left:auto;
    margin-right:auto;
    /* You may also set the size of the image, in percent of width of the screen on which the image
    is being viewed, for example. A good starting point is 60%. It will auto-scale and auto-size
    the image no matter what screen or device it is being viewed on, maintaining proporptions and
    not distorting it. */
    width:60%;
    /* You may optionally force a fixed size, or intentionally skew/distort an image by also
    setting the height. Values for `width` and `height` are commonly set in either percent (%)
    or pixels (px). Ex: `width:100%;` or `height:600px;`. */
    /* height:400px; */
}
</style>
或者在你的Markdown文件中使用HTML:
<img src="https://istack.dev59.com/RJj4x.webp">
...它将自动居中并调整为屏幕视图宽度的60%,如上面HTML和CSS中的注释所述。(当然,60%的大小也非常容易更改,并且我还将在下面提供按图像逐个进行操作的简单方法)。
无论您是否将上述<style>块复制并粘贴到了markdown文件的顶部,这也可以工作,因为它会覆盖并优先于您可能设置的任何文件范围的样式设置:
<img src="https://istack.dev59.com/RJj4x.webp" style="display:block;float:none;margin-left:auto;margin-right:auto;width:60%">
你也可以把它分成多行来格式化,像这样,并且它仍然有效:
<img src="https://istack.dev59.com/RJj4x.webp"
     alt="this is an optional description of the image to help the blind and show up in case the
          image won't load"
     style="display:block; /* override the default display setting of `inline-block` */
            float:none; /* override any prior settings of `left` or `right` */
            /* set both the left and right margins to `auto` to center the image */
            margin-left:auto;
            margin-right:auto;
            width:60%; /* optionally resize the image to a screen percentage width if you want too */
            ">
将整个内容添加到您的Markdown文件顶部。
<style>

/* By default, make all images center-aligned, and 60% of the width
of the screen in size */
img
{
    display:block;
    float:none;
    margin-left:auto;
    margin-right:auto;
    width:60%;
}

/* Create a CSS class to style images to left-align, or "float left" */
.leftAlign
{
    display:inline-block;
    float:left;
    /* provide a 15 pixel gap between the image and the text to its right */
    margin-right:15px;
}

/* Create a CSS class to style images to right-align, or "float right" */
.rightAlign
{
    display:inline-block;
    float:right;
    /* provide a 15 pixel gap between the image and the text to its left */
    margin-left:15px;
}

</style>
img CSS块已将图像的默认设置设置为居中并占据屏幕空间宽度的60%,但是您可以使用leftAlign和rightAlign CSS类来逐个覆盖这些设置。例如,此图像将居中对齐且大小为60%(我上面设置的默认值)。<img src="https://istack.dev59.com/RJj4x.webp">
这张图片将会使用我们刚刚创建的leftAlignCSS类进行左对齐,并且文字将会环绕在其右侧。
<img src="https://istack.dev59.com/RJj4x.webp" class="leftAlign">
可能会长成这样:
您仍然可以通过style属性覆盖任何CSS属性,例如宽度,如下所示:
<img src="https://istack.dev59.com/RJj4x.webp" class="leftAlign" style="width:20%">
现在你将得到这个:

img markdown 的默认设置除了上面我们展示的修改默认的 img property:value 设置并创建 2 个类的选项外,另一种方法是保留所有默认的 markdown img 属性,但创建 3 个自定义的 CSS 类,如下所示:
<style>

/* Create a CSS class to style images to center-align */
.centerAlign
{
    display:block;
    float:none;
    /* Set both the left and right margins to `auto` to cause the image to be centered. */
    margin-left:auto;
    margin-right:auto;
    width:60%;
}

/* Create a CSS class to style images to left-align, or "float left" */
.leftAlign
{
    display:inline-block;
    float:left;
    /* provide a 15 pixel gap between the image and the text to its right */
    margin-right:15px;
    width:60%;
}

/* Create a CSS class to style images to right-align, or "float right" */
.rightAlign
{
    display:inline-block;
    float:right;
    /* provide a 15 pixel gap between the image and the text to its left */
    margin-left:15px;
    width:60%;
}

</style>
当然,可以像这样使用它们:
<img src="https://istack.dev59.com/RJj4x.webp" class="centerAlign" style="width:20%">
注意我如何使用CSS style属性手动设置width属性,但如果我想要做更复杂的事情,我也可以创建一些额外的类似于这样的类,将它们添加在上面的<style>...</style>块内:
/* custom CSS class to set a predefined "small" size for an image */
.small
{
    width:20%;
    /* set any other properties, as desired, inside this class too */
}
style属性内多次设置相同的CSS属性,则情况也应如此。<img src="https://istack.dev59.com/RJj4x.webp" class="centerAlign small">
最后一个技巧是我在这里的答案中学到的:如何使用CSS对多个图像进行不同的样式设置?。正如您在上面看到的,所有3个CSS align类将图像宽度设置为60%。因此,如果您希望,可以一次设置此公共设置,然后再为每个类设置特定设置:
<style>

/* set common properties for multiple CSS classes all at once */
.centerAlign, .leftAlign, .rightAlign {
    width:60%;
}

/* Now set the specific properties for each class individually */

/* Create a CSS class to style images to center-align */
.centerAlign
{
    display:block;
    float:none;
    /* Set both the left and right margins to `auto` to cause the image to be centered. */
    margin-left:auto;
    margin-right:auto;
}

/* Create a CSS class to style images to left-align, or "float left" */
.leftAlign
{
    display:inline-block;
    float:left;
    /* provide a 15 pixel gap between the image and the text to its right */
    margin-right:15px;
}

/* Create a CSS class to style images to right-align, or "float right" */
.rightAlign
{
    display:inline-block;
    float:right;
    /* provide a 15 pixel gap between the image and the text to its left */
    margin-left:15px;
}

/* custom CSS class to set a predefined "small" size for an image */
.small
{
    width:20%;
    /* set any other properties, as desired, inside this class too */
}

</style>
就我而言,只要能在Markdown文档中编写并获得所需结果,我们所追求的就是这些,而不是一些“纯Markdown”语法。
在C和C++中,编译器将编译成汇编代码,然后汇编被组装成二进制代码。然而,有时您需要仅汇编可以提供的低级控制,因此您可以直接在C或C++源文件中编写内联汇编。汇编是“低级”语言,可以直接在C和C++中编写。
Markdown也是如此。Markdown是高级语言,会被解释为HTML和CSS。但是,当我们需要额外的控制时,我们可以在Markdown文件中“内联”低级别的HTML和CSS,它仍然会被正确解释。因此,在某种程度上,HTML和CSS是有效的“Markdown”语法。
因此,要在Markdown中居中显示图像,请使用HTML和CSS。
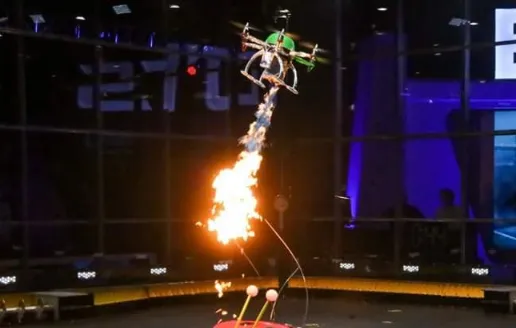
如何使用默认的“幕后”HTML和CSS格式在Markdown中添加基本图像:
这个Markdown:

将产生以下输出:

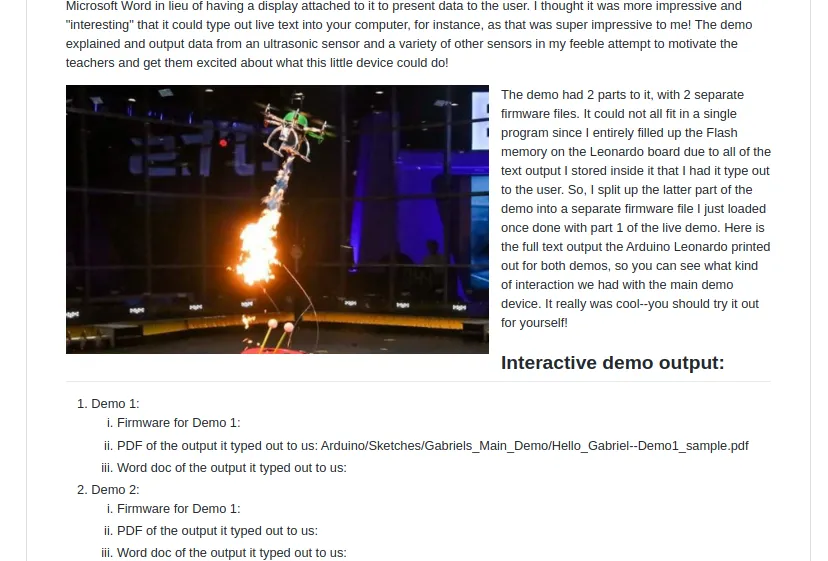
这是我制作的喷火六旋翼无人机。
你还可以选择在方括号中添加描述。说实话,我甚至不确定那是什么意思,但也许它会转换成HTML <img>元素的alt属性,如果图像无法加载,则会显示该属性,并且可能被屏幕阅读器用于盲人阅读。因此,这个markdown:

也将产生这个输出:
在markdown中居中图片需要使用HTML和CSS直接提供的额外控制。您可以像这样插入和居中单个图像:
<img src="https://istack.dev59.com/RJj4x.webp"
     alt="this is my hexacopter I built"
     style="display:block;
            float:none;
            margin-left:auto;
            margin-right:auto;
            ">
以下是有关此处正在发生的情况的更多信息:
<img部分是HTML的“开始标记”,而末尾的>是HTML的“结束标记”。img“元素”。img “标签”/“元素”用于将图像插入HTML。style = ""都是CSS property:value键值“声明”。
;)分隔,而此“元素”中的每个HTML“attribute”都由空格( )分隔。src和style。alt是可选的。style属性内,关键声明都是我展示的4个:display:block、float:none、margin-left:auto和margin-right:auto。
float属性,则可以省略此声明,但最好还是加上以防万一。/* my comment */)。<p>对齐属性或者,如果您可以控制CSS内容,您可以通过URL参数和CSS巧妙地实现。
Markdown:

同时还有CSS:
img[src$="centerme"] {
  display:block;
  margin: 0 auto;
}
对于左对齐
<img align="left" width="600" height="200" src="https://www.python.org/python-.png">
对于右对齐
<img align="right" width="600" height="200" src="https://www.python.org/python-.png">
并且对于居中对齐
<p align="center">
  <img width="600" height="200" src="https://www.python.org/python-.png">
</p>
如果您觉得这篇文章有用,可以在此处fork它以备将来参考。
它在GitHub上对我有效
<p align="center">
    <img src="...">
</p>
src位置从Git文件夹更改,并添加备用文本: <p align="center">
<img src="your image URL here" alt="alternate text">
</p>
我解决图片定位问题的方法是使用HTML属性:
My way to resolve the problem with image positioning was to use the HTML attributes:
{ width="800" height="600" style="display: block; margin: 0 auto" }
图片已经被正确地调整大小并居中显示,至少在我的本地Visual Studio Community Markdown渲染器中是这样的。
然后,我将更改推送到了存储库,不幸地发现它 在GitHub README.md文件中无法正常工作。尽管如此,我还是会保留这个答案,因为它可能会帮助其他人。
所以最终,我选择使用老式的HTML标签:
<img src="Image.svg" alt="Image" width="800" height="600" style="display: block; margin: 0 auto" />
但是猜猜怎么样?一些JavaScript方法替换了我的style属性!我甚至尝试过class属性,结果也一样!
然后我发现了下面这个代码片段页面,甚至使用了更老式的HTML:
<p align="center">
    <img src="Image.svg" alt="Image" width="800" height="600" />
</p>
您还可以将图像调整为所需的宽度和高度。例如:
<p align="center">
  <img src="https://anyserver.com/image.png" width="750px" height="300px"/></p>
要在图像上添加居中的标题,只需再加一行:
<p align="center">This is a centered caption for the image<p align="center">
幸运的是,这对README.md和GitHub Wiki页面都有效。
只需打开Readme.md文件并使用此代码。
<div align="center">
<img src=https://newfastuff.com/wp-content/uploads/2019/05/bW7QXVB.png" >
<p>Perfectly balanced</p>
</div>
<div align=”center”> [ 在此处输入您的内容 ] </div> 会根据页面的尺寸将所有内容居中显示。
src="https://newfastuff.com/wp-content/uploads/2019/05/bW7QXVB.png"。否则,完美运行。 - DaveL17