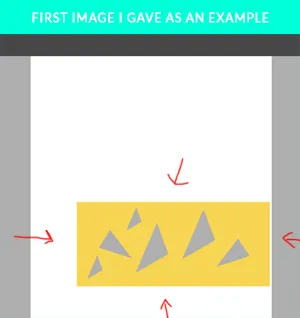
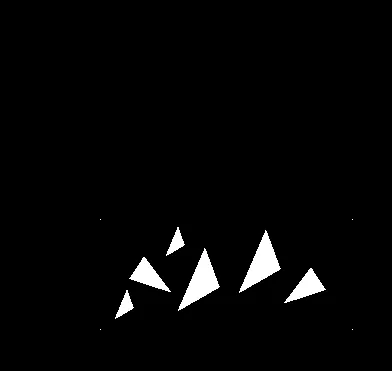
我看到的是顶部和两侧有深灰色和浅灰色区域,一个白色区域以及一个带有灰色三角形的黄色矩形。
我建议的第一步是将图像从RGB颜色空间转换为
HSV颜色空间。在HSV空间中,
S颜色通道是“颜色饱和度通道”。所有无色(灰色/黑色/白色)都是零,黄色像素在S通道中高于零。
接下来的步骤:
- 对S通道应用阈值(将其转换为二进制图像)。黄色像素变为255,其他像素变为零。
- 在阈值图像中查找轮廓(仅查找外部轮廓-即矩形轮廓)。
- 反转矩形内部像素的极性。灰色三角形变为255,其他像素变为零。
- 在阈值图像中查找轮廓-查找灰色三角形。
这里是代码:
import numpy as np
import cv2
img = cv2.imread('img.png')
hsv = cv2.cvtColor(img, cv2.COLOR_BGR2HSV)
s = hsv[:, :, 1]
ret, thresh = cv2.threshold(s, 0, 255, cv2.THRESH_BINARY+cv2.THRESH_OTSU)
contours = cv2.findContours(thresh, cv2.RETR_EXTERNAL, cv2.CHAIN_APPROX_NONE)[-2]
cv2.drawContours(img, contours, -1, (0, 255, 0), 2)
x, y, w, h = cv2.boundingRect(contours[0])
thresh[y:y+h, x:x+w] = 255 - thresh[y:y+h, x:x+w]
contours = cv2.findContours(thresh, cv2.RETR_EXTERNAL, cv2.CHAIN_APPROX_NONE)[-2]
for c in contours:
if cv2.contourArea(c) > 4:
cv2.drawContours(img, [c], -1, (255, 0, 0), 2)
cv2.imshow('img', img)
cv2.waitKey(0)
cv2.destroyAllWindows()
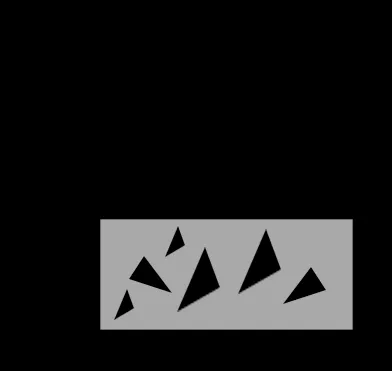
在HSV颜色空间中的S通道:
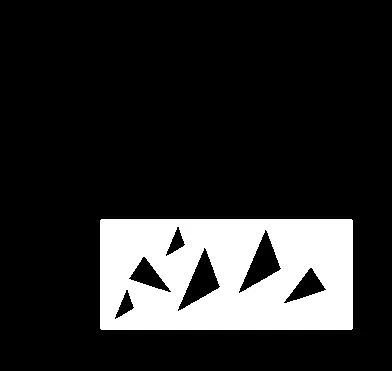
thresh - 阈值后的S:
矩形取反极性后的thresh:
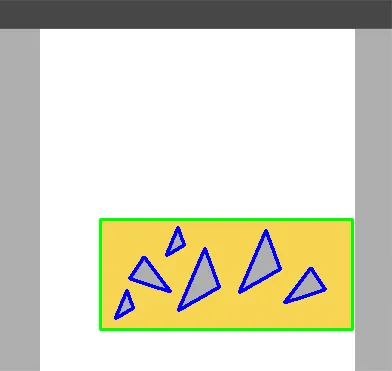
结果(矩形和三角形标记出来了):
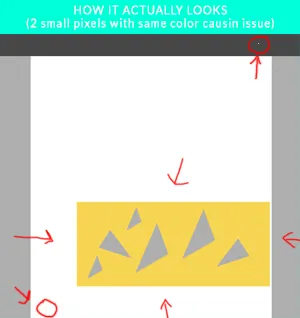
更新:
如果背景上有一些彩色的点,您可以裁剪最大的彩色轮廓:
import cv2
import imutils
img = cv2.imread('img2.png')
hsv = cv2.cvtColor(img, cv2.COLOR_BGR2HSV)
s = hsv[:, :, 1]
cv2.imwrite('s.png', s)
ret, thresh = cv2.threshold(s, 0, 255, cv2.THRESH_BINARY+cv2.THRESH_OTSU)
cnts = cv2.findContours(thresh, cv2.RETR_EXTERNAL, cv2.CHAIN_APPROX_NONE)
cnts = imutils.grab_contours(cnts)
c = max(cnts, key=cv2.contourArea)
x, y, w, h = cv2.boundingRect(c)
out = img[y:y+h, x:x+w, :].copy()
结果:
结果: