不使用Storyboard,我们可以在画布上拖动一个UIView,进行布局,然后在tableView:viewForHeaderInSection或tableView:viewForFooterInSection委托方法中设置它。
如果使用Storyboard,我们该怎么做呢?因为我们无法在画布上拖动一个UIView。
不使用Storyboard,我们可以在画布上拖动一个UIView,进行布局,然后在tableView:viewForHeaderInSection或tableView:viewForFooterInSection委托方法中设置它。
如果使用Storyboard,我们该怎么做呢?因为我们无法在画布上拖动一个UIView。
与Laszlo的答案类似,但您可以重用相同的原型单元格用于表单单元格和部分标题单元格。将下面的前两个函数添加到您的UIViewController子类中
Original Answer翻译成:最初的回答
override func tableView(_ tableView: UITableView, viewForHeaderInSection section: Int) -> UIView? {
let cell = tableView.dequeueReusableCell(withIdentifier: "DataCell") as! DataCell
    cell.data1Label.text = "DATA KEY"
    cell.data2Label.text = "DATA VALUE"
    return cell
}

override func tableView(_ tableView: UITableView, heightForHeaderInSection section: Int) -> CGFloat {
    return 75
}

// Example of regular data cell dataDelegate to round out the example
func tableView(_ tableView: UITableView, cellForRowAt indexPath: IndexPath) -> UITableViewCell {
    let cell = tableView.dequeueReusableCell(withIdentifier: "DataCell", for: indexPath) as! PlayerCell

    cell.data1Label.text = "\(dataList[indexPath.row].key)"
    cell.data2Label.text = "\(dataList[indexPath.row].value)"
    return cell
}
viewWithTag:和其他可疑的方法,而是尝试重新加载头部(通过重新加载该部分)。AutoLayout内容后,只需将其出列并在设置完成后返回contentView,如下所示:-(UIView *) tableView:(UITableView *)tableView viewForHeaderInSection:(NSInteger)section {
static NSString *CellIdentifier = @"SectionHeader";
SettingsTableViewCell *sectionHeaderCell = [tableView dequeueReusableCellWithIdentifier:CellIdentifier];
sectionHeaderCell.myPrettyLabel.text = @"Greetings";
sectionHeaderCell.contentView.backgroundColor = [UIColor whiteColor]; // don't leave this transparent
return sectionHeaderCell.contentView;
}
Add cell in StoryBoard, and set reuseidentified
Code
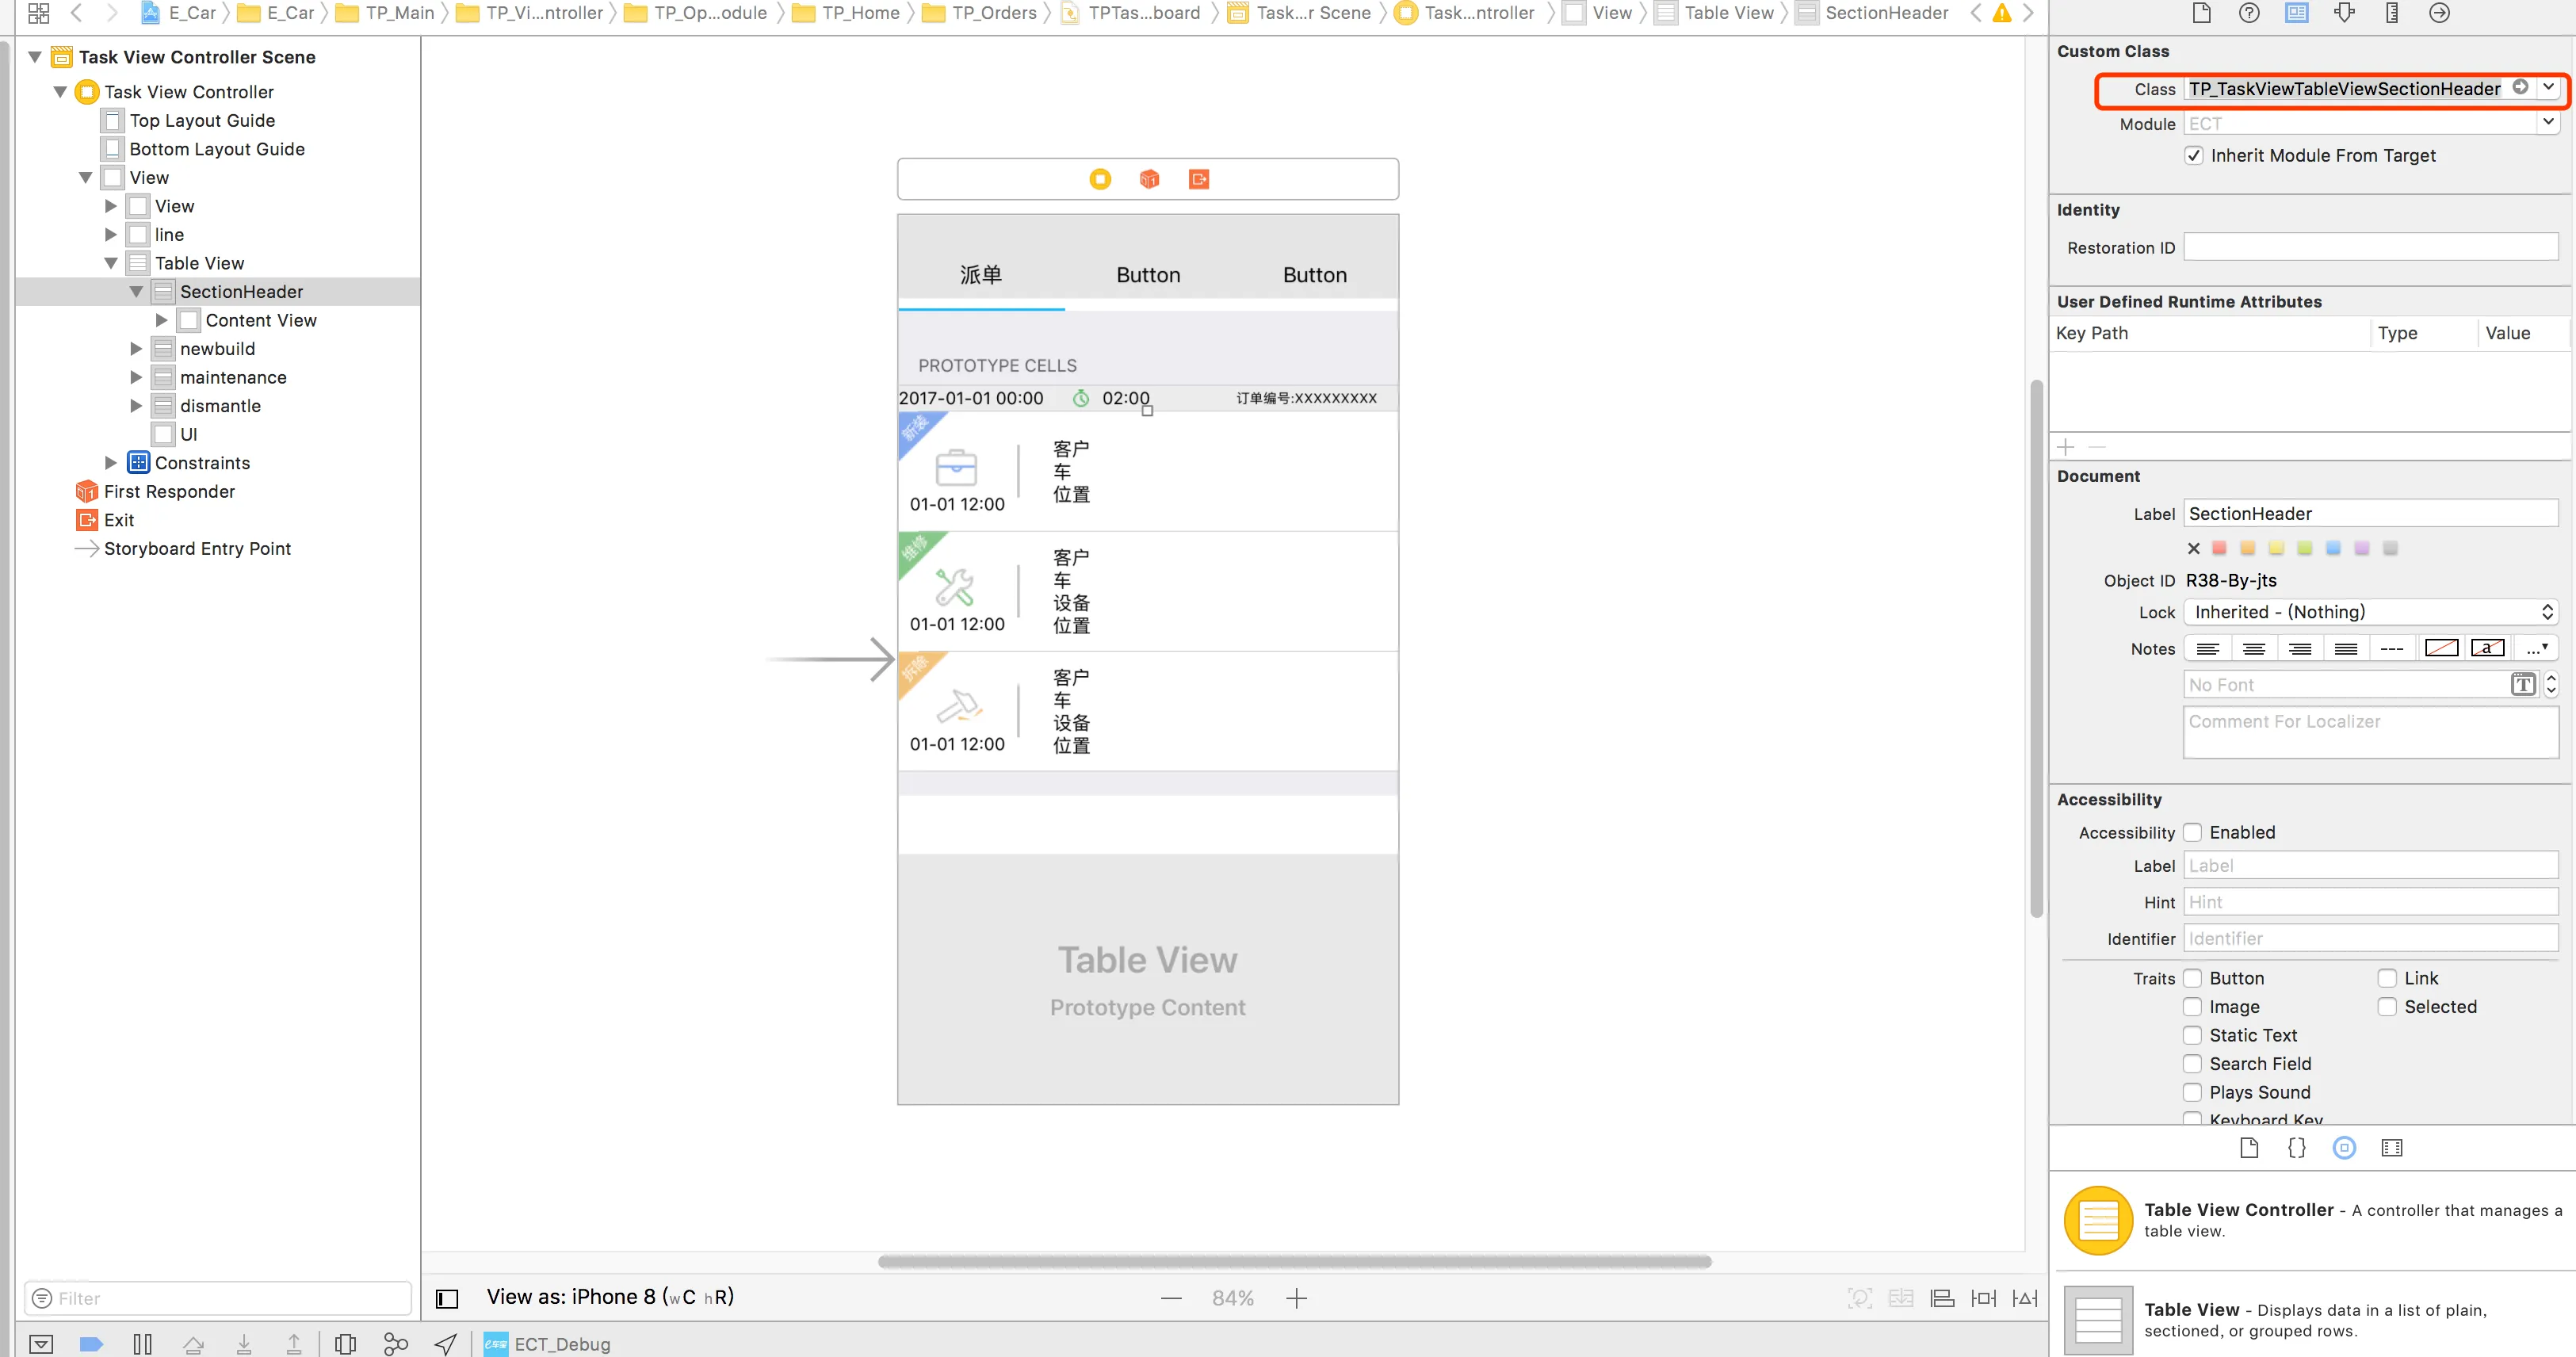
class TP_TaskViewTableViewSectionHeader: UITableViewCell{
}
and

Use:
func tableView(_ tableView: UITableView, viewForHeaderInSection section: Int) -> UIView? {
    let header = tableView.dequeueReusableCell(withIdentifier: "header", for: IndexPath.init(row: 0, section: section))
    return header
}
如果头部基于视图数组,那么有什么解决方案呢:
class myViewController: UIViewController {
    var header: [UILabel] = myStringArray.map { (thisTitle: String) -> UILabel in
        let headerView = UILabel()
            headerView.text = thisTitle
    return(headerView)
}
extension myViewController: UITableViewDelegate {
    func tableView(tableView: UITableView, viewForHeaderInSection section: Int) -> UIView? {
        return(header[section])
    }
}
为了跟进Damon的建议,这是我如何使标题可选择,就像一个带有披露指示器的普通行一样。
我添加了一个从UIButton子类化的按钮(子类名“ButtonWithArgument”)到头部的原型单元格中,并删除了标题文本(粗体“Title”文本是原型单元格中的另一个UILabel)

- (UIView *)tableView:(UITableView *)tableView viewForHeaderInSection:(NSInteger)section
{
    static NSString *CellIdentifier = @"PersonGroupHeader";
    UITableViewCell *headerView = (UITableViewCell *) [tableView dequeueReusableCellWithIdentifier:CellIdentifier];
    if(headerView == nil)
    {
        [NSException raise:@"headerView == nil, PersonGroupTableViewController" format:[NSString stringWithFormat:@"Storyboard does not have prototype cell with identifier %@",CellIdentifier]];
    }

    //  https://dev59.com/1mox5IYBdhLWcg3wbDok#24044628
    while(headerView.contentView.gestureRecognizers.count)
    {
        [headerView.contentView removeGestureRecognizer:[headerView.contentView.gestureRecognizers objectAtIndex:0]];
    }


    ButtonWithArgument *button = (ButtonWithArgument *)[headerView viewWithTag:4];
    button.frame = headerView.bounds; // set tap area to entire header view
    button.argument = [[NSNumber alloc] initWithInteger:section]; // from ButtonWithArguments subclass
    [button addTarget:self action:@selector(headerViewTap:) forControlEvents:UIControlEventTouchUpInside];

    // https://dev59.com/AmYr5IYBdhLWcg3wQH--#20821178
    UITableViewCell *disclosure = [[UITableViewCell alloc] init];
    disclosure.accessoryType = UITableViewCellAccessoryDisclosureIndicator;
    disclosure.userInteractionEnabled = NO;
    disclosure.frame = CGRectMake(button.bounds.origin.x + button.bounds.size.width - 20 - 5, // disclosure 20 px wide, right margin 5 px
          (button.bounds.size.height - 20) / 2,
          20,
          20);
    [button addSubview:disclosure];

    // configure header title text

    return headerView.contentView;
}

- (CGFloat)tableView:(UITableView *)tableView heightForHeaderInSection:(NSInteger)section
{
    return 35.0f;
}

-(void) headerViewTap:(UIGestureRecognizer *)gestureRecognizer;
{
    NSLog(@"header tap");
    NSInteger section = ((NSNumber *)sender.argument).integerValue;
    // do something here
}
ButtonWithArgument.h
#import <UIKit/UIKit.h>

@interface ButtonWithArgument : UIButton
@property (nonatomic, strong) NSObject *argument;
@end
ButtonWithArgument.m
#import "ButtonWithArgument.h"
@implementation ButtonWithArgument
@end
这里是@Vitaliy Gozhenko的答案,使用Swift语言。
简要概括一下,您将创建一个包含UITableViewCell的UITableViewHeaderFooterView。这个UITableViewCell将是“可重用”的,您可以在Storyboard中设计它。
创建一个UITableViewHeaderFooterView类
class CustomHeaderFooterView: UITableViewHeaderFooterView {
var cell : UITableViewCell? {
    willSet {
        cell?.removeFromSuperview()
    }
    didSet {
        if let cell = cell {
            cell.frame = self.bounds
            cell.autoresizingMask = [UIViewAutoresizing.FlexibleHeight, UIViewAutoresizing.FlexibleWidth]
            self.contentView.backgroundColor = UIColor.clearColor()
            self.contentView.addSubview(cell)
        }
    }
}
在viewDidLoad函数中将tableview与此类连接:
self.tableView.registerClass(CustomHeaderFooterView.self, forHeaderFooterViewReuseIdentifier: "SECTION_ID")
当请求一个section header时,出列CustomHeaderFooterView,并插入一个cell
func tableView(tableView: UITableView, viewForHeaderInSection section: Int) -> UIView? {
    let view = self.tableView.dequeueReusableHeaderFooterViewWithIdentifier("SECTION_ID") as! CustomHeaderFooterView
    if view.cell == nil {
        let cell = self.tableView.dequeueReusableCellWithIdentifier("Cell")
        view.cell = cell;
    }

    // 在这里填充单元格数据

    return view;
}