我在图像中检测到多个多边形,我试图找到其中最亮的一个。我找到了一种方法,但是当它比较很多多边形时,它相对较慢。
代码执行以下操作:
代码执行以下操作:
- 将区域调整为相同大小
- 返回
format "%\[mean\]"值并返回最大值
例子
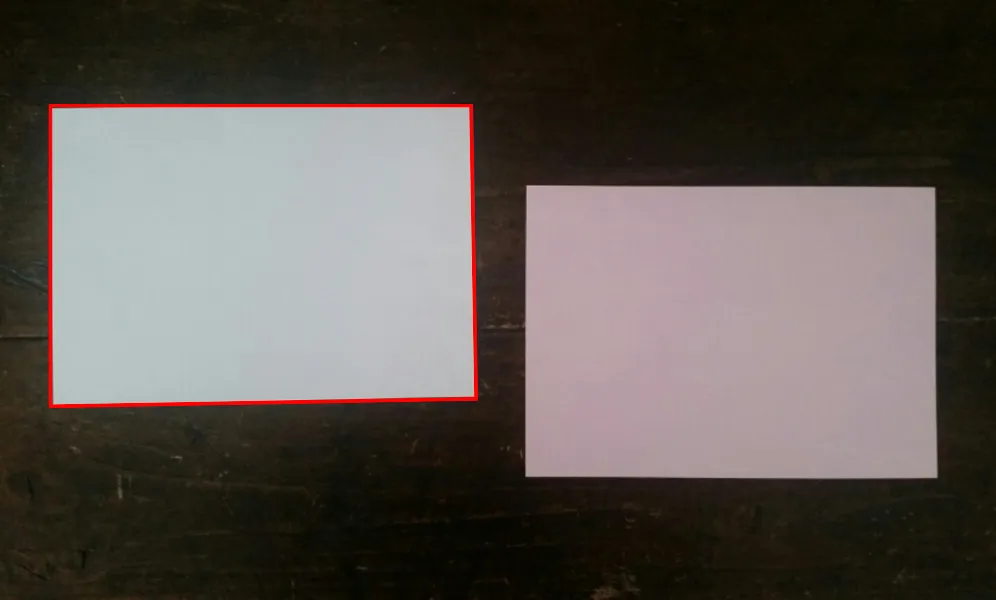
这里有一个例子,比较了两个多边形。计算仍需要约0.3457秒。
// the example image
$image = "http://i.stack.imgur.com/hmPYh.png";

// get parameters of the image
list ($width, $height, $type) = getimagesize ("$image");

// the polygones
$quadrilateral[0] = array('pointA' => array ('x' => 50, 'y' => 105),
                          'pointB' => array ('x' => 470.593, 'y' => 105),
                          'pointC' => array ('x' => 475.714, 'y' => 398.404),
                          'pointD' => array ('x' => 50, 'y' => 405.835));
$quadrilateral[1] = array('pointA' => array ('x' => 525, 'y' => 185),
                          'pointB' => array ('x' => 935, 'y' => 185),
                          'pointC' => array ('x' => 935, 'y' => 477),
                          'pointD' => array ('x' => 525, 'y' => 477));

// measure time
$start_time = microtime(true);

// start with zero
$brightest = 0;

// loop through $quadrilateral
foreach ( $quadrilateral as $key => $q) {

    $resize_factor = .5; // resize factor for check if it works faster
    $newHeight = $height*$resize_factor;
    $newWidth = $width*$resize_factor;

    // resize image and return %mean
    $command = "convert $image \\
                -background none \\
                -gravity NorthWest  \\
                -extent ".$width."x".$height." \\
                -alpha set -virtual-pixel transparent \\
                -distort Perspective \"\\
                    ".$q['pointA']['x'].",".$q['pointA']['y']." 0,0 \\
                    ".$q['pointB']['x'].",".$q['pointB']['y']." $newWidth,0 \\
                    ".$q['pointC']['x'].",".$q['pointC']['y']." $newWidth,$newHeight \\
                    ".$q['pointD']['x'].",".$q['pointD']['y']." 0,$newHeight \"\\
                -crop ".$newWidth."x".$newHeight."+0+0 +repage \\
                -format \"%[mean]\" info: ";

    $output = shell_exec("$command");

    $draw =  "polygon ".$q['pointA']['x'].",".$q['pointA']['y']." "
                       .$q['pointB']['x'].",".$q['pointB']['y']." "
                       .$q['pointC']['x'].",".$q['pointC']['y']." "
                       .$q['pointD']['x'].",".$q['pointD']['y']." ";

    // check $output is brighter then $brightest
    if ($output > $brightest) {

        $result = $draw;
        $brightest = $output;

    }

}

// measure time
$end_time = microtime(true);

$command = "convert  $image \\
                -fill none -stroke red -strokewidth 3 \\
                -draw \"$result\" \\
                $image2";

$output = shell_exec("$command");

echo "<pre>".number_format(($end_time-$start_time), 4)  . " sec</pre>\n";