如何使用CAGradientLayer绘制渐变色环?

3
我从以下链接中参考到一些内容: 
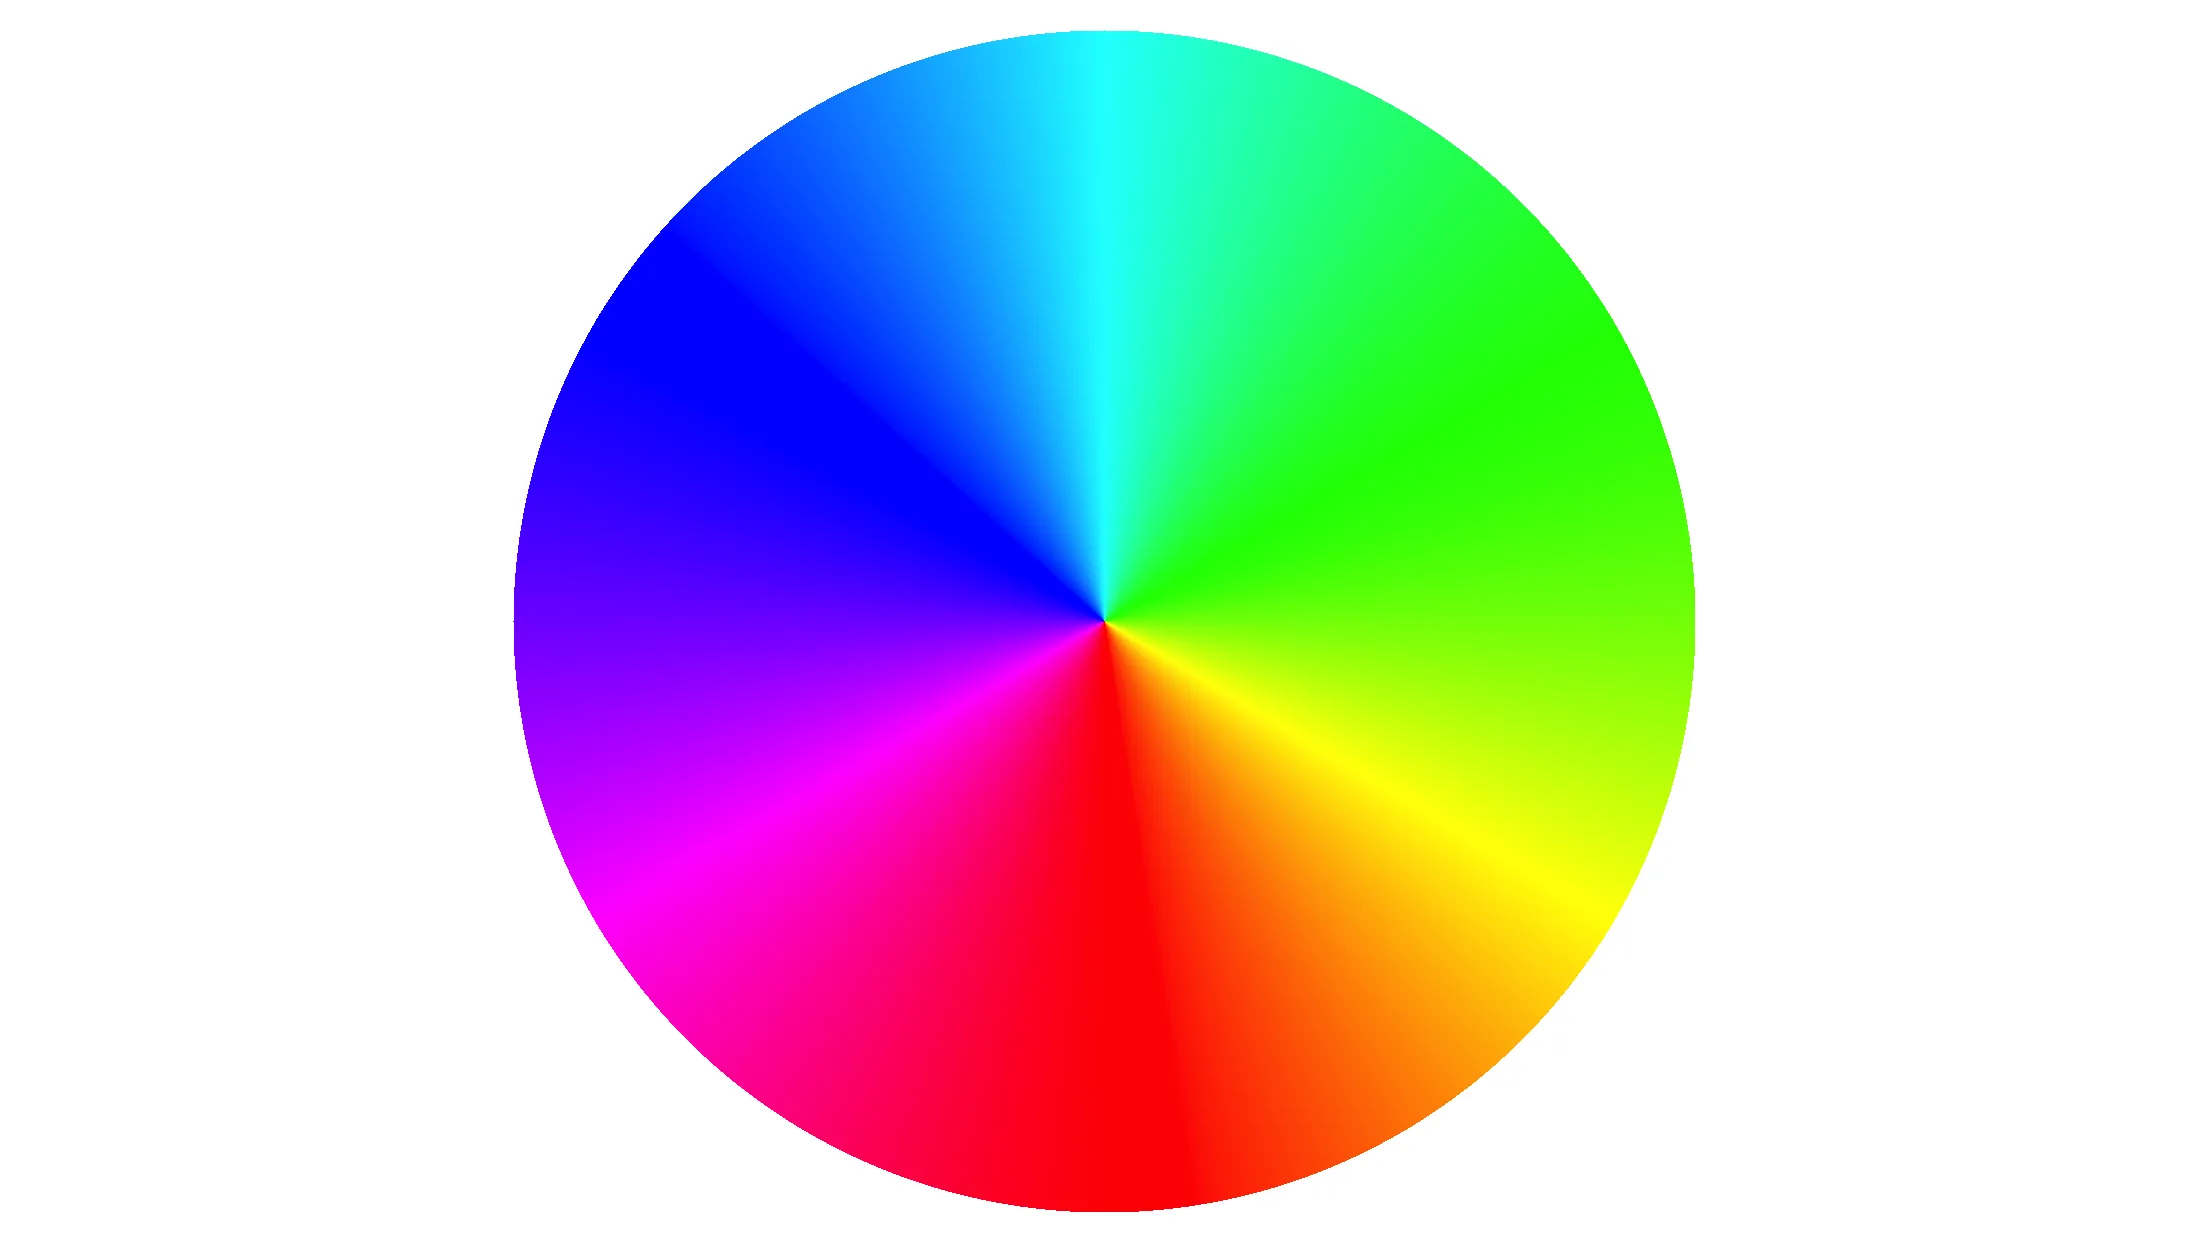
我已经了解了“HSV色彩空间”的概念。但我想用RGB和CAGradientLayer来画一个颜色环。
下面是使用简单的RGB颜色数组和UIBezierPath制作颜色环的代码片段:
func drawColorWheel()
{
    context?.saveGState()

    range = CGFloat(100.00 / CGFloat(colorArray.count))

    for k in 0 ..< colorArray.count
    {

        drawSlice(startPercent: CGFloat(k) * range, endPercent: CGFloat(CGFloat(k + 1) * range), color: colorArray.object(at: k) as! UIColor)
    }

    context?.restoreGState()
}

func drawSlice(startPercent: CGFloat, endPercent: CGFloat, color: UIColor)
{        
    let startAngle = getAngleAt(percentage: startPercent)
    let endAngle = getAngleAt(percentage: endPercent)

    let path =  getArcPath(startAngle: startAngle, endAngle: endAngle)
    color.setFill()
    path.fill()
}

getAngleAt()getArcPath()是绘制带有角度路径的私有函数。

这是我的代码的最终输出 - color wheel

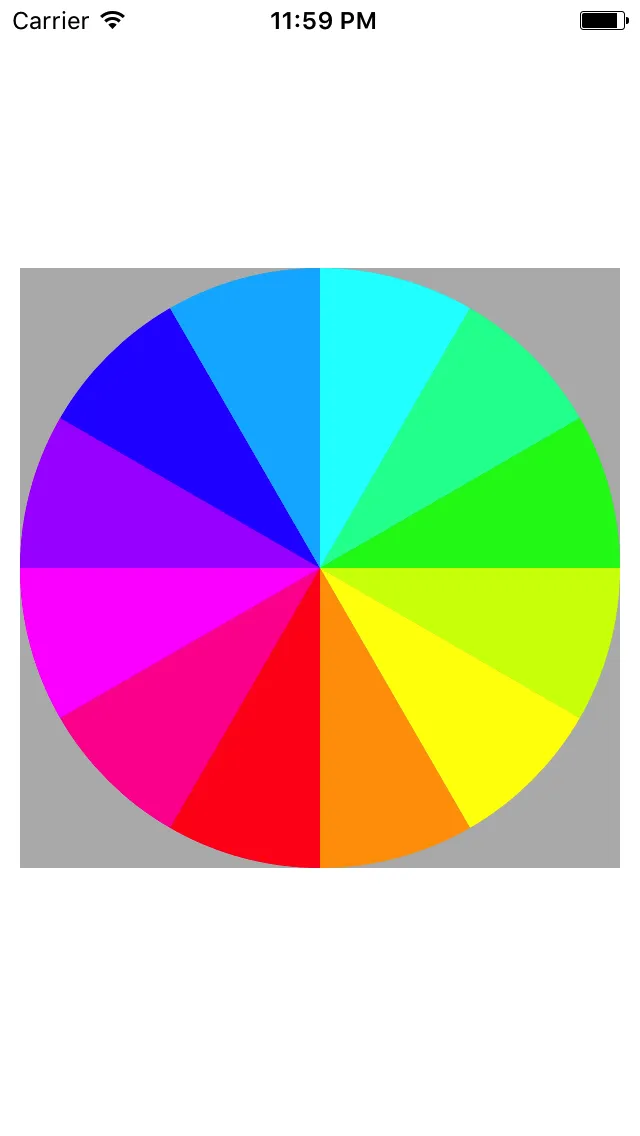
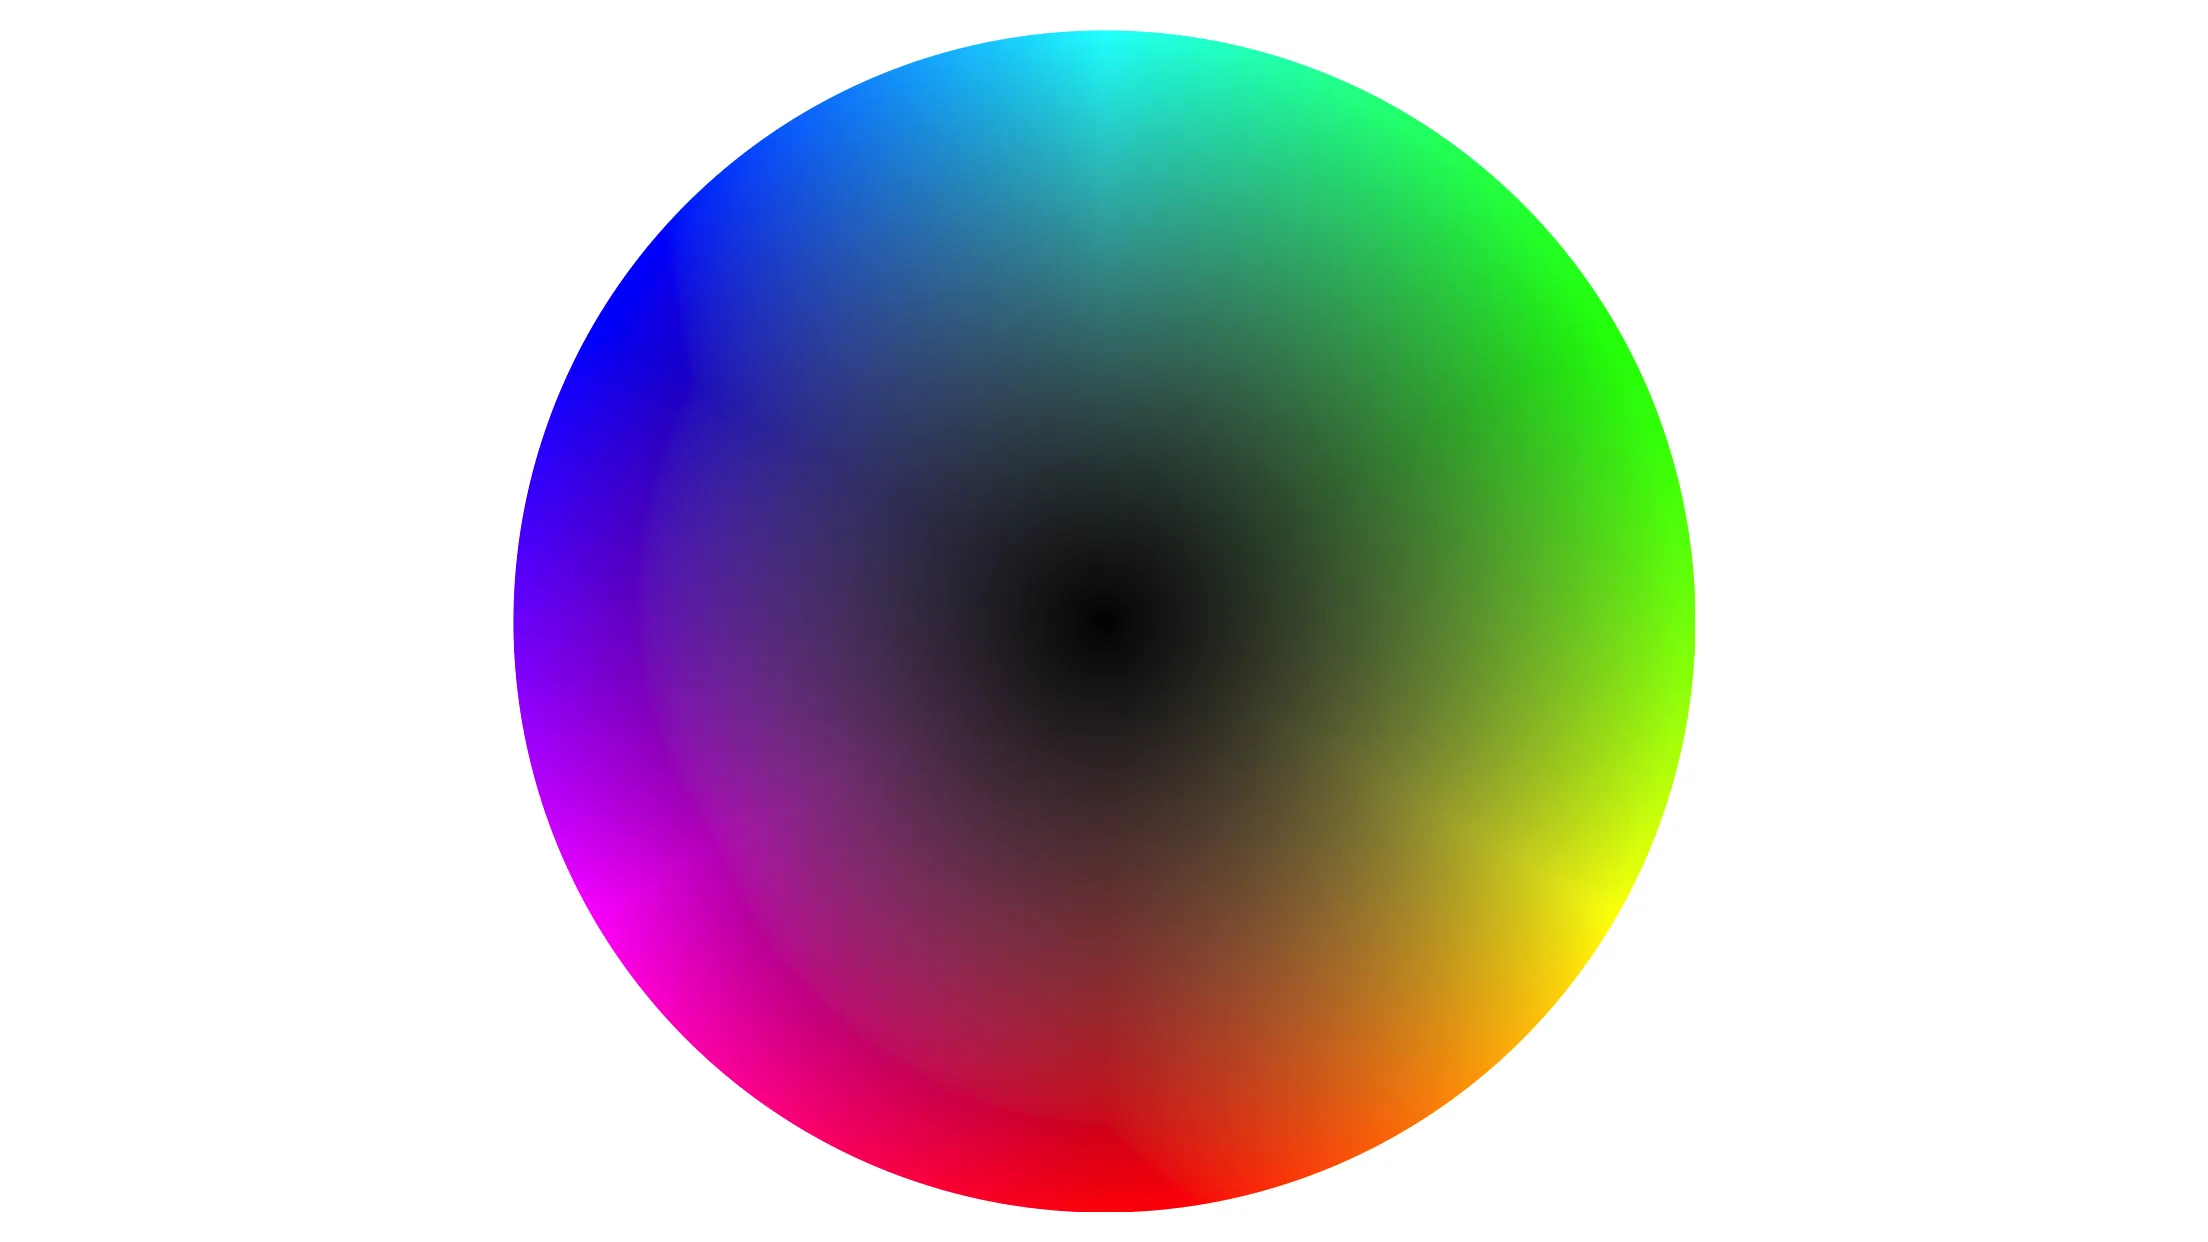
现在,我的问题是如何给这些颜色添加渐变效果,使每种颜色与渐变颜色层混合?

1个回答

8
一种方法是构建一个图像并手动操作像素缓冲区:
  • 创建指定大小和类型的CGContext
  • 通过data属性访问其数据缓冲区;
  • 将其重新绑定到某些使其易于操作的内容(我使用Pixel,这是表示像素的32位结构体);
  • 逐个像素循环,将其转换为此图像内圆的angleradius
  • 如果在圆内,则创建适当颜色的像素;如果不在则使其成为零Alpha像素。
因此,在Swift 3中:
func buildHueCircle(in rect: CGRect, radius: CGFloat, scale: CGFloat = UIScreen.main.scale) -> UIImage? {
    let width = Int(rect.size.width * scale)
    let height = Int(rect.size.height * scale)
    let center = CGPoint(x: width / 2, y: height / 2)

    let space = CGColorSpaceCreateDeviceRGB()
    let context = CGContext(data: nil, width: width, height: height, bitsPerComponent: 8, bytesPerRow: width * 4, space: space, bitmapInfo: Pixel.bitmapInfo)!

    let buffer = context.data!

    let pixels = buffer.bindMemory(to: Pixel.self, capacity: width * height)
    var pixel: Pixel
    for y in 0 ..< height {
        for x in 0 ..< width {
            let angle = fmod(atan2(CGFloat(x) - center.x, CGFloat(y) - center.y) + 2 * .pi, 2 * .pi)
            let distance = hypot(CGFloat(x) - center.x, CGFloat(y) - center.y)

            let value = UIColor(hue: angle / 2 / .pi, saturation: 1, brightness: 1, alpha: 1)

            var red: CGFloat = 0
            var green: CGFloat = 0
            var blue: CGFloat = 0
            var alpha: CGFloat = 0
            value.getRed(&red, green: &green, blue: &blue, alpha: &alpha)

            if distance <= (radius * scale) {
                pixel = Pixel(red:   UInt8(red * 255),
                              green: UInt8(green * 255),
                              blue:  UInt8(blue * 255),
                              alpha: UInt8(alpha * 255))
            } else {
                pixel = Pixel(red: 255, green: 255, blue: 255, alpha: 0)
            }
            pixels[y * width + x] = pixel
        }
    }

    let cgImage = context.makeImage()!
    return UIImage(cgImage: cgImage, scale: scale, orientation: .up)
}

在哪里

struct Pixel: Equatable {
    private var rgba: UInt32

    var red: UInt8 {
        return UInt8((rgba >> 24) & 255)
    }

    var green: UInt8 {
        return UInt8((rgba >> 16) & 255)
    }

    var blue: UInt8 {
        return UInt8((rgba >> 8) & 255)
    }

    var alpha: UInt8 {
        return UInt8((rgba >> 0) & 255)
    }

    init(red: UInt8, green: UInt8, blue: UInt8, alpha: UInt8) {
        rgba = (UInt32(red) << 24) | (UInt32(green) << 16) | (UInt32(blue) << 8) | (UInt32(alpha) << 0)
    }

    static let bitmapInfo = CGImageAlphaInfo.premultipliedLast.rawValue | CGBitmapInfo.byteOrder32Little.rawValue

    static func ==(lhs: Pixel, rhs: Pixel) -> Bool {
        return lhs.rgba == rhs.rgba
    }
}

这将产生以下结果:

constant saturation color wheel

或者你可以根据半径调整亮度或饱和度:

adjusting brightness


网页内容由stack overflow 提供, 点击上面的
可以查看英文原文,
原文链接