从XCode 6开始,iPhone和iPad的故事板使用一个名为“Size Classes”的新功能合并了。大多数情况下这是件好事,因为它使您能够设计一个界面,可以适应不同的屏幕大小。
当然,有些情况下您可能想在iPhone和iPad上使用不同的故事板。毕竟,有些应用程序在手机和平板设备上需要完全不同的方法。
如果您想使用新的Size Classes,请参阅日益增长的教程之一,例如Ray Wenderlich的Beginning Adaptive Layout Tutorial。
如果您想要为iPhone和iPad使用单独的故事板,以下是方法:
从一个新的Single View Application开始。
a. Select File|New|Project.

b. Select iOS, Application and click "Single View Application."

c. Click Next.

d. Give the project a name, then click "Next."

e. Pick a location and click "Create" to create the project.
将起始故事板转换为 iPhone 故事板。
a. Select Main.storyboard, and select the file inspector (the document icon at the top of the right pane) if it is not already selected.

b. Uncheck "Use Size Classes."
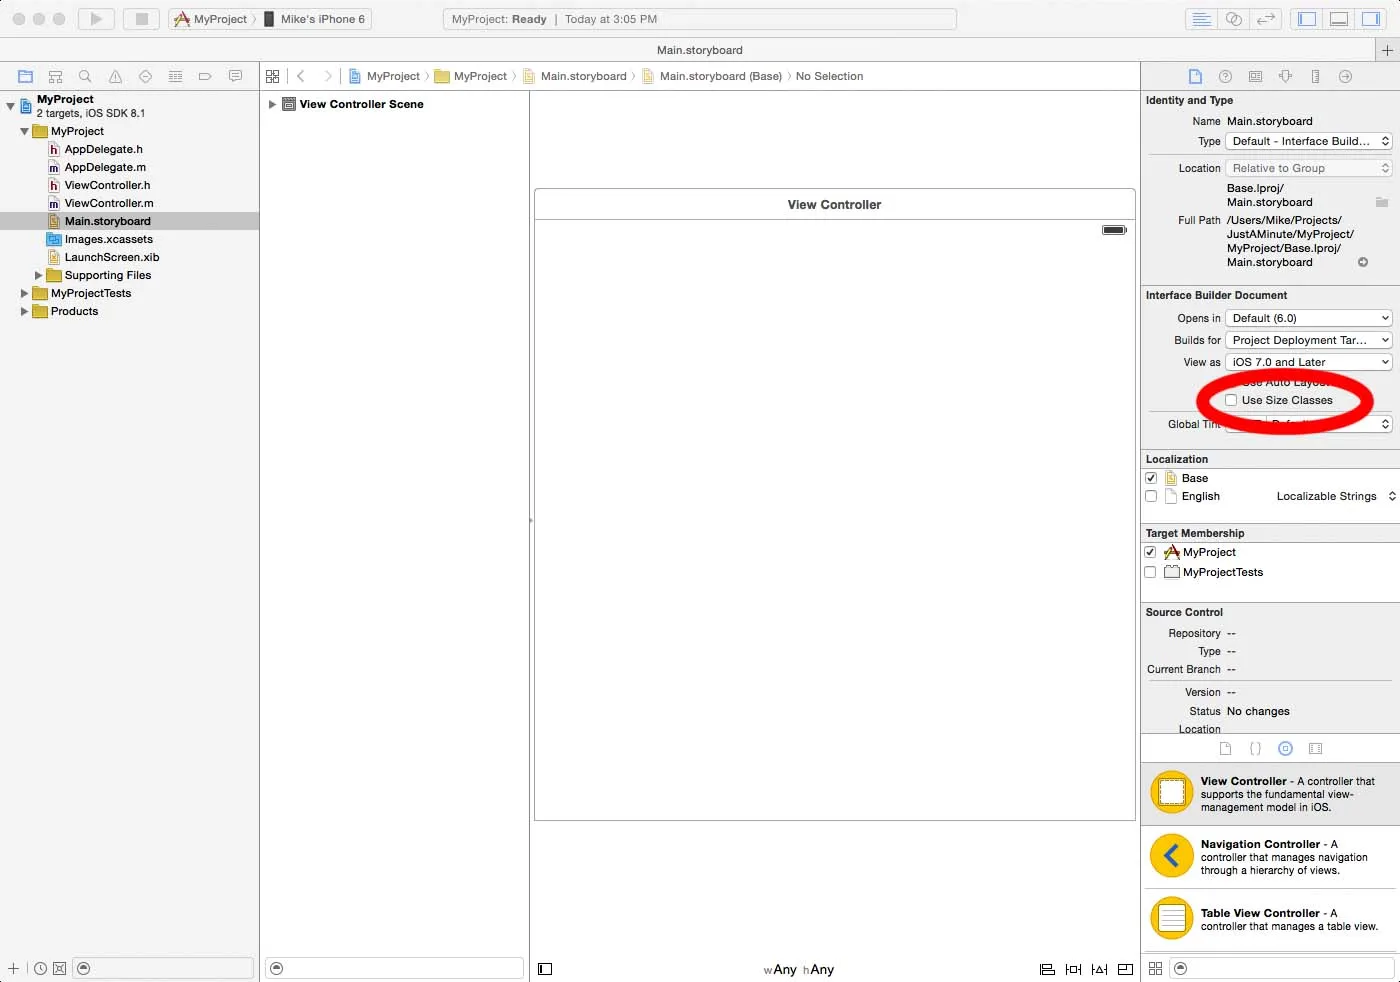
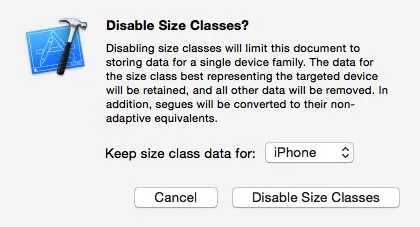
c. A dlialog will appear. Select "iPhone" from the drop down menu, then click "Disable Size Classes."
d. Rename the storyboard as "Main_iPhone.storyboard."
创建iPad故事板。
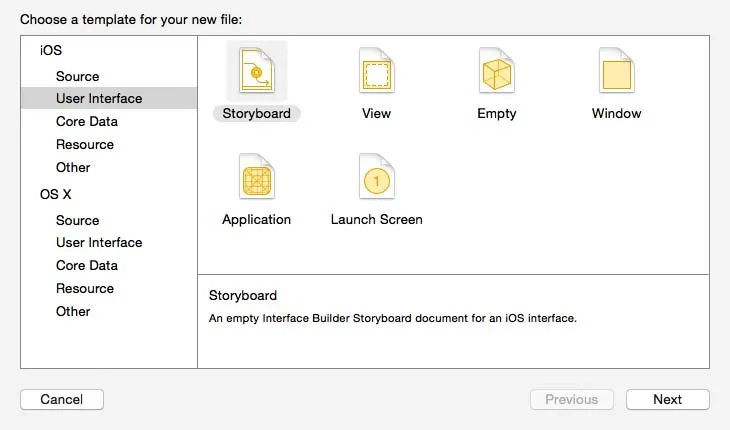
a. Select File|New|File from the menu bar. From the dialog that appears, select iOS|UserInterface. Click on "Storyboard" and click "Next."
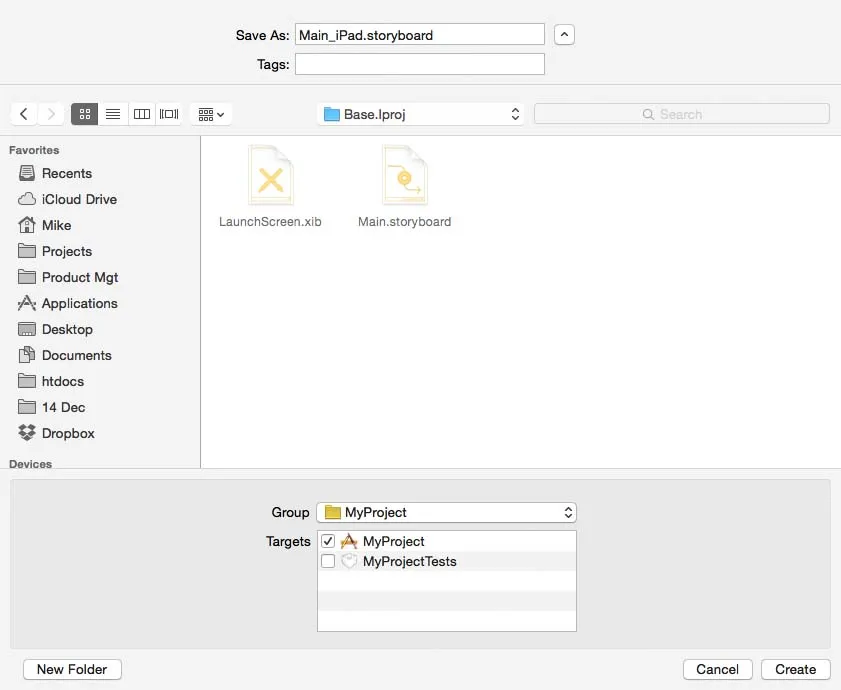
b. Rename the file as "Main_iPad.storyboard," then save it, typically in the Base.lproj folder of your project folder.
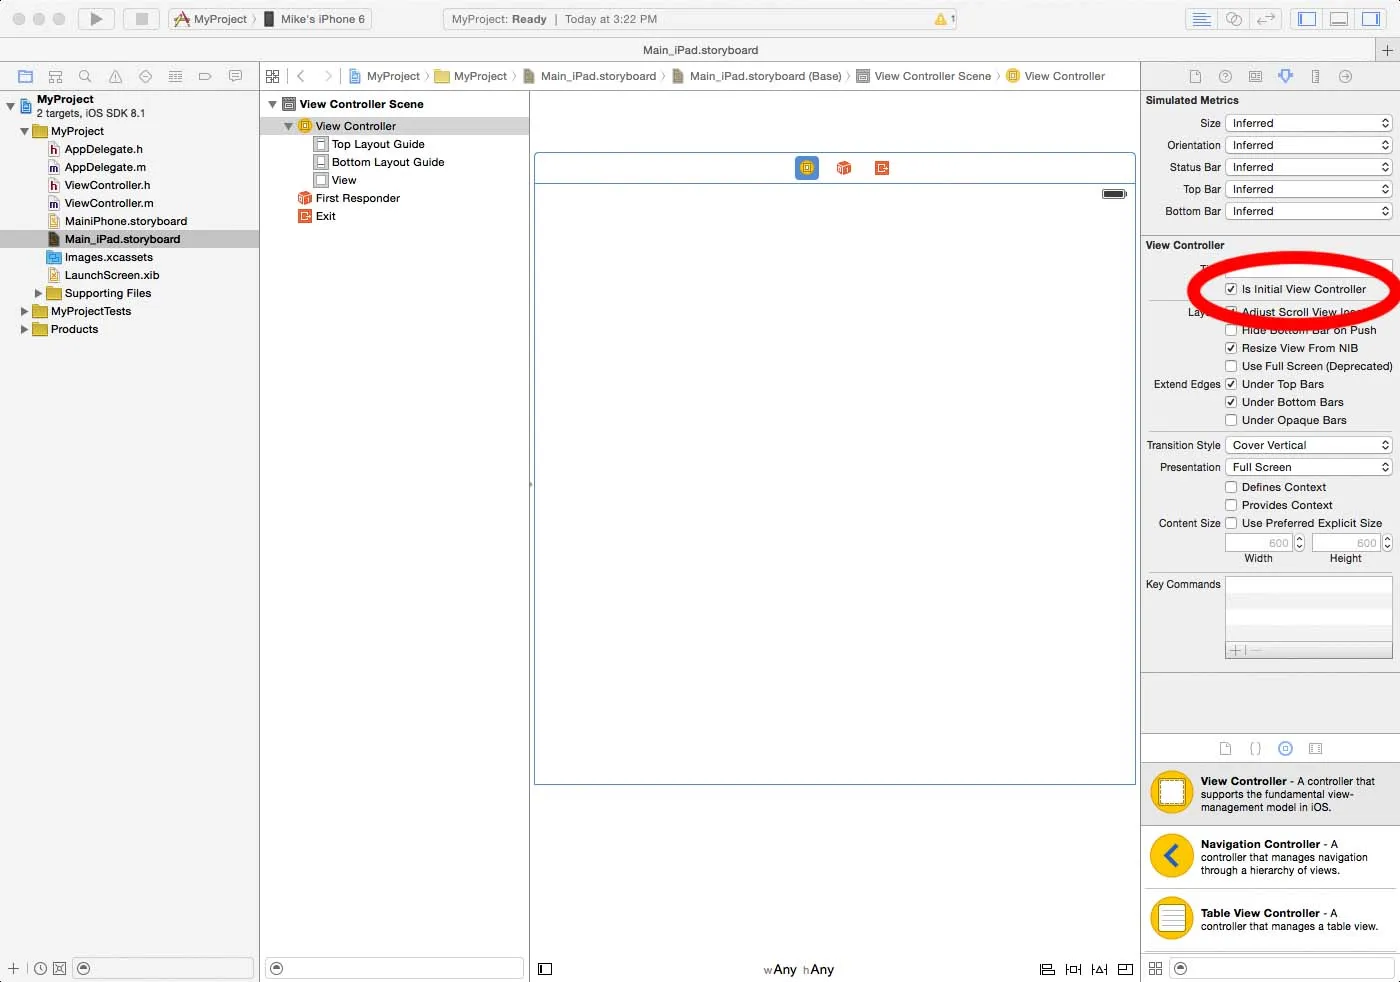
c. Add a view controller, and make it the initial view controller by clicking the "Is Initial View Controller" check box in the Attributes Inspector pane.
按照步骤2的方法转换新的故事板,只不过这次在选择平台时,请选择iPad而不是iPhone。
将故事板链接至应用程序。
a. Open the Info.plist.

b. Change the name for "Main storyboard file base name" from "Main" to "Main_iPhone.storyboard".

.c Add a new property called "Main storyboard file base name (iPad)" and give it the name "Main_iPad."
那就这样吧!现在你可以像以前一样为iPhone和iPad创建不同的用户界面了。