from skimage.measure import compare_ssim
import argparse
import imutils
import cv2
import numpy as np
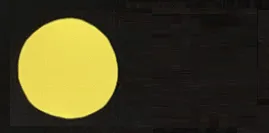
# load the two input images
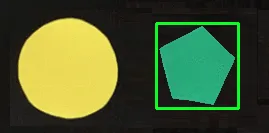
imageA = cv2.imread('./Input_1.png')
cv2.imwrite("./org.jpg", imageA)
# imageA = cv2.medianBlur(imageA,29)
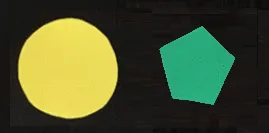
imageB = cv2.imread('./Input_2.png')
cv2.imwrite("./test.jpg", imageB)
# imageB = cv2.medianBlur(imageB,29)
# convert the images to grayscale
grayA = cv2.cvtColor(imageA, cv2.COLOR_BGR2GRAY)
grayB = cv2.cvtColor(imageB, cv2.COLOR_BGR2GRAY)
##########################################################################################################
difference = cv2.subtract(grayA,grayB)
result = not np.any(difference)
if result is True:
print ("Pictures are the same")
else:
cv2.imwrite("./open_cv_subtract.jpg", difference )
print ("Pictures are different, the difference is stored.")
##########################################################################################################
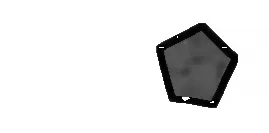
diff = cv2.absdiff(grayA, grayB)
cv2.imwrite("./tabsdiff.png", diff)
##########################################################################################################
grayB=cv2.resize(grayB,(grayA.shape[1],grayA.shape[0]))
(score, diff) = compare_ssim(grayA, grayB, full=True)
diff = (diff * 255).astype("uint8")
print("SSIM: {}".format(score))
#########################################################################################################
thresh = cv2.threshold(diff, 25, 255,cv2.THRESH_BINARY_INV | cv2.THRESH_OTSU)[1]
cnts = cv2.findContours(thresh.copy(), cv2.RETR_EXTERNAL,cv2.CHAIN_APPROX_SIMPLE)
cnts = imutils.grab_contours(cnts)
#s = imutils.grab_contours(cnts)
count = 0
# loop over the contours
for c in cnts:
# images differ
count=count+1
(x, y, w, h) = cv2.boundingRect(c)
cv2.rectangle(imageA, (x, y), (x + w, y + h), (0, 0, 255), 2)
cv2.rectangle(imageB, (x, y), (x + w, y + h), (0, 0, 255), 2)
##########################################################################################################
print (count)
cv2.imwrite("./original.jpg", imageA)
# cv2.imshow("Modified", imageB)
cv2.imwrite("./test_image.jpg", imageB)
cv2.imwrite("./compare_ssim.jpg", diff)
cv2.imwrite("./thresh.jpg", thresh)
cv2.waitKey(0)
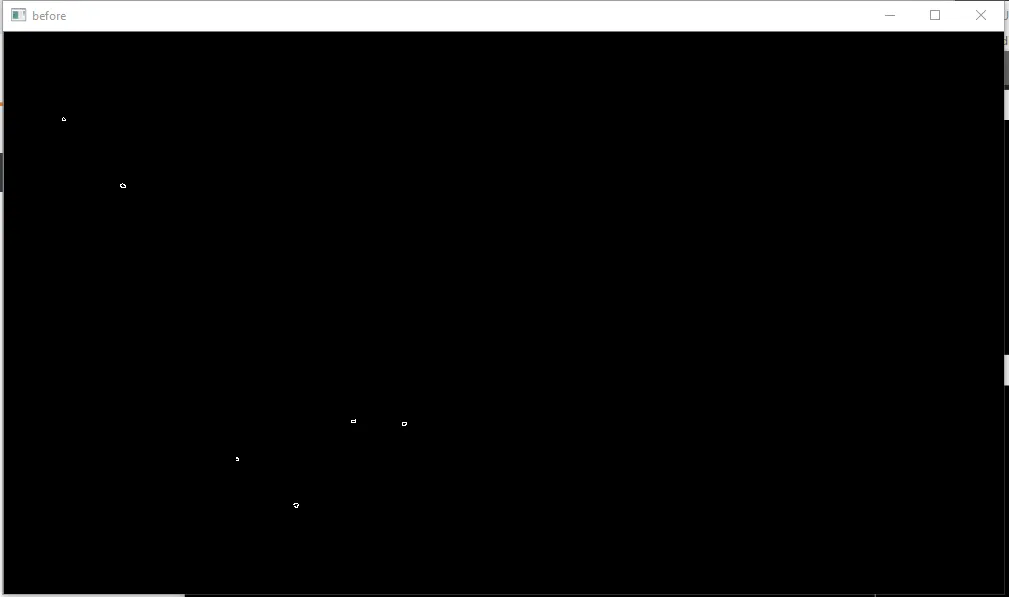
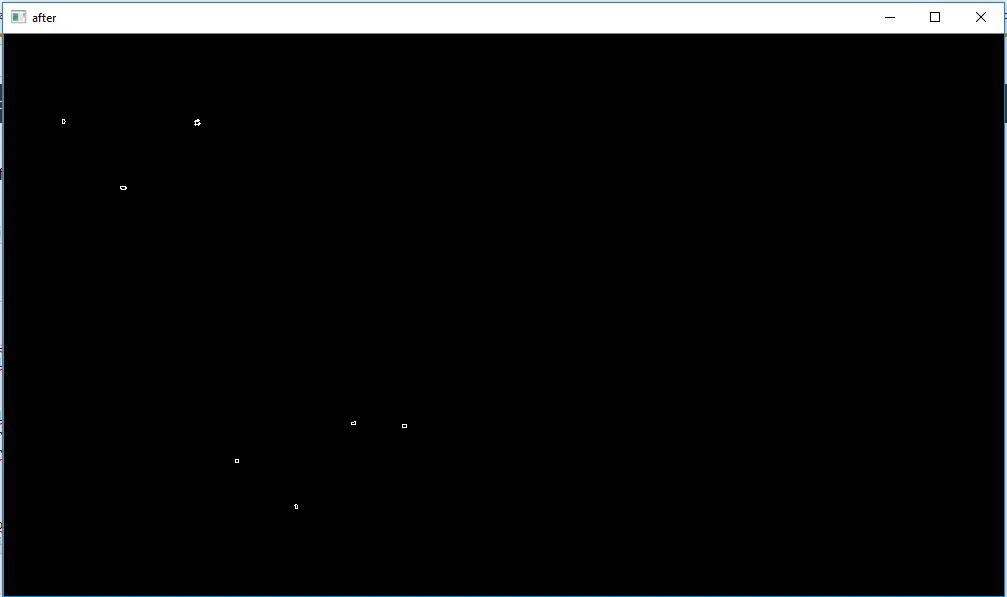
 第二张图片在这里:
 我尝试了以下代码来检查差异:
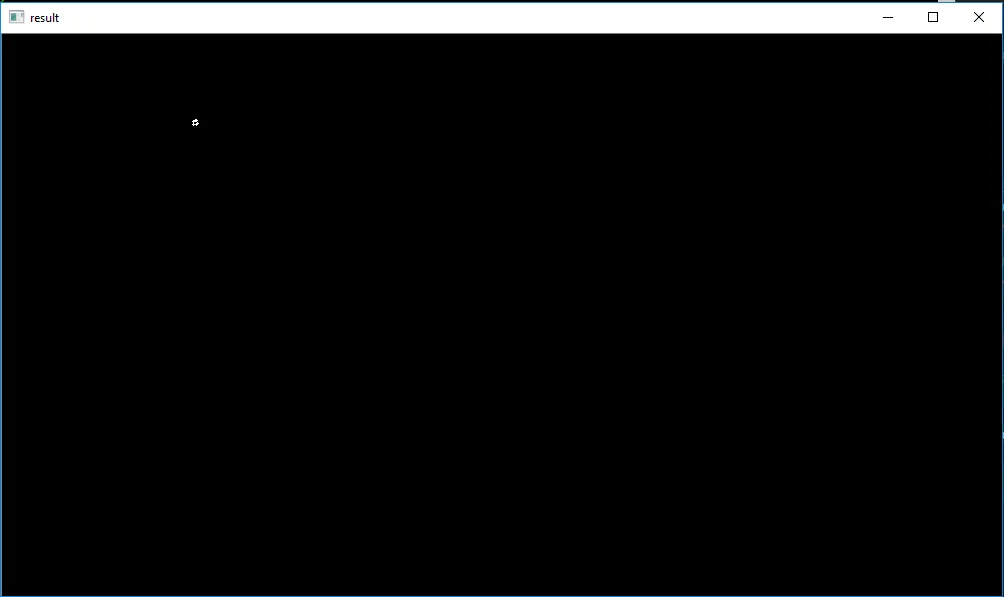
(score, diff) =这一行代码返回了以下错误:(score, diff) = compare_ssim(before, after, multichannel=True) # full=True) TypeError: cannot unpack non-iterable numpy.float64 object。可能的原因是什么? - Marie. P.opencv-contrib-python==4.2.0.32、scikit-image==0.15.0和scikit-learn==0.21.3。 - nathancy