在运行selenium时,我需要从Web商店加载Chrome扩展程序。
有没有可能让selenium从Web商店加载扩展程序呢?
在运行selenium时,我需要从Web商店加载Chrome扩展程序。
有没有可能让selenium从Web商店加载扩展程序呢?
如果有人需要的话,我是使用Python完成这个操作的。
你只需要下载.crx文件(我使用了https://chrome-extension-downloader.com/),并将其保存在Python可以访问的地方。例如,我将它导入到与我的Python脚本相同的文件夹中,在那里加载exampleOfExtensionDownloadedToFolder.crx。
from selenium import webdriver
from selenium.webdriver.chrome.options import Options

options = webdriver.ChromeOptions()
options.add_extension('./exampleOfExtensionDownloadedToFolder.crx')
driver = webdriver.Chrome(options=options)
driver.get('http://www.google.com')
我不确定为什么你特别想从Webstore下载并安装到Chrome。
我找到了一些下载Chrome扩展的步骤:
-使用连接互联网的电脑,从扩展页面安装扩展:https://chrome.google.com/webstore/detail/
-导航到扩展源代码。在XP中,可以在此处找到:C:\Documents and Settings\\Local Settings\Application Data\Google\Chrome\User Data\Default\Extensions\
-您应该看到一个版本文件夹(即“0.0.21_0”)。复制此文件夹并将其移动到要安装的机器上。
-在已断开连接的计算机上打开chrome,并转到Wrench->工具->扩展
-单击Developer mode旁边的+以显示开发人员选项
-单击“打包扩展程序...”,并选择版本文件夹作为根目录。将私钥文件留空。这将创建一个.crx文件,以及一个私钥,就好像你是开发人员一样。
——或者——
1- 找到您感兴趣的扩展程序的ID。当在扩展程序的详细信息页面上时,它将类似于: bfbmjmiodbnnpllbbbfblcplfjjepjdn 之后 https://chrome.google.com/webstore/detail/
2- 将其粘贴到任何其他浏览器中(而不是Chrome): https://clients2.google.com/service/update2/crx?response=redirect&x=id%3D~~~~%26uc
3- 并用扩展ID替换~~~。 您将提示保存一个Crx文件。将此文件拖动到Chrome窗口中,并继续安装。
来源:https://productforums.google.com/forum/#!topic/chrome/g02KlhK12fU
最后,使用下载的.crx文件在ChromeOptions中加载扩展程序
ChromeOptions options = new ChromeOptions();
options.addExtensions(new File("/path/to/extension.crx"));
DesiredCapabilities capabilities = new DesiredCapabilities();
capabilities.setCapability(ChromeOptions.CAPABILITY, options);
ChromeDriver driver = new ChromeDriver(capabilities);
来源: https://sites.google.com/a/chromium.org/chromedriver/extensions
如何将Chrome扩展加载到Selenium Python中
日期=20-12-19
Chrome版本=79.0.3945.88
新版本的Chrome支持crx.crx(crx3),如果您使用crx,它会抛出错误。
仅在使用Chrome版本73或更高版本时才按照此步骤进行
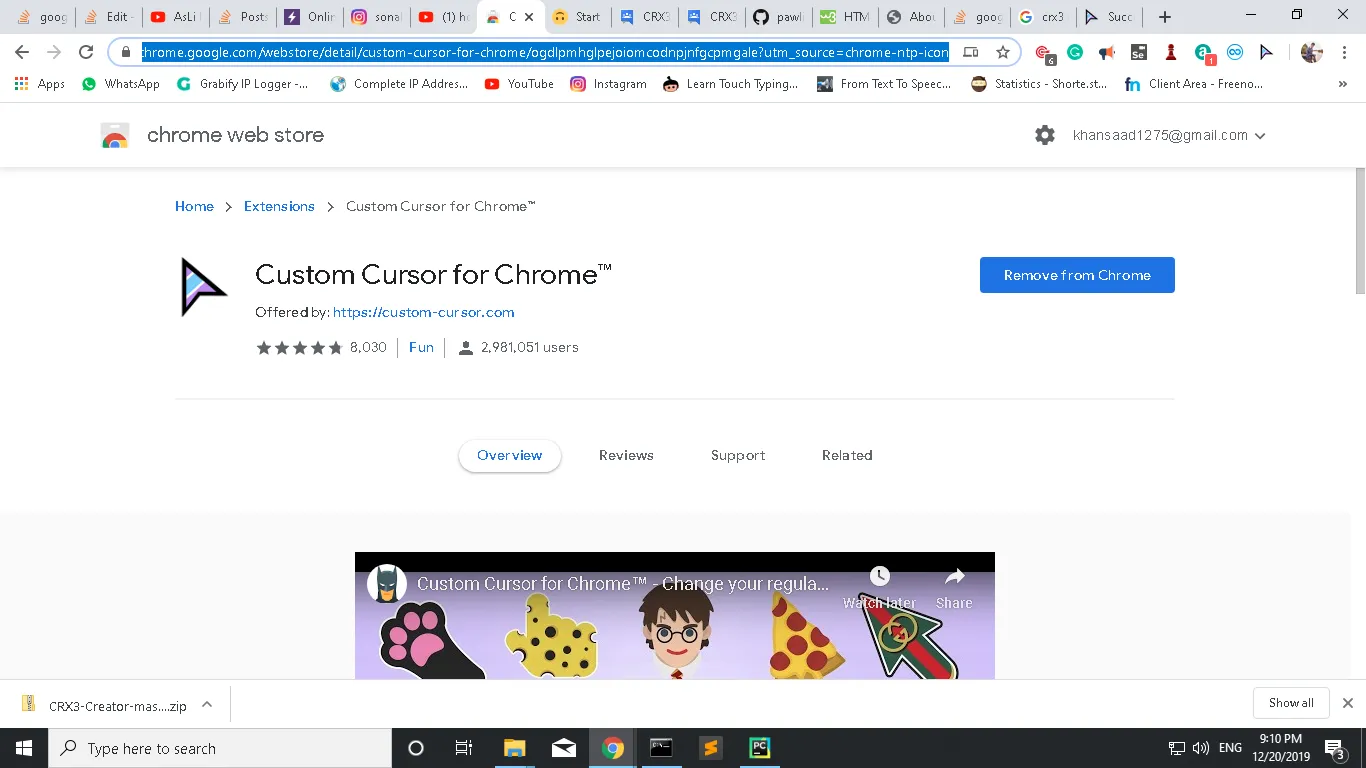
1. 转到Chrome网上应用店并搜索您的扩展程序,复制扩展的链接。
截图
2. 转到此网站,粘贴链接并下载适用于您的Chrome扩展的crx文件。
3. 转到此GitHub页面,下载可将您的crx文件转换为crx3或crx.crx的模块。
4. 现在您有了crx.crx或(crx3)文件
1. 将您的extension.crx.crx文件放在与您的代码相同的文件夹中,或者给出路径
2. 您可以复制并粘贴此代码,并更改`chrome_options.add_extension('YOUR - EXTENSION - NAME')`中的crx.crx文件名
import os
    from selenium import webdriver
    from selenium.webdriver.chrome.options import Options


    executable_path = "/webdrivers"
    os.environ["webdriver.chrome.driver"] = executable_path

    chrome_options = Options()

    chrome_options.add_extension('  YOUR - EXTIONTION  - NAME    ')

    driver = webdriver.Chrome(chrome_options=chrome_options)
    driver.get("http://stackoverflow.com")
Put chromedriver exe in your document file if you want to follow this and have a successful result.
Download "GET CRX" extension from Google.
Download your extension (i.e. mine is "DHS" for Rest API testing).
Go to Chrome Web Store >> search for your extension (the one you've already downloaded) >> right click on it and click :: GET CRX
(This should download the CRX file. For my case the CRX file is "extension_1_2_5.crx")
Drop the CRX file in any Chrome window (this can reject it but no worries).
Now, build your test and execute
public static void openChromeExtension(){

    System.setProperty("webdriver.chrome.driver", "/Users/[your local name]/Documents/chromedriver");

    ChromeOptions options = new ChromeOptions();
    options.addExtensions(new File("/Users/[your local name]/Documents/extension_1_2_5.crx"));

    DesiredCapabilities capabilities = new DesiredCapabilities();
    capabilities.setCapability(ChromeOptions.CAPABILITY, options);
    ChromeDriver driver = new ChromeDriver(capabilities);
    System.out.println("Opening extension");
    driver.get("chrome-extension://**aejoelaoggembcahagimdiliamlcdmfm**/dhc.html");

    driver.navigate().refresh();
    System.out.println("Refresh successfully");
}
//this is the extension URL or you can get the id on chrome://extensions/ find the extension and copy the ID. However, the URL must be the extension URL.
不确定为什么,但有人删除了他们的回答,而那个回答是正确的。以下是内容(来自@parishodak):
ChromeOptions options = new ChromeOptions();
options.addExtensions(new File("/path/to/extension.crx"));
DesiredCapabilities capabilities = new DesiredCapabilities();
capabilities.setCapability(ChromeOptions.CAPABILITY, options);
ChromeDriver driver = new ChromeDriver(capabilities);
这个例子是用Java编写的
chrome_options = Options()
chrome_options.add_argument("user-data-dir=selenium")
driver = webdriver.Chrome(chrome_options=chrome_options)
driver.get("www.google.com")
然后我手动安装扩展程序并登录,现在每次我启动带有那个文件夹的Webdriver时,一切都在那里。
chrome_options = Options()
chrome_options.add_argument("user-data-dir=selenium")
driver = webdriver.Chrome(chrome_options=chrome_options)
driver.get("www.google.com") #Now you can see the Extensions and the logins done are present
from selenium.webdriver.chrome.options import Options 吗? - Eduard Florinescuusing System.IO;
using System.IO.Compression;
public static class ChromeExtension
{
public static string Execute()
{
var ParentPath = Directory.GetParent(Directory.GetCurrentDirectory()).Parent;
var DirectoryPath = ParentPath.FullName.Remove(ParentPath.FullName.IndexOf(ParentPath.Name));
string startPath = $"{DirectoryPath}\\Exchanger\\ChromeExtension";
string zipPath = $"{DirectoryPath}Exchanger\\Extension.zip";
if (System.IO.File.Exists(zipPath))
{
System.IO.File.Delete(startPath);
}
ZipFile.CreateFromDirectory(startPath, zipPath);
if (System.IO.File.Exists($"{DirectoryPath}\\Exchanger\\Extension.crx"))
{
System.IO.File.Delete($"{DirectoryPath}\\Exchanger\\Extension.crx");
}
System.IO.File.Move(zipPath, $"{DirectoryPath}\\Exchanger\\Extension.crx");
return $"{DirectoryPath}\\Exchanger\\Extension.crx";
}
}
....////....
Used:
var options = new ChromeOptions();
options.AddExtension(ChromeExtension.Execute());

....////....
        Robot rb=new Robot();
        rb.keyPress(KeyEvent.VK_TAB);
        Thread.sleep(300);
        rb.keyRelease(KeyEvent.VK_TAB);
        Thread.sleep(1000);
        rb.keyPress(KeyEvent.VK_ENTER);
        Thread.sleep(300);
        rb.keyRelease(KeyEvent.VK_ENTER);
driver.get("chrome://extensions/shortcuts");