关于Xcode 8的更新,请见回答底部。
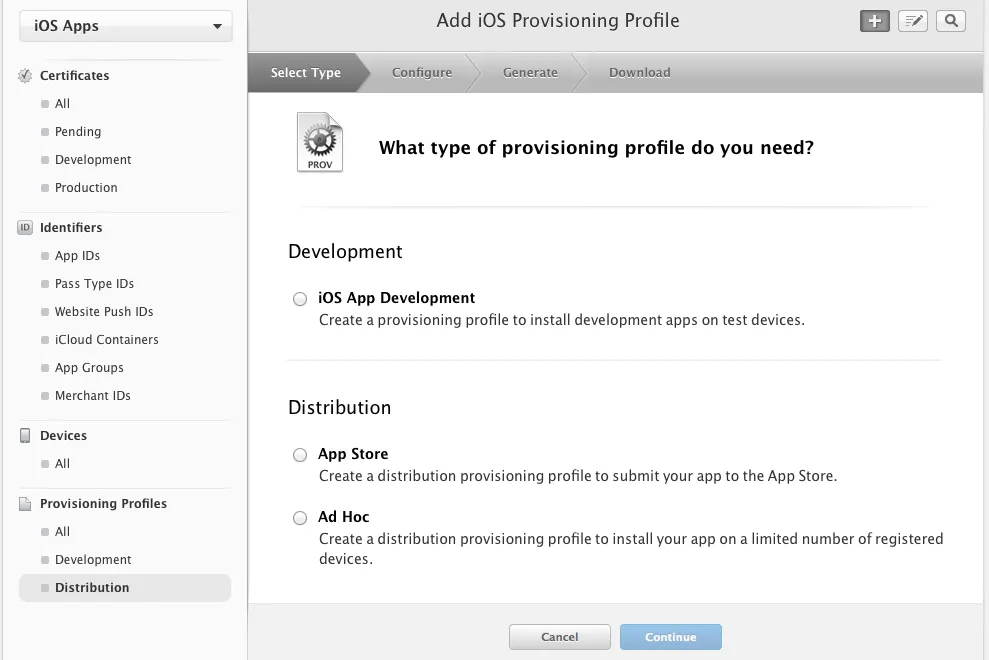
首先回答问题的最后一部分 - 是的,通过iTunes连接提交应用程序需要一个App Store预配配置文件。如果没有正确的预配配置文件,则不会通过预验证步骤。您需要在会员中心创建一个App Store分发配置文件。
对于问题的第一部分来说,使用命令行工具创建、签名和分发存档和IPA文件的过程文档很少。实现脚本化解决方案充满了陷阱,因为在某些情况下,工具不会按预期进行处理,并且需要更详细的了解开发人员帐户、密钥链、签名证书和预配配置文件之间的关系。
以下是一个示例脚本,可用于创建嵌入Ad Hoc预配配置文件的存档、创建适用于Ad Hoc分发的IPA。同时也会创建DSYMs压缩文件以供上传至TestFlight。然后提供了另外两个脚本。第一个将从现有的xcarchive创建一个App Store版本的IPA,第二个将展示如何修改xcarchive以便第三方可以重新签名并用于企业内部分发。
此自动化构建脚本假定预配配置文件可在名为ProvisioningProfiles的目录中与源代码一起检查。它还假定存储在构建用户主目录中的受保护文件中的密码可以解锁保存签名证书的密钥链。
#!/bin/sh
codeSignIdentity="iPhone Distribution"
provisioningProfile=ProvisioningProfiles/MyAppAdHocDistribution.mobileprovision
if [ ! -f $HOME/.pass ] ; then
echo "no keychain password file available"
exit 1
fi
case `stat -L -f "%p" $HOME/.pass`
in
*400) ;;
*)
echo "keychain password file permissions are not restrictive enough"
echo "chmod 400 $HOME/.pass"
exit 1
;;
esac
case `set -o | grep xtrace`
in
*on) xon=yes ;;
*) xon=no ;;
esac
[ $xon == yes ] && set +x
security unlock-keychain -p `cat $HOME/.pass` $HOME/Library/Keychains/login.keychain
[ $xon == yes ] && set -x
trap "security lock-keychain $HOME/Library/Keychains/login.keychain" EXIT
uuid=`/usr/libexec/plistbuddy -c Print:UUID /dev/stdin <<< \
\`security cms -D -i $provisioningProfile\``
cp -f $provisioningProfile \
"$HOME/Library/MobileDevice/Provisioning Profiles/$uuid.mobileprovision"
xcodebuild \
-workspace MyApp.xcworkspace \
-scheme MyApp \
-archivePath build/MyApp.xcarchive \
archive \
PROVISIONING_PROFILE="$uuid" \
CODE_SIGN_IDENTITY="$codeSignIdentity"
/usr/bin/zip -r MyApp.dSYM.zip build/MyApp.xcarchive/dSYMs/MyApp.app.dSYM
profileName=`/usr/libexec/plistbuddy -c Print:Name /dev/stdin <<< \
\`security cms -D -i $provisioningProfile\``
xcodebuild \
-exportArchive \
-exportFormat IPA \
-archivePath build/MyApp.xcarchive \
-exportPath MyAppForAdHoc.ipa \
-exportProvisioningProfile "$profileName"
要使用应用商店发布配置文件重新分发 xcarchive,请使用新配置文件重新导出 xcarchive(对于 Ad Hoc 和应用商店配置文件,签名标识相同)。
appStoreProvisioningProfile=ProvisioningProfiles/MyAppAppStoreDistribution.mobileprovision
uuid=`/usr/libexec/plistbuddy -c Print:UUID /dev/stdin <<< \
\`security cms -D -i $appStoreProvisioningProfile\``
cp -f $appStoreProvisioningProfile \
"$HOME/Library/MobileDevice/Provisioning Profiles/$uuid.mobileprovision"
profileName=`/usr/libexec/plistbuddy -c Print:Name /dev/stdin <<< \
\`security cms -D -i $appStoreProvisioningProfile\``
xcodebuild \
-exportArchive \
-exportFormat IPA \
-archivePath build/MyApp.xcarchive \
-exportPath MyAppForStore.ipa \
-exportProvisioningProfile "$profileName"
最后完整一点,如果您想使用新的身份和配置文件重新签名xcarchive怎么办?如果您向第三方公司分发xcarchives以供内部分发使用,则可能会出现这种情况。接收方需要使用其企业证书为分发签署您的xcarchive。xcodebuild无法强制覆盖xcarchive中的现有代码签名,因此必须直接使用codesign。
enterpriseCodeSignIdentity="iPhone Distribution: Acme Ltd"
enterpriseProvisioningProfile=ProvisioningProfiles/MyAppInHouseDistribution.mobileprovision
enterpriseBundleId="com.enterprise.myapp"
euuid=`/usr/libexec/plistbuddy -c Print:UUID /dev/stdin <<< \
\`security cms -D -i $enterpriseProvisioningProfile\``
cp -f $enterpriseProvisioningProfile \
"$HOME/Library/MobileDevice/Provisioning Profiles/$euuid.mobileprovision"
cp -Rp build/MyApp.xcarchive build/MyAppEnterprise.xcarchive
rm -rf build/MyAppEnterprise.xcarchive/Products/Applications/MyApp.app/_CodeSignature
cp $enterpriseProvisioningProfile \
build/MyAppEnterprise.xcarchive/Products/Applications/MyApp.app/embedded.mobileprovision
/usr/libexec/plistbuddy -c "Set:CFBundleIdentifier $enterpriseBundleId" \
build/MyAppEnterprise.xcarchive/Products/Applications/MyApp.app/Info.plist
/usr/bin/codesign -f -v -s $enterpriseCodeSignIdentity \
build/MyAppEnterprise.xcarchive/Products/Applications/MyApp.app
/usr/libexec/plistbuddy -c "Set:CFBundleIdentifier com.apple.xcode.dsym.${enterpriseBundleId}" \
build/MyAppEnterprise.xcarchive/dSYMs/MyApp.app.dSYM/Contents/Info.plist
/usr/bin/zip -r MyAppEnterprise.dSYM.zip build/MyAppEnterprise.xcarchive/dSYMs/MyApp.app.dSYM
enterpriseProfileName=`/usr/libexec/plistbuddy -c Print:Name /dev/stdin <<< \
l\`security cms -D -i $enterpriseProvisioningProfile\``
xcodebuild \
-exportArchive \
-exportFormat IPA \
-archivePath build/MyAppEnterprise.xcarchive \
-exportPath MyAppEnterprise.ipa \
-exportProvisioningProfile "$enterpriseProfileName"
如果该脚本作为launchd守护程序运行,请参见此答案https://dev59.com/NWw15IYBdhLWcg3wGn9c#9482707,以解决从launchd守护程序访问登录钥匙串的问题。
OSX Mavericks和Yosemite的更新
在OSX Mavericks(v10.9.5)和OSX Yosemite上,您可能会看到代码签名错误:
Codesign check fails : ...../MyApp.app: resource envelope is obsolete
请查看此处的帖子以了解原因xcodebuild - codesign -vvvv says"resource envelope is obsolete"
要实现苹果支持在引用的帖子中建议的更改,请运行以下命令:
sudo perl -pi.bak -e 's/--verify"./--verify", "--no-strict",/ if /codesign.*origApp/;' `xcrun -sdk iphoneos -f PackageApplication`
Xcode8更新说明
在Xcode8中,以前回答中描述的过程已经无法与新的自动管理签名功能一起使用,因此您需要选择手动签名才能使用此方法。
如果您希望使用自动签名,在这里根据我们尝试在IBM Jazz和Jenkins CI环境下使其工作的一些观察结果:
如果您有一台CI机器,则可以通过创建并分配开发人员帐户到CI机器上的Xcode实例来获得自动代码签名。这是一个手动步骤,我没有找到通过命令行导入开发人员配置文件的方法。
如果您使用具有多个构建机器的分布式CI环境,它就不会很好地工作。首先你需要解决上面的问题,必须手动添加开发人员帐户到所有Xcode实例,其次每个帐户都必须是不同的Apple ID,否则您将为常用构建帐户遇到证书生成问题(所有机器共享一个帐户,因此会导致开发人员证书与特定机器绑定引发冲突)。
我们运行了一个分布式Jenkins CI环境,所以我们坚持使用手动签名,但是导出IPA的方法已经改变,现在必须使用-exportOptionsPlist选项。
更改存档命令:
#
# Build the xcarchive - this will only be done once, will will then
# distribute it for Ad Hoc, App Store and Enterprise In House scenarios
#
xcodebuild \
    -workspace MyApp.xcworkspace \
    -scheme MyApp \
    -archivePath build/MyApp.xcarchive \
    archive
存档使用与构建账户相关的iOS开发者证书进行签名(因此请确保在钥匙串中已安装证书)。现在,可以使用 -exportOptionsPlist 选项将存档导出为 Ad-hoc、企业和 App Store 的 IPA 格式。
创建一个名为 exportAppStore.plist 的文件,并将以下内容保存到您的顶级项目目录中。
<?xml version="1.0" encoding="UTF-8"?>
<!DOCTYPE plist PUBLIC "-//Apple//DTD PLIST 1.0//EN" "http://www.apple.com/DTDs/PropertyList-1.0.dtd">
<plist version="1.0">
<dict>
    <key>method</key>
    <string>app-store</string>
</dict>
</plist>
查看输出xcodebuild -help以获取完整的可用于-exportOptionsPlist选项的键列表。
现在修改导出存档命令,使用新的导出选项plist文件。
xcodebuild \
    -exportArchive \
    -archivePath build/MyApp.xcarchive \
    -exportOptionsPlist exportAppStore.plist \
    -exportPath MyAppForStore.ipa