我在SwiftUI中创建了一个文本框和安全文本框,但是我不知道如何在它们中添加图像。与旧版Swift相比,SwiftUI的在线文档不多。我还想将(占位符/输入文本)向右移动一个指定的量,例如30个点。我也尝试了将背景颜色从白色更改为红色,但是如您所见,它在我的代码中没有对UI产生任何影响。
注意: 我的代码中已经调用了GeometryReader以及@state变量用于用户名和密码。
我的目标是让它看起来像这样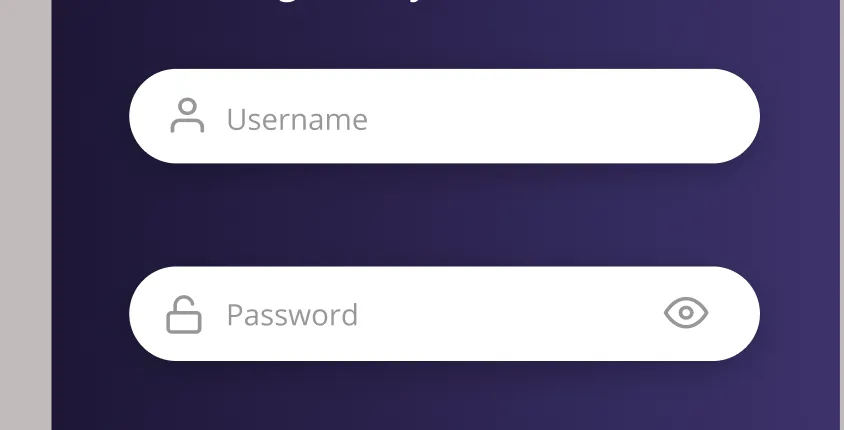 ,但现在它看起来像这样
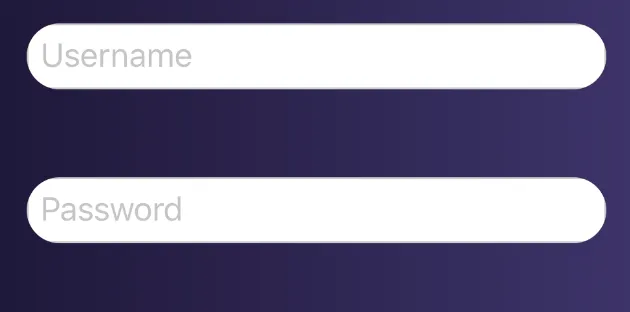
            VStack (spacing: deviceSize.size.height * (50/812)) {
                TextField ("Username", text: self.$username)
                    .foregroundColor(.black)//text color when you type
                    .accentColor(.blue)//cursor color
                    .background(Color(.red))//????
                    .textFieldStyle(RoundedBorderTextFieldStyle())
                    .cornerRadius(50)

                // .border(Color.white)
                //.font(.title)

                SecureField ("Password", text: self.$password)
                    .textFieldStyle(RoundedBorderTextFieldStyle())
                    .cornerRadius(50)

            }
            .padding(.init(top: 0, leading: deviceSize.size.width * (38/375), bottom: 0, trailing: deviceSize.size.width * (38/375)))

