你的框架大小为2457600字节,像素尺寸为1280x960,因此你有:
bits per pixel = 2457600 * 8 / (1280 * 960) = 16
你可以使用以下命令获取
ffmpeg支持的像素格式列表:
ffmpeg -pix_fmts 2> /dev/null
样例输出
FLAGS NAME            NB_COMPONENTS BITS_PER_PIXEL
-----
IO... yuv420p                3            12
IO... yuyv422                3            16
IO... rgb24                  3            24
IO... bgr24                  3            24
IO... yuv422p                3            16
IO... yuv444p                3            24
IO... yuv410p                3             9
...
...
这意味着您可以按照以下方式获取包含每像素16位的
Y、
U和
V的像素格式列表:
ffmpeg -pix_fmts 2> /dev/null | awk '/y/ && /u/ && /16$/ {print}'

IO... yuyv422                3            16
IO... yuv422p                3            16
IO... yuvj422p               3            16
IO... uyvy422                3            16
IO... yuv440p                3            16
IO... yuvj440p               3            16
IO... yvyu422                3            16
现在,您可以运行一个循环,迭代所有16位每像素YUV格式,并查看
ffmpeg对您的图像的处理结果-将每个结果命名为格式,以便您可以识别它们。
ffmpeg -pix_fmts 2> /dev/null |
   awk '/y/ && /u/ && /16$/ {print $2}' |
      while read f; do
         ffmpeg -y -s:v 1280x960 -pix_fmt $f -i frame.raw $f.jpg
      done
这将给你这些文件:
-rw-r--r--  1 mark  staff  304916  3 Feb 09:38 yuv440p.jpg
-rw-r--r--  1 mark  staff  227123  3 Feb 09:38 yuvj422p.jpg
-rw-r--r--  1 mark  staff   39543  3 Feb 09:38 yuyv422.jpg
-rw-r--r--  1 mark  staff   39545  3 Feb 09:38 yvyu422.jpg
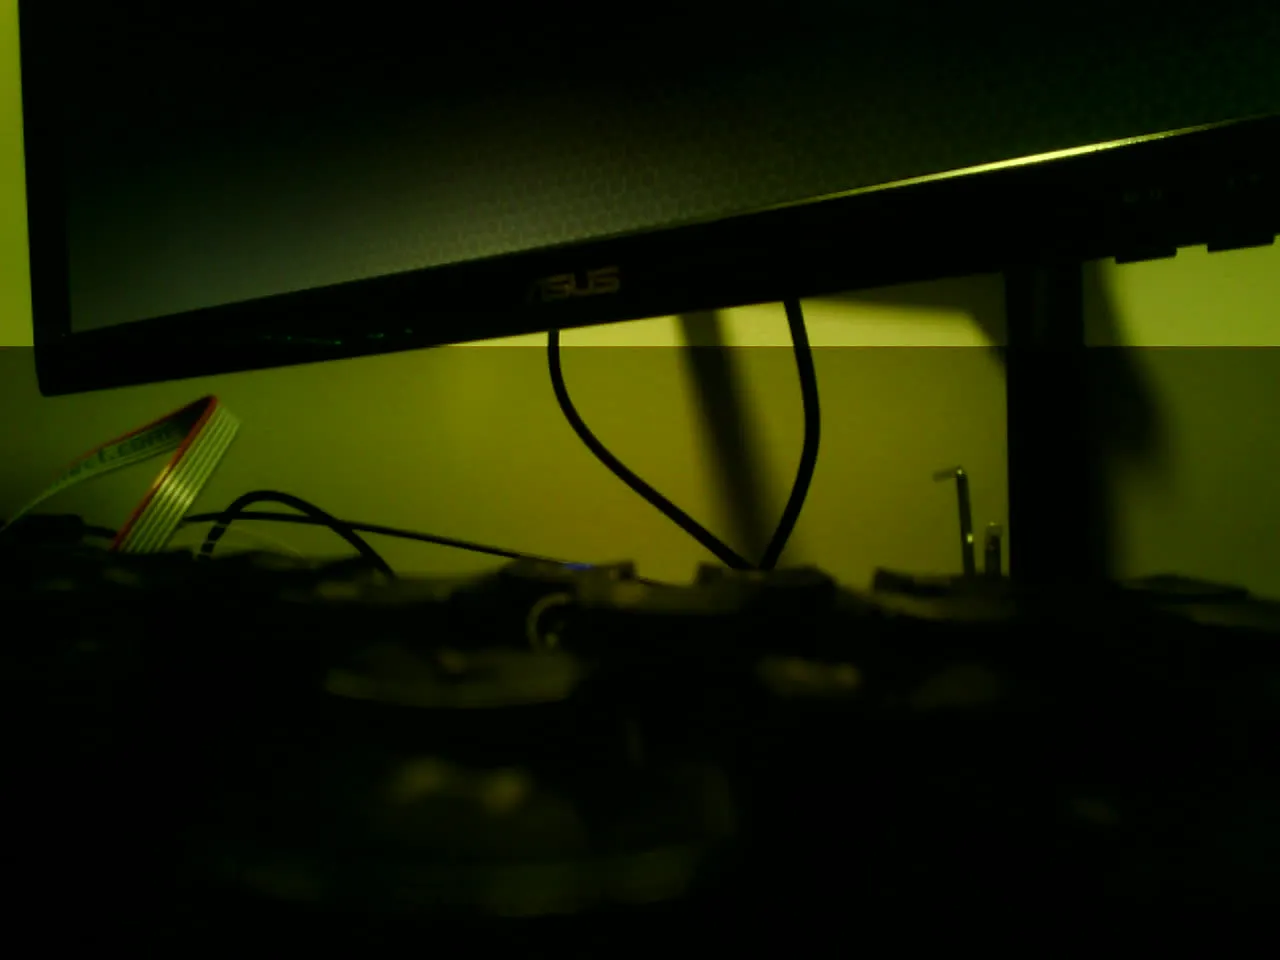
我猜测yuyv422.jpg是你的图片,所以你可以使用以下方式提取它:
ffmpeg -y -s:v 1280x960 -pix_fmt yuyv422 -i frame.raw result.jpg
如果您想使用
ImageMagick来实现这一点,可以尝试以下方法:
#!/bin/bash
python3 <<EOF
import numpy as np
h, w = 960, 1280
# Load raw file into Numpy array
raw = np.fromfile('frame.raw', np.uint8)
raw[0::2].tofile('Y') # Starting at the 1st byte, write every 2nd byte to file "Y"
raw[1::4].tofile('U') # Starting at the 2nd byte, write every 4th byte to file "U"
raw[3::4].tofile('V') # Starting at the 3rd byte, write every 4th byte to file "V"
EOF
magick -depth 8 -size 1280x960 gray:Y \
\( -size 640x960 gray:U gray:V -resize 1280x960\! \) \
-set colorspace YUV -combine -colorspace sRGB result.jpg
如果您不喜欢或不会Python,那么可以用以下基本的C语言代替该部分:
#include <stdint.h>
#include <stdio.h>
int main(){
FILE *in, *Y, *U, *V;
uint8_t buffer[4];
size_t bytesRead;
in = fopen("frame.raw", "rb");
Y = fopen("Y", "wb");
U = fopen("U", "wb");
V = fopen("V", "wb");
while ((bytesRead = fread(buffer, 1, sizeof(buffer), in)) > 0)
{
fputc(buffer[0], Y);
fputc(buffer[1], U);
fputc(buffer[2], Y);
fputc(buffer[3], V);
}
}
之前我已经用过 ffmpeg、Python 和 C 版本,感觉很有趣,现在我尝试在 shell 中完成同样的操作——将字节转换为行,这样我就可以选择交替行而不是交替字节。这与上述版本的效果相同:
#!/bin/bash
H=960
W=1280
INPUT="frame.raw"
xxd -c1 -p "$INPUT" | sed -n 'p;n' | xxd -r -p | magick -size ${W}x${H} -depth 8 gray:- Y.pgm
xxd -c1 -p "$INPUT" | sed -n 'n;p' | sed -n 'p;n' | xxd -r -p | magick -size $((W/2))x${H} -depth 8 gray:- -resize ${W}x${H}\! U.pgm
xxd -c1 -p "$INPUT" | sed -n 'n;p' | sed -n 'n;p' | xxd -r -p | magick -size $((W/2))x${H} -depth 8 gray:- -resize ${W}x${H}\! V.pgm
magick {Y,U,V}.pgm -set colorspace YUV -combine -colorspace sRGB result.jpg
rm {Y,U,V}.pgm
关于去除色偏,如我在评论中所说,据我所知,
"正常"的方法是获取图像的平均颜色,反转其色相,然后将
"否定的色偏"与原始图像混合以抵消原始色偏。这里是一个粗略的尝试 - 如果有人知道更好的方法,请告诉我!
步骤1:获取平均色偏
magick result.jpg -resize 1x1\! cast.png

步骤2:反转投射。
magick cast.png -modulate 100,100,0 correction.png

步骤三:将原始内容与更正内容混合,并可能进行亮度调整。
magick result.jpg correction.png -define compose:args=50,50 -compose blend -composite -auto-level result.jpg
以下是原始版本和更正后的版本:
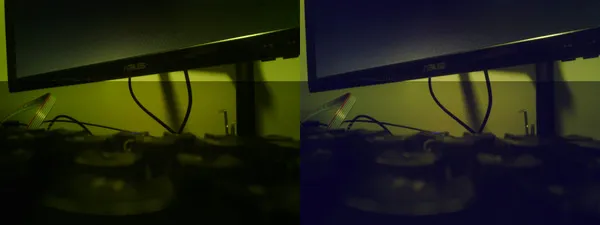
显然,您可以更改不同程度的“更正”的百分比。