使用nx.degree_histogram绘制图形的度分布

10
我曾尝试使用下面的代码来绘制 
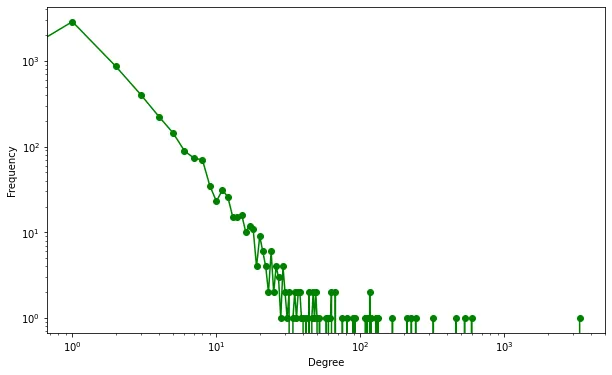
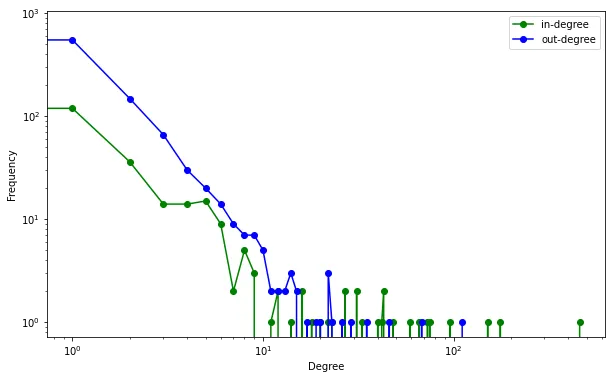
networkx.DiGraph G 的度分布图:

def plot_degree_In(G):
    in_degrees = G.in_degree()
    in_degrees=dict(in_degrees)
    in_values = sorted(set(in_degrees.values()))
    in_hist = [list(in_degrees.values()).count(x) for x in in_values]

    plt.figure() 
    plt.grid(False)
    plt.loglog(in_values, in_hist, 'r.') 
    #plt.loglog(out_values, out_hist, 'b.') 
    #plt.legend(['In-degree', 'Out-degree'])
    plt.xlabel('k')
    plt.ylabel('p(k)')
    plt.title('Degree Distribution')
    plt.xlim([0, 2*100**1])

但后来我意识到这并不是正确的做法,所以我进行了修改:

def plot_degree_dist(G):
    degree_hist = nx.degree_histogram(G) 
    degree_hist = np.array(degree_hist, dtype=float)
    degree_prob = degree_hist/G.number_of_nodes()
    plt.loglog(np.arange(degree_prob.shape[0]),degree_prob,'b.')
    plt.xlabel('k')
    plt.ylabel('p(k)')
    plt.title('Degree Distribution')
    plt.show()

但是这会给我一个没有数据的空图。
3个回答

12

使用测试代码打印(入度加出度)直方图的一种方法:

import matplotlib.pyplot as plt
import networkx as nx

def plot_degree_dist(G):
    degrees = [G.degree(n) for n in G.nodes()]
    plt.hist(degrees)
    plt.show()

plot_degree_dist(nx.gnp_random_graph(100, 0.5, directed=True))

直方图的箱数可以通过向plt.hist添加第二个参数来进行调整。


11
我们可以利用nx.degree_histogram,该函数返回网络中各个度数的频率列表,在列表中,度数值是对应的索引。但是,这个函数仅适用于无向图。我将首先说明如何在无向图的情况下使用它,然后展示一个有向图的例子,我们可以通过略微调整nx.degree_histogram来获得度分布。
  • 对于无向图

对于有向图,我们可以利用 nx.degree_histogram。下面是使用随机图生成器nx.barabasi_albert_graph的示例。

通常在绘制度分布图时会对xy轴取对数,这有助于判断网络是否为无标度网络(度数分布遵循幂律分布),因此我们可以使用matplotlib的plt.loglog函数进行绘图:

m=3
G = nx.barabasi_albert_graph(1000, m)

degree_freq = nx.degree_histogram(G)
degrees = range(len(degree_freq))
plt.figure(figsize=(12, 8)) 
plt.loglog(degrees[m:], degree_freq[m:],'go-') 
plt.xlabel('Degree')
plt.ylabel('Frequency')

在此输入图片描述


  • 对于有向图

对于有向图,我们可以稍微修改 nx.degree_histogram 函数来考虑出度和入度:

def degree_histogram_directed(G, in_degree=False, out_degree=False):
    """Return a list of the frequency of each degree value.

    Parameters
    ----------
    G : Networkx graph
       A graph
    in_degree : bool
    out_degree : bool

    Returns
    -------
    hist : list
       A list of frequencies of degrees.
       The degree values are the index in the list.

    Notes
    -----
    Note: the bins are width one, hence len(list) can be large
    (Order(number_of_edges))
    """
    nodes = G.nodes()
    if in_degree:
        in_degree = dict(G.in_degree())
        degseq=[in_degree.get(k,0) for k in nodes]
    elif out_degree:
        out_degree = dict(G.out_degree())
        degseq=[out_degree.get(k,0) for k in nodes]
    else:
        degseq=[v for k, v in G.degree()]
    dmax=max(degseq)+1
    freq= [ 0 for d in range(dmax) ]
    for d in degseq:
        freq[d] += 1
    return freq

类似上面的方法,我们也可以为入度和/或出度生成图表。这里是一个带有随机比例尺的图表示例:

G = nx.scale_free_graph(5000)

in_degree_freq = degree_histogram_directed(G, in_degree=True)
out_degree_freq = degree_histogram_directed(G, out_degree=True)
degrees = range(len(in_degree_freq))
plt.figure(figsize=(12, 8)) 
plt.loglog(range(len(in_degree_freq)), in_degree_freq, 'go-', label='in-degree') 
plt.loglog(range(len(out_degree_freq)), out_degree_freq, 'bo-', label='out-degree')
plt.xlabel('Degree')
plt.ylabel('Frequency')

enter image description here


1
我们需要在最后一个代码片段的 plt.xlabel('Degree') 之前添加 plt.legend(loc="upper right"),以便在最后的图表中看到图例的名称。 - Mas A

4
今天遇到了同样的问题。一些典型的度分布图 (例子) 并不会对度数进行分组。相反,它们会在一个对数-对数坐标轴上 分散每个度数的计数。
以下是我的解决方案。由于常规直方图函数似乎难以关闭分组功能,所以我决定使用标准的Counter来完成任务。 degrees 应该是返回网络节点度数的可迭代对象(如networkx返回的结果)。 Counter.items()会返回一个元素为“(度数, 计数)”二元组的列表。将该列表解压缩成x和y后,我们可以准备带有对数刻度的坐标轴,并绘制分散点图。
from collections import Counter
from operator import itemgetter
import matplotlib.pyplot as plt

# G = some networkx graph

degrees = G.in_degree()
degree_counts = Counter(degrees)                                                                                                 
x, y = zip(*degree_counts.items())                                                      
                                                                                                 
plt.figure(1)   
                                                                                                                                                                                                                                                      
# prep axes                                                                                                                      
plt.xlabel('degree')                                                                                                             
plt.xscale('log')                                                                                                                
plt.xlim(1, max(x))  
                                                                                                           
plt.ylabel('frequency')                                                                                                          
plt.yscale('log')                                                                                                                
plt.ylim(1, max(y))                                                                                                             
                                                                                                                                     # do plot                                                                                                                        
plt.scatter(x, y, marker='.')                                                                                                    
plt.show()

我手动调整了xlimylim,因为自动缩放会使得在对数坐标下的点有些难以辨别。小圆点标记效果最好。

希望有所帮助。

编辑:这篇文章的早期版本包括了对度数计数对进行排序,当然,在具有明确定义的x和y的散点图中这是不必要的。参见示例图像:

查看此处的示例图片


网页内容由stack overflow 提供, 点击上面的
可以查看英文原文,
原文链接