如何配置Spring Boot应用程序监听的TCP/IP端口,以便不使用默认的8080端口。
64个回答
7
您还可以使用SERVER_PORT环境变量来配置Spring Boot端口。只需设置环境变量并重新启动应用程序:
set SERVER_PORT=9999 // on windows machine
export SERVER_PORT=9999 // on linux
请注意,如果您没有系统范围内设置这些环境变量,则应在同一会话中运行启动应用程序。
- Ali Dehghani
7
大多数情况下,SpringBoot运行在端口8080上,这是由于内嵌的Tomcat。有时候会抛出错误“端口8080已被占用”。为了避免这种问题,我们可以配置服务器端口。
使用application.properties
添加 server.port=9898
运行时配置
用以下参数来运行您的应用程序。
spring-boot:run -Drun.jvmArguments='-Dserver.port=8081'
- Mohanraj
2
1这个答案已经过时了。你需要使用以下参数
mvn spring-boot:run -Dspring-boot.run.jvmArguments='-Dserver.port=8081',参见 https://dev59.com/vmEi5IYBdhLWcg3wptl_#66370832。 - asmaier我已确认在SB 3.1.1中可以工作 - 顺便说一句,不必使用
'',因此mvn spring-boot:run -Dspring-boot.run.jvmArguments=-Dserver.port=8081是可行的。 - Manuel Jordan6
使用 mvn 命令行和 Spring Boot 2:
mvn spring-boot:run -Dspring-boot.run.jvmArguments='-Dserver.port=8085'
- Ady Junior
5
打开您的Spring Boot应用程序中的application.properties文件。并在属性文件中添加以下属性。
server.port = 1443
这应该能正常工作,您可以根据您的希望设置任何端口号。
- Santil
5
Gradle运行方式:
- 在默认端口8080上运行:
./gradlew bootRun - 在指定端口(8888)上运行:
./gradlew bootRun --args='--server.port=8888' - 如果在
application.properties文件中有名为PORT的变量,运行如下命令:PORT=8888 ./gradlew bootRun
Maven运行方式:
- 在默认端口8080上运行:
mvnw spring-boot:run - 在指定端口(8888)上运行:
mvnw spring-boot:run -Dspring-boot.run.jvmArguments='-Dserver.port=8085' - 在指定端口(8888)上运行:
mvn spring-boot:run -Dspring-boot.run.arguments='--server.port=8085' - 在指定端口(8888)和其他自定义属性上运行:
mvn spring-boot:run -Dspring-boot.run.arguments="--server.port=8899 --your.custom.property=custom" - 如果在
application.properties文件中有名为PORT的变量,运行如下命令:SERVER_PORT=9093 mvn spring-boot:run
使用java -jar方式:
- 创建.jar文件:
- For Gradle: 执行命令
./gradlew clean build,.jar文件在build/libs/目录下。 - For Maven: 执行命令
mvn clean install,.jar文件在target目录下。
- For Gradle: 执行命令
- 在默认端口8080上运行:
java -jar myApplication.jar - 在指定端口(8888)上运行:
java -jar myApplication.jar --port=8888 - 在指定端口(8888)上运行:
java -jar -Dserver.port=8888 myApplication.jar - 如果在
application.properties文件中有名为SERVER_PORT的变量,运行如下命令:SERVER_PORT=8888 java -jar target/myApplication.jar
- Md. Shahariar Hossen
5
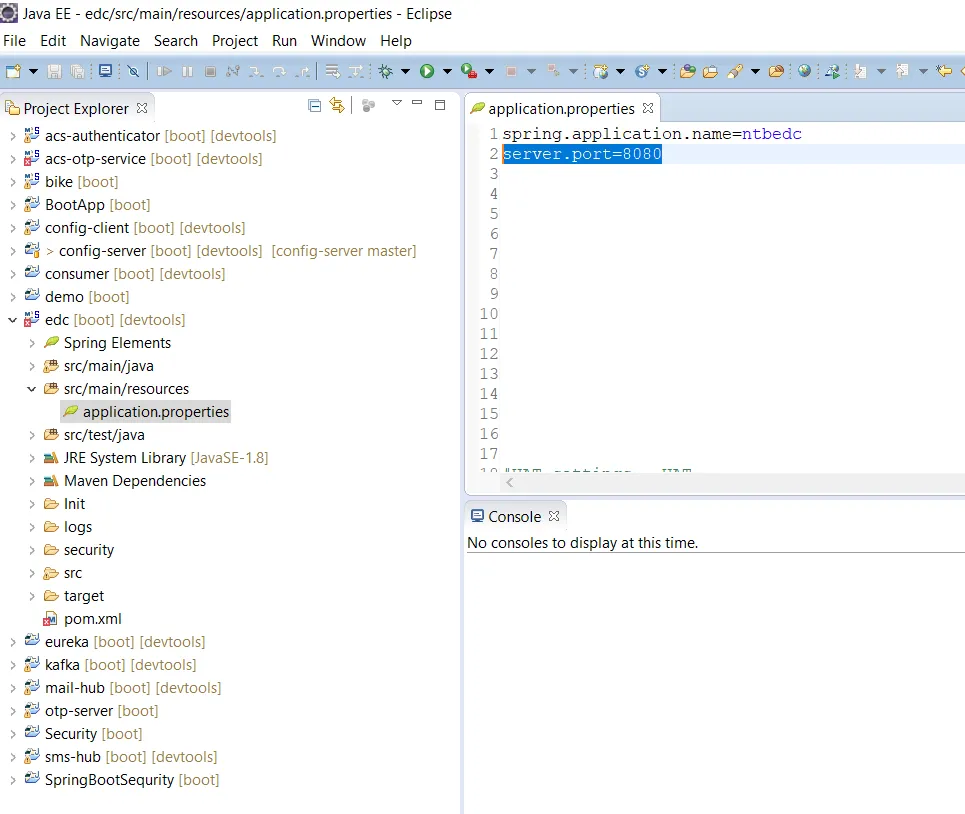
您可以在Spring Boot项目的资源文件夹中的application.properties文件中配置端口。
server.port="port which you need"
- Automator1992
4
通过
application.properties
server.port = 8082 (或任何新的端口号)
通过
application.yml
server
  port: 8082
- Akash Verma
4
"server.port=8080" 只有在通过主方法作为 jar 运行应用程序时才会起作用,
如果通过 Tomcat 容器作为 war 文件运行此应用程序,则此配置将无效。
如果通过 Tomcat 容器作为 war 文件运行此应用程序,则此配置将无效。
- mujeeb rahman
4
如果你想在命令环境中运行jar文件作为应用程序,只需在前面输入"SERVER_PORT=***"。完整的执行命令如下:
SERVER_PORT=8080 java -jar ***.jar
如果你想在Linux后台运行应用程序,那么使用'nohup'命令的格式如下:
SERVER_PORT=8080 nohup java -jar ***.jar &
- Rong.l
4
你可以在位于 src/main/resources 的 application.property 文件或 application.yaml 文件中配置端口。请注意,保留 HTML 标签。
server.port=8080
- Duleepa Wickramasinghe
网页内容由stack overflow 提供, 点击上面的可以查看英文原文,
原文链接
原文链接
- 相关问题
- 10 如何为Spring Boot应用程序设置org.hibernate.org.hibernate.FlushMode?
- 3 如何为Spring Boot配置服务器设置超时值
- 3 Spring Boot Java Kafka配置,覆盖端口
- 45 如何在端口80上运行Spring Boot应用程序
- 30 配置Spring Boot使用两个端口
- 10 如何为 Spring Boot 应用程序设置 logging.path?
- 11 Spring Boot:更改Web应用程序的端口
- 3 如何为Spring Boot应用程序配置嵌入式Tomcat虚拟主机?
- 3 如何为Spring Boot和Hibernate配置Liquibase Maven插件
- 3 Spring Boot应用程序配置问题
server.port=8080。此配置位于org.springframework.boot.autoconfigure.web下的ServerProperties.class类中。 - Atif