尝试像这样为第二个UIViewController设置supportedInterfaceOrientations:
- (BOOL) shouldAutorotate
{
return YES;
}
-(NSUInteger)supportedInterfaceOrientations
{
return UIInterfaceOrientationMaskLandscapeRight;
}
另外,在第一个UIViewController中的同一方法中仅启用纵向。
也许您需要在项目设置中启用这些方向,以便第二个UIViewController能够支持。
[编辑 #1:添加示例应用程序]
这是一个示例应用程序,希望可以解决您的问题。
AppDelegate.h
#import <UIKit/UIKit.h>

@class FirstViewController;

@interface AppDelegate : UIResponder <UIApplicationDelegate>

@property (strong, nonatomic) UIWindow *window;

@property (strong, nonatomic) FirstViewController *viewController;

@end
AppDelegate.m
#import "AppDelegate.h"
#import "FirstViewController.h"
@implementation AppDelegate
- (BOOL)application:(UIApplication *)application didFinishLaunchingWithOptions:(NSDictionary *)launchOptions
{
self.window = [[UIWindow alloc] initWithFrame:[[UIScreen mainScreen] bounds]];
self.viewController = [[FirstViewController alloc] initWithNibName:@"FirstViewController" bundle:nil];
self.window.rootViewController = self.viewController;
[self.window makeKeyAndVisible];
return YES;
}
- (void)applicationWillResignActive:(UIApplication *)application
{
}
- (void)applicationDidEnterBackground:(UIApplication *)application
{
}
- (void)applicationWillEnterForeground:(UIApplication *)application
{
}
- (void)applicationDidBecomeActive:(UIApplication *)application
{
}
- (void)applicationWillTerminate:(UIApplication *)application
{
}
@end
FirstViewController.h
#import <UIKit/UIKit.h>

@interface FirstViewController : UIViewController

- (IBAction)goToSecondViewController:(id)sender;

@end
FirstViewController.m
#import "FirstViewController.h"
#import "SecondViewController.h"
@interface FirstViewController ()
@end
@implementation FirstViewController
- (id)initWithNibName:(NSString *)nibNameOrNil bundle:(NSBundle *)nibBundleOrNil
{
self = [super initWithNibName:nibNameOrNil bundle:nibBundleOrNil];
if (self)
{
}
return self;
}
- (void)viewDidLoad
{
[super viewDidLoad];
}
- (void)didReceiveMemoryWarning
{
[super didReceiveMemoryWarning];
}
-(BOOL)shouldAutorotate
{
return NO;
}
-(NSUInteger)supportedInterfaceOrientations
{
return UIInterfaceOrientationMaskAll;
}
- (UIInterfaceOrientation)preferredInterfaceOrientationForPresentation
{
return UIInterfaceOrientationMaskPortrait;
}
- (IBAction)goToSecondViewController:(id)sender
{
SecondViewController *svc = [[SecondViewController alloc] initWithNibName:@"SecondViewController" bundle:nil];
[self presentViewController:svc animated:NO completion:nil];
}
@end
SecondViewController.h
#import <UIKit/UIKit.h>

@interface SecondViewController : UIViewController

- (IBAction)goToFirstViewController:(id)sender;

@end
SecondViewController.m
#import "SecondViewController.h"
@interface SecondViewController ()
@end
@implementation SecondViewController
- (id)initWithNibName:(NSString *)nibNameOrNil bundle:(NSBundle *)nibBundleOrNil
{
self = [super initWithNibName:nibNameOrNil bundle:nibBundleOrNil];
if (self)
{
}
return self;
}
- (void)viewDidLoad
{
[super viewDidLoad];
}
- (void)didReceiveMemoryWarning
{
[super didReceiveMemoryWarning];
}
-(NSUInteger)supportedInterfaceOrientations
{
return UIInterfaceOrientationMaskAll;
}
-(BOOL)shouldAutorotate
{
return YES;
}
- (UIInterfaceOrientation)preferredInterfaceOrientationForPresentation
{
return UIInterfaceOrientationLandscapeLeft;
}
- (IBAction)goToFirstViewController:(id)sender
{
[self dismissViewControllerAnimated:NO completion:nil];
}
@end
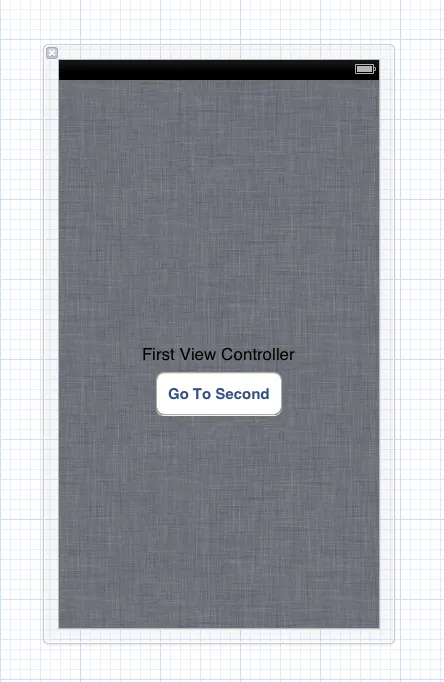
FirstViewController.xib
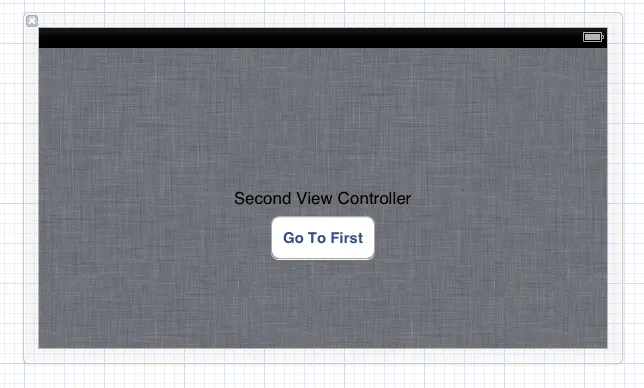
SecondViewController.xib
- (IBAction)goToSecondViewController:(id)sender
- (IBAction)goToSecondViewController:(id)sender
- Kashif Ilyas{
SecondViewController *svc = [[SecondViewController alloc] initWithNibName:@"SecondViewController" bundle:nil];
[self presentViewController:svc animated:NO completion:nil];
}
更改为
{
SecondViewController *svc = [[SecondViewController alloc] initWithNibName:@"SecondViewController" bundle:nil];
[self pushViewController:svc animated:NO];
}
那么您将会遇到与我一样的错误输出。