
我想做这种可以 展开/折叠 的表格视图。 就像图片中那样,有分类和子分类。 比如,“健康与美容”是一个分类,当我点击该单元格时,它会打开下面的子分类,就像下面的图片那样。 那么我该怎么做这种表格视图呢? 请给我建议。
我想做这种可以 展开/折叠 的表格视图。 就像图片中那样,有分类和子分类。 比如,“健康与美容”是一个分类,当我点击该单元格时,它会打开下面的子分类,就像下面的图片那样。 那么我该怎么做这种表格视图呢? 请给我建议。
使用以下代码将可展开的单元格添加到UITableView中
- (UITableViewCell *)tableView:(UITableView *)tableView cellForRowAtIndexPath:(NSIndexPath *)indexPath
{
    static NSString *CellIdentifier = @"Cell";
    UITableViewCell *cell = [tableView dequeueReusableCellWithIdentifier:CellIdentifier];
    if (cell == nil) {
        cell = [[[UITableViewCell alloc] initWithStyle:UITableViewCellStyleDefault reuseIdentifier:CellIdentifier] autorelease];
    }
    cell.textLabel.text=[[self.arForTable objectAtIndex:indexPath.row] valueForKey:@"name"];
    [cell setIndentationLevel:[[[self.arForTable objectAtIndex:indexPath.row] valueForKey:@"level"] intValue]];
    return cell;
}
展开和折叠行的代码 - TableView DidSelectRow方法
- (void)tableView:(UITableView *)tableView didSelectRowAtIndexPath:(NSIndexPath *)indexPath
{
    [tableView deselectRowAtIndexPath:indexPath animated:YES];
    NSDictionary *d=[self.arForTable objectAtIndex:indexPath.row];
    if([d valueForKey:@"Objects"]) {
        NSArray *ar=[d valueForKey:@"Objects"];
        BOOL isAlreadyInserted=NO;
        for(NSDictionary *dInner in ar ){
            NSInteger index=[self.arForTable indexOfObjectIdenticalTo:dInner];
            isAlreadyInserted=(index>0 && index!=NSIntegerMax);
            if(isAlreadyInserted) break;
        }
        if(isAlreadyInserted) {
            [self miniMizeThisRows:ar];
        } else {
            NSUInteger count=indexPath.row+1;
            NSMutableArray *arCells=[NSMutableArray array];
            for(NSDictionary *dInner in ar ) {
                [arCells addObject:[NSIndexPath indexPathForRow:count inSection:0]];
                [self.arForTable insertObject:dInner atIndex:count++];
            }
            [tableView insertRowsAtIndexPaths:arCells withRowAnimation:UITableViewRowAnimationLeft];
        }
    }
}
一种可以帮助最小化和最大化/展开折叠行的方法。
-(void)miniMizeThisRows:(NSArray*)ar{
    for(NSDictionary *dInner in ar ) {
        NSUInteger indexToRemove=[self.arForTable indexOfObjectIdenticalTo:dInner];
        NSArray *arInner=[dInner valueForKey:@"Objects"];
        if(arInner && [arInner count]>0){
            [self miniMizeThisRows:arInner];
        }
        if([self.arForTable indexOfObjectIdenticalTo:dInner]!=NSNotFound) {
            [self.arForTable removeObjectIdenticalTo:dInner];
            [self.tableView deleteRowsAtIndexPaths:
              [NSArray arrayWithObject:[NSIndexPath indexPathForRow:indexToRemove inSection:0]]
                      withRowAnimation:UITableViewRowAnimationRight];
        }
    }
}
我对可展开的表格视图有一种稍微不同的方法-与这些类型的表格视图通常构建的方式相一致。
有标题和单元格。 标题应该可以点击,然后在标题下面的单元格中就会显示或隐藏。这可以通过向标题添加手势识别器来实现,当被点击时,您只需要删除该标题下面的所有单元格(即该部分),反之亦然(添加单元格)。当然,您必须维护哪些标题是“打开”的,哪些标题是“关闭”的状态。
这样做有几个好处:
我制作了一个非常简单的库来实现这一点。只要您的表格视图设置了UITableView部分标题和单元格,您只需为表格视图和标题创建子类即可。试试吧:)
链接:https://github.com/fuzz-productions/FZAccordionTableView
尝试使用以下代码...也许这可以帮助你。 根据你的需求随意编辑代码...
#import "ViewController.h"
#import <QuartzCore/QuartzCore.h>
@interface ViewController ()

@end

@implementation ViewController
@synthesize myTable;
- (void)viewDidLoad
{
    [super viewDidLoad];
    // Do any additional setup after loading the view, typically from a nib.
    //myTable.backgroundColor=[UIColor clearColor];
   // self.view.backgroundColor=[UIColor colorWithPatternImage:[UIImage imageNamed:@"wood.png"]];
    muArr= [[NSMutableArray alloc]initWithObjects:@"Vinay",@"Anmol",@"Jagriti", nil];
    ExpArr=[[NSMutableArray alloc]initWithObjects:@"Useeee",@"Thissss",@"Codeee", nil];
    otherExpand=100;
    checker=100;

}

-(NSInteger) numberOfSectionsInTableView:(UITableView *)tableView
{
    return muArr.count;
}

-(NSInteger) tableView:(UITableView *)tableView numberOfRowsInSection:(NSInteger)section
{
    if(otherExpand==section)
    return ExpArr.count;

    return  0;

}

-(BOOL)tableView:(UITableView *)table canCollapse:(NSIndexPath *)indexPath
{

    return NO;
}

-(UITableViewCell *)tableView:(UITableView *)tableView cellForRowAtIndexPath:(NSIndexPath *)indexPath
{
    static NSString *Identifier=@"Cell";
    UITableViewCell *cell=[tableView dequeueReusableCellWithIdentifier:Identifier];
    if (cell==nil)
    {
        cell=[[UITableViewCell alloc]initWithStyle:UITableViewCellStyleDefault reuseIdentifier:Identifier];

    }
    cell.textLabel.text=[ExpArr objectAtIndex:indexPath.row];
    cell.textLabel.backgroundColor=[UIColor clearColor];
    UIView *viewww=[[UIView alloc] initWithFrame:CGRectMake(0, 0, 320, 44)];
    viewww.backgroundColor=[UIColor colorWithPatternImage:[UIImage imageNamed:@"wood.png"]];
    cell.backgroundView=viewww;

   // cell.backgroundColor=[UIColor colorWithPatternImage:[UIImage imageNamed:@"wood.png"]];
    [tableView setSeparatorStyle:UITableViewCellSeparatorStyleSingleLineEtched];
    [tableView setSeparatorColor:[UIColor purpleColor]];

    return cell;

}

-(UIView *)tableView:(UITableView *)tableView viewForHeaderInSection:(NSInteger)section
{

    UIView *view1=[[UIView alloc]initWithFrame:CGRectMake(0, 0, 320, 44)];
    [view1.layer setCornerRadius:20];
    view1.layer.borderWidth=2;
    view1.layer.borderColor=[UIColor brownColor].CGColor;
    UILabel *label=[[UILabel alloc]initWithFrame:CGRectMake(10, 0, 295, 44)];
    label.backgroundColor=[UIColor clearColor];

    label.text=[muArr objectAtIndex:section];
    UIButton *btn=[UIButton buttonWithType:UIButtonTypeDetailDisclosure];
    btn.frame=CGRectMake(280, -5, 50, 50);
    btn.backgroundColor=[UIColor clearColor];
    btn.tag=section;

    view1.backgroundColor=[UIColor colorWithPatternImage:[UIImage imageNamed:@"wood.png"]];
    label.textColor=[UIColor blackColor];
    label.font=[UIFont fontWithName:@"American TypeWriter" size:18];
    //btn.backgroundColor=[UIColor blackColor];
    [view1 addSubview:btn];
    [view1 addSubview:label];

    [btn addTarget:self action:@selector(Btntap:) forControlEvents:UIControlEventTouchUpInside];

    return view1;
}


-(void)Btntap : (UIButton *)btn
{
    if(otherExpand!=100)
    {
        if (otherExpand==btn.tag)
        {
            NSMutableArray *tempArr2=[[NSMutableArray alloc]init];
            for(int j=0;j<ExpArr.count;j++)
            {
                NSIndexPath *indexx1=[NSIndexPath indexPathForRow:j inSection:otherExpand];
                [tempArr2 addObject:indexx1];
            }
            checker=0;
            otherExpand=100;
            [myTable deleteRowsAtIndexPaths:tempArr2 withRowAnimation:UITableViewRowAnimationAutomatic];
        }

        else
        {
            NSMutableArray *tempArr2=[[NSMutableArray alloc]init];
            for(int j=0;j<ExpArr.count;j++)
            {
                NSIndexPath *indexx1=[NSIndexPath indexPathForRow:j inSection:otherExpand];
                [tempArr2 addObject:indexx1];
            }
            checker=1;
            otherExpand=100;
            [myTable deleteRowsAtIndexPaths:tempArr2 withRowAnimation:UITableViewRowAnimationAutomatic];
        }
    }

    if(checker!=0)
    {
        otherExpand=btn.tag;
        //checker=
        NSMutableArray *tempArr=[[NSMutableArray alloc]init];
        for(int i=0;i<ExpArr.count;i++)
        {
            NSIndexPath *indexx=[NSIndexPath indexPathForRow:i inSection:btn.tag];
            [tempArr addObject:indexx];
        }
        [myTable insertRowsAtIndexPaths:tempArr withRowAnimation:UITableViewRowAnimationAutomatic];

        checker=1;
    }
    checker=100;
}


-(CGFloat)tableView:(UITableView *)tableView heightForHeaderInSection:(NSInteger)section
{
    return 44;
}

@end
在WWDC 2011中有一段非常棒的视频,名为UITableView Changes, Tips and Tricks - session 125,展示了如何完成类似这样的事情。
同时请查看示例代码TVAnimationsGestures
 它只需要很少的代码就可以创建手风琴效果(不是使用节而是单元格),并且还有一个解决方案,可以在其他XIB文件中使用XIB文件(对于使用自定义视图的自定义单元格非常有用)。
UIStackView 设计我的单元格。我将不想显示的视图保持在折叠状态下隐藏,然后在单元格被点击时显示它。tableView.beginUpdates() 和 tableView.endUpdates() 语句中显示和隐藏视图。这样,表视图会自动调整单元格高度并带有动画效果。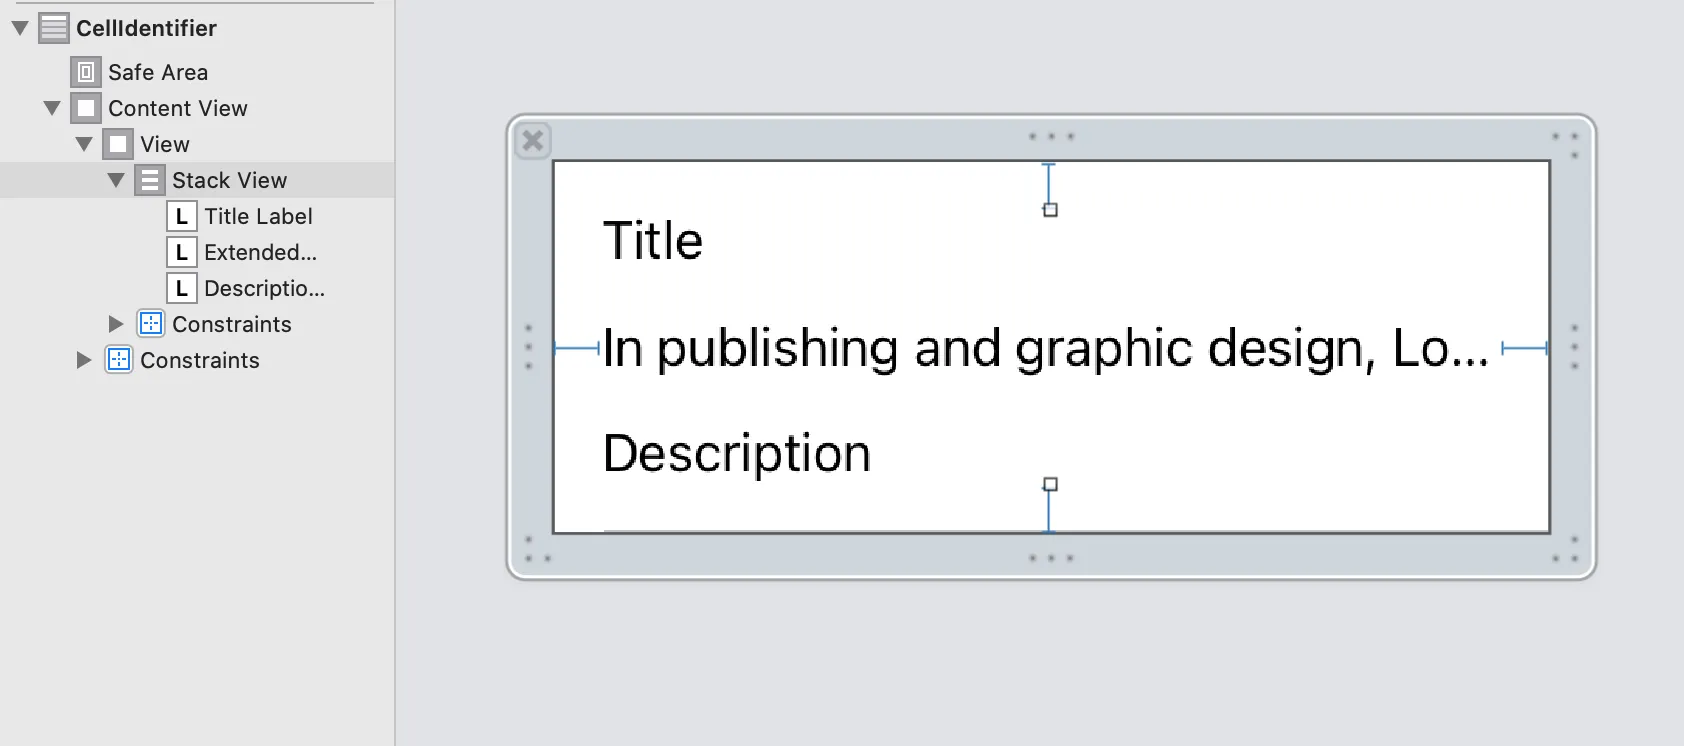 单元格自定义类:
 class AccordionCell: UITableViewCell {
@IBOutlet weak var stackView: UIStackView!
@IBOutlet weak var titleLabel: UILabel!
@IBOutlet weak var descriptionLabel: UILabel!
@IBOutlet weak var extendedDescriptionLabel: UILabel!
var expanded: Bool = false {
didSet {
if let extended = self.extendedDescriptionLabel {
extended.isHidden = !expanded
}
}
}
override func awakeFromNib() {
super.awakeFromNib()
// Initialization code
self.expanded = false
}
override func setSelected(_ selected: Bool, animated: Bool) {
super.setSelected(selected, animated: animated)
// Configure the view for the selected state
}
}
UITableView代理实现:
extension ViewController: UITableViewDataSource, UITableViewDelegate {
    func tableView(_ tableView: UITableView, numberOfRowsInSection section: Int) -> Int {
        return 100
    }

    func tableView(_ tableView: UITableView, cellForRowAt indexPath: IndexPath) -> UITableViewCell {
        let cell = tableView.dequeueReusableCell(withIdentifier: CellIdentifier) as! AccordionCell
        cell.titleLabel.text = "Row: \(indexPath.row)"
        cell.expanded = indexPath.row == expanded
        return cell
    }

    func tableView(_ tableView: UITableView, didSelectRowAt indexPath: IndexPath) {
        if let cell = tableView.cellForRow(at: indexPath) as? AccordionCell {
            tableView.beginUpdates()
            if expanded == indexPath.row {
                cell.expanded = false
                expanded = -1
            }
            else {
                cell.expanded = true
                expanded = indexPath.row
            }

            tableView.endUpdates()
            tableView.selectRow(at: indexPath, animated: true, scrollPosition: .none)
        }
    }

    func tableView(_ tableView: UITableView, didDeselectRowAt indexPath: IndexPath) {
        if let cell = tableView.cellForRow(at: indexPath) as? AccordionCell {
            tableView.beginUpdates()
            cell.expanded = false
            tableView.endUpdates()
        }
    }
}
indexpath变量,以便在滚动表视图时正确展开单元格。TLIndexPathTools 可以自然地完成这种事情。实际上,有扩展支持可展开的部分和可展开的树结构。尝试运行Collapse示例项目以获取可展开部分,以及Outline sample project以获取可展开树。
使用TLIndexPathTools的一个优点是,作为一个简单的低级API,它可以使用通用方法解决各种动态表视图和集合视图问题。并且它可以与Core Data和普通数组互换使用。